How to Use an ESP32 for IoT
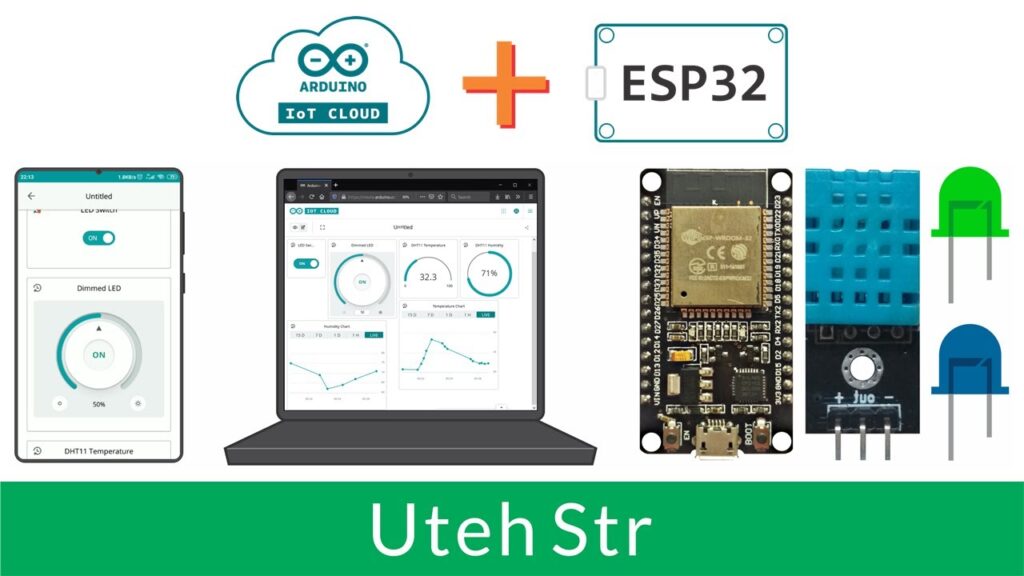
In the rapidly evolving world of technology, the Internet of Things (IoT) has become a prominent trend. As more devices become interconnected, it has become crucial for developers to have the necessary tools to build IoT systems efficiently. One such tool that has gained popularity in recent years is the ESP32. In this guide, we will explore how to use an ESP32 for IoT projects.
What is an ESP32?
The ESP32 is a powerful microcontroller that is specifically designed for IoT applications. It is a dual-core processor with built-in Wi-Fi and Bluetooth capabilities, making it an ideal choice for developing connected devices. The ESP32 also has a rich set of I/O peripherals, allowing developers to interface with various sensors and actuators easily.
Setting Up the Development Environment
Before you can start using the ESP32 for your IoT projects, you need to set up your development environment. To do this, you will need to download the Arduino IDE and install the ESP32 board support package.
- Download and install the latest version of the Arduino IDE from the official website.
- Open the Arduino IDE, go to File > Preferences, and enter the following URL in the Additional Board Manager URLs field: https://dl.espressif.com/dl/package_esp32_index.json
- Go to Tools > Board > Board Manager, search for “esp32,” and install the ESP32 board support package.
Programming the ESP32
Once you have set up the development environment, you can start programming the ESP32 for your IoT projects. The ESP32 is compatible with the Arduino programming language, making it easy for beginners to get started. Here are some basic steps to help you program the ESP32:
- Connect your ESP32 board to your computer using a USB cable.
- Open the Arduino IDE, go to Tools > Board, and select your ESP32 board.
- Write your code in the Arduino IDE, upload it to the ESP32 board, and start testing your IoT project.
Connecting to Wi-Fi and Bluetooth
One of the key features of the ESP32 is its built-in Wi-Fi and Bluetooth capabilities. This allows you to connect your devices to the internet and other devices wirelessly. To connect your ESP32 to a Wi-Fi network, you can use the built-in functions in the Arduino IDE. Here is a simple example code to connect your ESP32 to a Wi-Fi network:
#include <WiFi.h>

const char* ssid = "YourSSID";
const char* password = "YourPassword";

void setup() {
  Serial.begin(115200);
  WiFi.begin(ssid, password);

  while (WiFi.status() != WL_CONNECTED) {
    delay(1000);
    Serial.println("Connecting to Wi-Fi...");
  }

  Serial.println("Connected to Wi-Fi network");
}

void loop() {
  // Your code here
}
Building an IoT Project with ESP32
Now that you know how to program the ESP32 and connect it to Wi-Fi, you can start building your IoT projects. The ESP32’s rich set of I/O peripherals allows you to interface with various sensors, actuators, and displays easily. Here are some project ideas to get you started:
- Smart home automation system
- Weather station with real-time updates
- Remote-controlled car with smartphone app
- Plant monitoring system with automated watering
With the ESP32, the possibilities are endless. Whether you are a beginner or an experienced developer, the ESP32 is a versatile microcontroller that can help you bring your IoT ideas to life. Start experimenting with the ESP32 today and see what amazing projects you can create!


