How to Set Up a Telepresence Robot for Remote Communication?
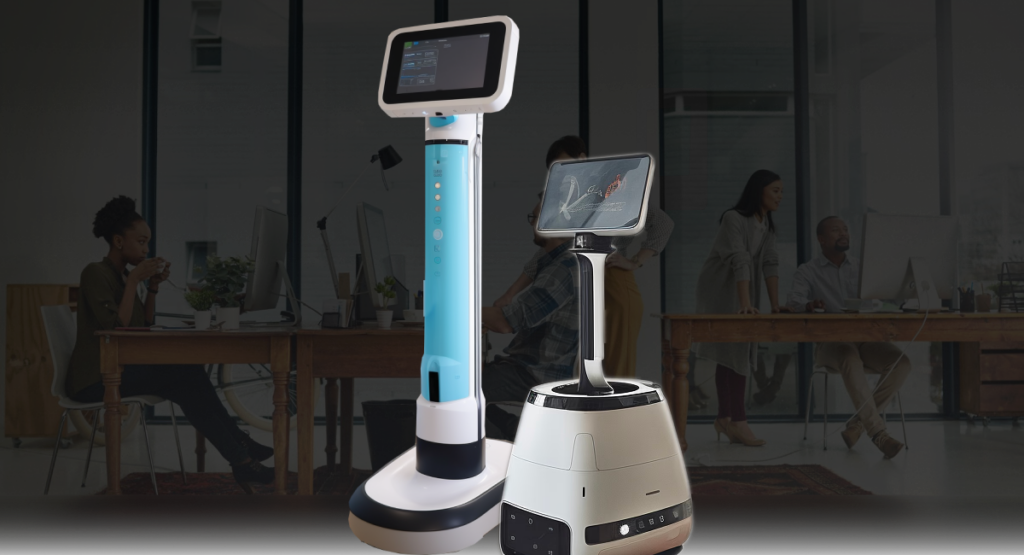
Telepresence robots are revolutionizing the way we communicate remotely. These robots allow you to be virtually present in a different location, enabling you to interact with others as if you were there in person. Setting up a telepresence robot for remote communication may seem daunting at first, but with the right guidance, it can be a straightforward process. In this article, we will walk you through the steps to set up your telepresence robot effectively.
Step 1: Choose the Right Telepresence Robot
Before you can set up your telepresence robot, you must first select the right one for your needs. Consider factors such as the robot’s mobility, camera quality, microphone capabilities, and battery life. Research different telepresence robots on the market and choose the one that best suits your requirements.
Step 2: Unbox and Assemble the Telepresence Robot
Once you have your telepresence robot, unbox it carefully and assemble it according to the manufacturer’s instructions. Make sure all the components are securely attached and in good working condition before proceeding to the next step.
Step 3: Connect the Telepresence Robot to Your Network
Next, you will need to connect your telepresence robot to your Wi-Fi network. Follow the instructions provided by the manufacturer to establish a stable connection. This step is crucial for ensuring smooth communication between the robot and the remote user.
Step 4: Install the Telepresence Robot Software
Most telepresence robots come with their specific software that you will need to install on your computer or mobile device. This software will enable you to control the robot’s movements, view the robot’s camera feed, and interact with others remotely. Install the software as instructed by the manufacturer.
Step 5: Test the Telepresence Robot
Before using the telepresence robot for important remote communication, it is essential to test its functionality. Move the robot around your space, test its camera quality and microphone capabilities, and ensure that the software is working correctly. Troubleshoot any issues that may arise during the testing phase.
Step 6: Use the Telepresence Robot for Remote Communication
Once you have successfully set up and tested your telepresence robot, you are ready to use it for remote communication. Schedule virtual meetings, attend conferences, or collaborate with colleagues using the robot. Enjoy the convenience of being virtually present anywhere in the world with your telepresence robot!
Conclusion
Setting up a telepresence robot for remote communication can open up new possibilities for connecting with others and conducting business efficiently. By following the steps outlined in this article, you can easily set up your telepresence robot and start enjoying its benefits. Embrace the future of remote communication with a telepresence robot!


