How to Replace an EV Charging Port on a Nissan Ariya
If you own a Nissan Ariya electric vehicle (EV), you may at some point need to replace the charging port. Whether it’s due to wear and tear, damage, or simply upgrading to a newer model, replacing the charging port is a relatively straightforward process that anyone can do with the right tools and a bit of know-how.
In this guide, we’ll walk you through the steps to replace an EV charging port on a Nissan Ariya so you can keep your electric vehicle running smoothly and efficiently.
Step 1: Gather Your Tools and Materials
- Replacement charging port
- Screwdriver
- Socket wrench set
- Work gloves
- Safety goggles
- Owner’s manual
Step 2: Disconnect the Power Source
Before starting the replacement process, ensure that your Nissan Ariya is turned off and parked in a safe location. Disconnect the power source by unplugging the charging cable from the vehicle.
It’s also a good idea to consult your owner’s manual for specific instructions on how to safely disconnect the power source.
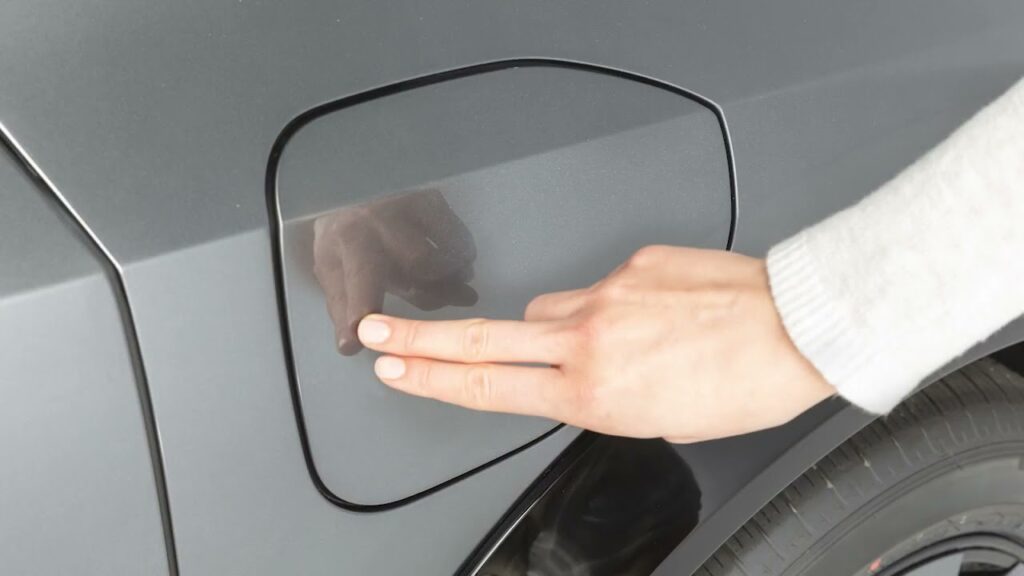
Step 3: Remove the Exterior Panel
Using a screwdriver, carefully remove the exterior panel covering the existing charging port on your Nissan Ariya. Be sure to keep track of any screws or bolts you remove so you can easily reassemble the panel later.
Step 4: Uninstall the Old Charging Port
Once the exterior panel is removed, use a socket wrench set to uninstall the old charging port from the vehicle. Take note of how the old charging port is attached so you can properly install the new one later.
Step 5: Install the New Charging Port
Carefully attach the new charging port to your Nissan Ariya using the same method that was used to remove the old one. Make sure the new charging port is securely in place before moving on to the next step.
Step 6: Reattach the Exterior Panel
Once the new charging port is installed, reattach the exterior panel by screwing or bolting it back into place. Ensure that the panel is securely fastened to prevent any damage during driving or charging.
Step 7: Test the Charging Port
Before using the charging port, test it to ensure that it is functioning properly. Plug in the charging cable and check that the vehicle recognizes the connection. If everything is in working order, you’re all set to start charging your Nissan Ariya again!
By following these simple steps, you can easily replace the charging port on your Nissan Ariya and continue enjoying the benefits of driving an electric vehicle. Remember to be patient and take your time during each step to ensure a successful replacement process.
If you’re unsure about any part of the process, don’t hesitate to consult a professional or reach out to Nissan customer service for assistance. Your electric vehicle’s charging port is a crucial component, so it’s important to maintain it properly for optimal performance and longevity.
How to Replace an EV Charging Port on a Nissan Ariya
If you own a Nissan Ariya electric vehicle (EV), you may at some point need to replace the charging port. Whether it’s due to wear and tear, damage, or simply upgrading to a newer model, replacing the charging port is a relatively straightforward process that anyone can do with the right tools and a bit of know-how.
In this guide, we’ll walk you through the steps to replace an EV charging port on a Nissan Ariya so you can keep your electric vehicle running smoothly and efficiently.
Step 1: Gather Your Tools and Materials
- Replacement charging port
- Screwdriver
- Socket wrench set
- Work gloves
- Safety goggles
- Owner’s manual
Step 2: Disconnect the Power Source
Before starting the replacement process, ensure that your Nissan Ariya is turned off and parked in a safe location. Disconnect the power source by unplugging the charging cable from the vehicle.
It’s also a good idea to consult your owner’s manual for specific instructions on how to safely disconnect the power source.
Step 3: Remove the Exterior Panel
Using a screwdriver, carefully remove the exterior panel covering the existing charging port on your Nissan Ariya. Be sure to keep track of any screws or bolts you remove so you can easily reassemble the panel later.
Step 4: Uninstall the Old Charging Port
Once the exterior panel is removed, use a socket wrench set to uninstall the old charging port from the vehicle. Take note of how the old charging port is attached so you can properly install the new one later.
Step 5: Install the New Charging Port
Carefully attach the new charging port to your Nissan Ariya using the same method that was used to remove the old one. Make sure the new charging port is securely in place before moving on to the next step.
Step 6: Reattach the Exterior Panel
Once the new charging port is installed, reattach the exterior panel by screwing or bolting it back into place. Ensure that the panel is securely fastened to prevent any damage during driving or charging.
Step 7: Test the Charging Port
Before using the charging port, test it to ensure that it is functioning properly. Plug in the charging cable and check that the vehicle recognizes the connection. If everything is in working order, you’re all set to start charging your Nissan Ariya again!
By following these simple steps, you can easily replace the charging port on your Nissan Ariya and continue enjoying the benefits of driving an electric vehicle. Remember to be patient and take your time during each step to ensure a successful replacement process.
If you’re unsure about any part of the process, don’t hesitate to consult a professional or reach out to Nissan customer service for assistance. Your electric vehicle’s charging port is a crucial component, so it’s important to maintain it properly for optimal performance and longevity.