How to Program an ESP8266 with Python
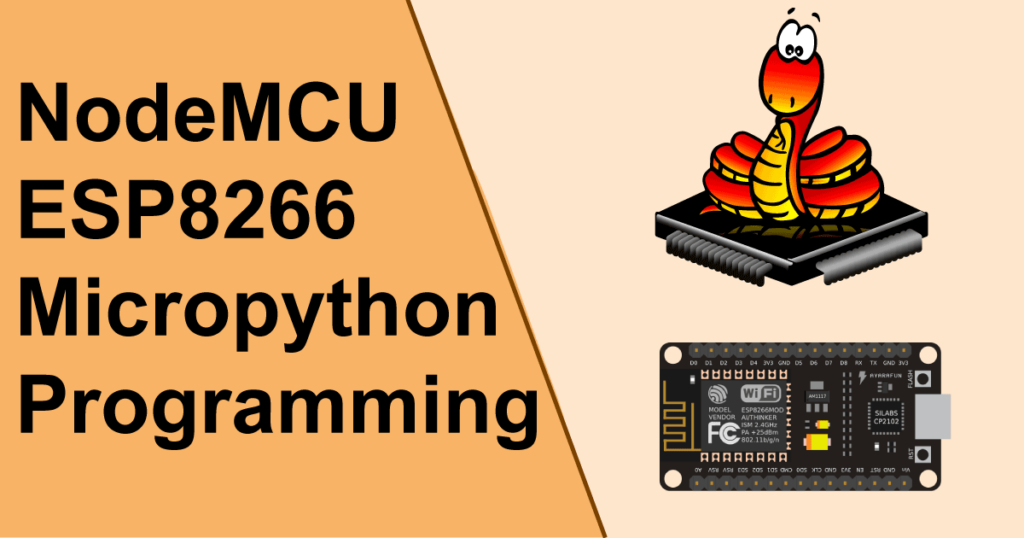
If you’ve ever worked with IoT projects or experimented with electronics, you’ve likely come across the ESP8266. This versatile microcontroller is packed with features that make it ideal for connecting to the internet and controlling devices remotely. While the Arduino IDE is a popular choice for programming the ESP8266, did you know that you can also program it using Python?
In this article, we will guide you through the process of programming an ESP8266 with Python. Whether you’re a beginner looking to dip your toes into the world of IoT or a seasoned developer looking for a new challenge, this guide will help you get started.
Setting Up Your Environment
Before you can start programming your ESP8266 with Python, you’ll need to set up your development environment. Here’s what you’ll need:
- ESP8266 development board (such as NodeMCU)
- Micro USB cable
- Python installed on your computer
- ESPlorer IDE (or any other serial monitor)
Once you have all the necessary tools, you can move on to the next step.
Install the Necessary Libraries
Before you can start programming your ESP8266 with Python, you’ll need to install a few libraries. The most important one is esptool.py, which will allow you to communicate with the microcontroller. You can install it using pip:
pip install esptool
You’ll also need to install ampy, a tool that allows you to interact with the filesystem on the ESP8266:
pip install adafruit-ampy
Upload Python to Your ESP8266
Now that you have all the necessary libraries installed, you can start uploading Python code to your ESP8266. First, you’ll need to erase the flash memory on the microcontroller:
esptool.py --port /dev/ttyUSB0 erase_flash
Next, you’ll need to flash the MicroPython firmware to your ESP8266:
esptool.py --port /dev/ttyUSB0 --baud 460800 write_flash --flash_size=detect 0 esp8266-20180707-v1.9.4.bin
Interacting with Your ESP8266
Once you’ve uploaded MicroPython to your ESP8266, you can start interacting with it using the ampy tool. You can list the files on the microcontroller, upload new files, and execute Python scripts. Here are a few examples of what you can do:
To list the files on your ESP8266:
ampy --port /dev/ttyUSB0 ls
To upload a file to your ESP8266:
ampy --port /dev/ttyUSB0 put main.py
To execute a Python script on your ESP8266:
ampy --port /dev/ttyUSB0 run script.py
Final Thoughts
Programming an ESP8266 with Python opens up a world of possibilities for IoT projects. Whether you’re controlling sensors, communicating with web servers, or building home automation systems, Python makes it easy to bring your ideas to life.
By following the steps outlined in this guide, you’ll be well on your way to programming your ESP8266 with Python. So go ahead, grab your development board, fire up your Python interpreter, and start experimenting with the ESP8266!


