How to Program an ESP8266 with PlatformIO?
Programming an ESP8266 with PlatformIO is a straightforward process that offers many benefits to both novice and experienced developers. PlatformIO is a popular open-source ecosystem for IoT development that provides a unified software development platform for various microcontrollers.
In this guide, we will walk you through the steps to program an ESP8266 using PlatformIO, from setting up your environment to uploading your code to the device.
Step 1: Installing PlatformIO
The first step in programming an ESP8266 with PlatformIO is to install PlatformIO on your system. You can do this by following the installation instructions on the PlatformIO website. PlatformIO supports multiple platforms, including Windows, macOS, and Linux, so you can easily get started regardless of your operating system.
Step 2: Setting Up Your Project
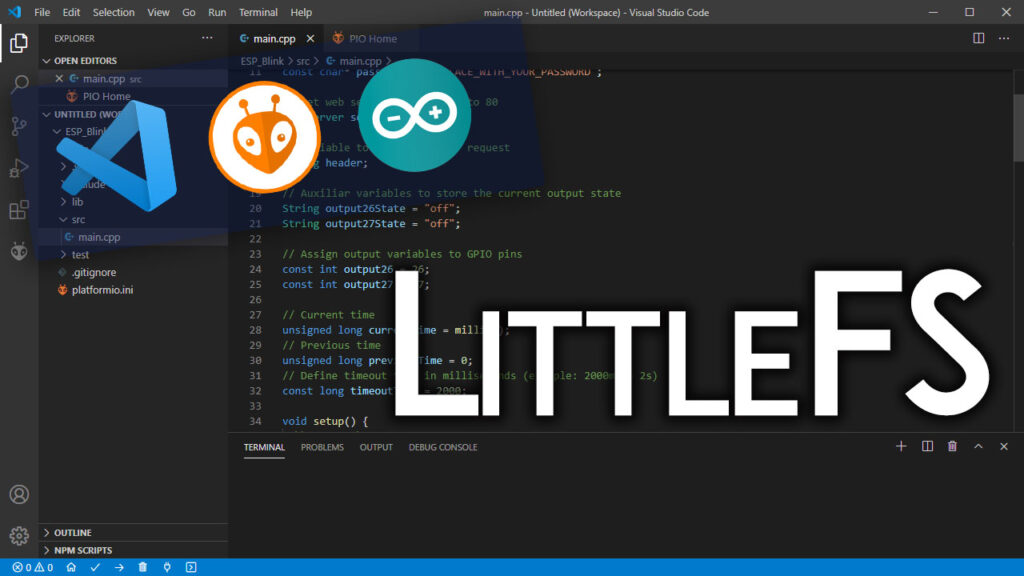
Once you have PlatformIO installed, it’s time to set up your project. Create a new project in PlatformIO and select ESP8266 as the board type. You can choose from a variety of development boards that use the ESP8266 chip, such as the NodeMCU or the Wemos D1 Mini.
PlatformIO will create the necessary project structure for you, including the configuration files and folders for your code. You can start writing your code in the src folder of your project.
Step 3: Writing Your Code
Now that your project is set up, you can start writing your code. PlatformIO supports multiple programming languages, including C and C++, so you can use your preferred language to develop your ESP8266 project.
Take advantage of the PlatformIO IDE integration, which provides features like auto-completion and code formatting to make your coding experience more efficient. You can also use libraries from the PlatformIO library manager to easily add functionality to your project.
Step 4: Uploading Your Code
Once you have written your code, it’s time to upload it to your ESP8266 device. Connect your ESP8266 board to your computer using a USB cable, and then select the appropriate COM port in PlatformIO.
Click the upload button in PlatformIO to compile your code and upload it to the ESP8266. You can monitor the serial output to see if your code is running correctly on the device.
Step 5: Testing Your Project
After uploading your code to the ESP8266, it’s time to test your project. Monitor the serial output to see if your code is executing as expected on the device. You can also use tools like the Arduino Serial Monitor to interact with your ESP8266 and debug any issues.
Congratulations! You have successfully programmed an ESP8266 with PlatformIO. With PlatformIO’s powerful features and easy-to-use interface, you can quickly develop and deploy your IoT projects with confidence.
Keep exploring PlatformIO’s capabilities and experimenting with the ESP8266 to unlock its full potential in your projects. Happy coding!
How to Program an ESP8266 with PlatformIO?
Programming an ESP8266 with PlatformIO is a straightforward process that offers many benefits to both novice and experienced developers. PlatformIO is a popular open-source ecosystem for IoT development that provides a unified software development platform for various microcontrollers.
In this guide, we will walk you through the steps to program an ESP8266 using PlatformIO, from setting up your environment to uploading your code to the device.
Step 1: Installing PlatformIO
The first step in programming an ESP8266 with PlatformIO is to install PlatformIO on your system. You can do this by following the installation instructions on the PlatformIO website. PlatformIO supports multiple platforms, including Windows, macOS, and Linux, so you can easily get started regardless of your operating system.
Step 2: Setting Up Your Project
Once you have PlatformIO installed, it’s time to set up your project. Create a new project in PlatformIO and select ESP8266 as the board type. You can choose from a variety of development boards that use the ESP8266 chip, such as the NodeMCU or the Wemos D1 Mini.
PlatformIO will create the necessary project structure for you, including the configuration files and folders for your code. You can start writing your code in the src folder of your project.
Step 3: Writing Your Code
Now that your project is set up, you can start writing your code. PlatformIO supports multiple programming languages, including C and C++, so you can use your preferred language to develop your ESP8266 project.
Take advantage of the PlatformIO IDE integration, which provides features like auto-completion and code formatting to make your coding experience more efficient. You can also use libraries from the PlatformIO library manager to easily add functionality to your project.
Step 4: Uploading Your Code
Once you have written your code, it’s time to upload it to your ESP8266 device. Connect your ESP8266 board to your computer using a USB cable, and then select the appropriate COM port in PlatformIO.
Click the upload button in PlatformIO to compile your code and upload it to the ESP8266. You can monitor the serial output to see if your code is running correctly on the device.
Step 5: Testing Your Project
After uploading your code to the ESP8266, it’s time to test your project. Monitor the serial output to see if your code is executing as expected on the device. You can also use tools like the Arduino Serial Monitor to interact with your ESP8266 and debug any issues.
Congratulations! You have successfully programmed an ESP8266 with PlatformIO. With PlatformIO’s powerful features and easy-to-use interface, you can quickly develop and deploy your IoT projects with confidence.
Keep exploring PlatformIO’s capabilities and experimenting with the ESP8266 to unlock its full potential in your projects. Happy coding!