How to Program a PIC16F877A with MPLAB X
Programming a PIC16F877A microcontroller with MPLAB X is a common task for embedded systems developers. MPLAB X is a powerful Integrated Development Environment (IDE) that allows you to write, compile, and debug code for microcontrollers such as the PIC16F877A. In this article, we will guide you through the process of programming a PIC16F877A with MPLAB X.
What You’ll Need
Before you start programming your PIC16F877A with MPLAB X, you’ll need a few things. Here is a list of what you’ll need:
- PIC16F877A microcontroller
- Programmer (such as PICkit or ICD)
- MPLAB X IDE
- USB cable
- Breadboard and components for testing
Installing MPLAB X
The first step in programming a PIC16F877A with MPLAB X is to install the MPLAB X IDE on your computer. You can download MPLAB X from the Microchip website for free. Follow the installation instructions provided on the website to set up MPLAB X on your computer.
Connecting the Programmer
Once you have installed MPLAB X, you’ll need to connect your programmer to your computer. Use the USB cable to connect the programmer to your computer. Make sure that the programmer is properly connected to the PIC16F877A microcontroller on your breadboard.
Writing the Code
Now that you have everything set up, it’s time to write the code for your PIC16F877A. Open MPLAB X and create a new project. Write your code in C or assembly language, depending on your preference. Make sure to include the necessary libraries and functions for the PIC16F877A in your code.
Compiling the Code
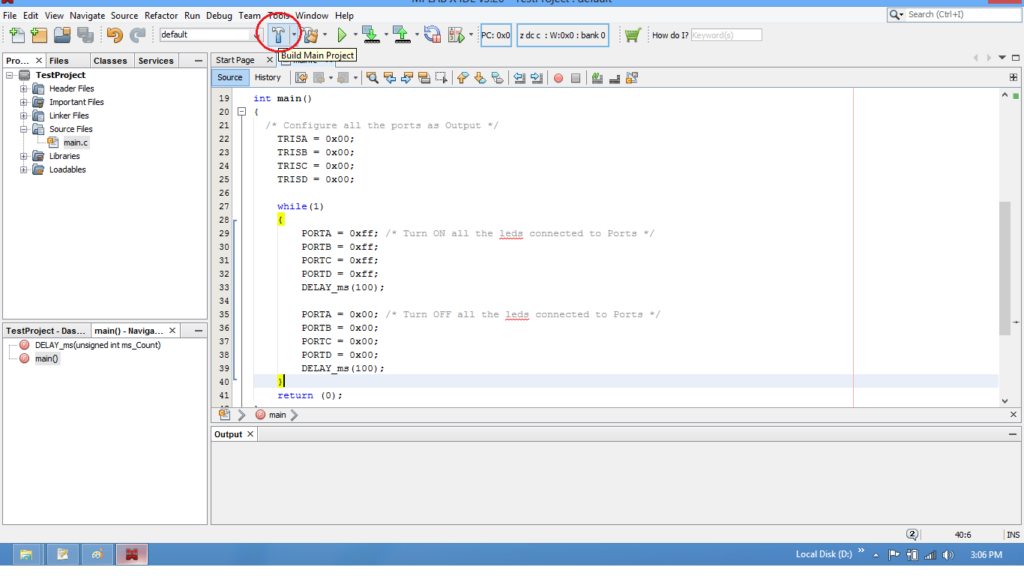
Once you have written your code, you’ll need to compile it using MPLAB X. Click on the “Build” button in MPLAB X to compile your code. MPLAB X will check for any errors in your code and create a hex file that you can program to your PIC16F877A.
Programming the PIC16F877A
With the hex file ready, you can now program your PIC16F877A microcontroller. Connect your programmer to your PIC16F877A on the breadboard and click on the “Program” button in MPLAB X. MPLAB X will transfer the hex file to the PIC16F877A, and your code will be running on the microcontroller.
Testing Your Code
After programming your PIC16F877A, it’s important to test your code to ensure that it functions as expected. Use the components on your breadboard to test different functionalities of your code. Debug any issues that may arise and make necessary changes to your code in MPLAB X.
Conclusion
Programming a PIC16F877A with MPLAB X is a rewarding experience for embedded systems developers. By following the steps outlined in this article, you can successfully program your PIC16F877A microcontroller and bring your embedded projects to life. Remember to experiment with different functionalities and optimize your code for better performance. Happy coding!


