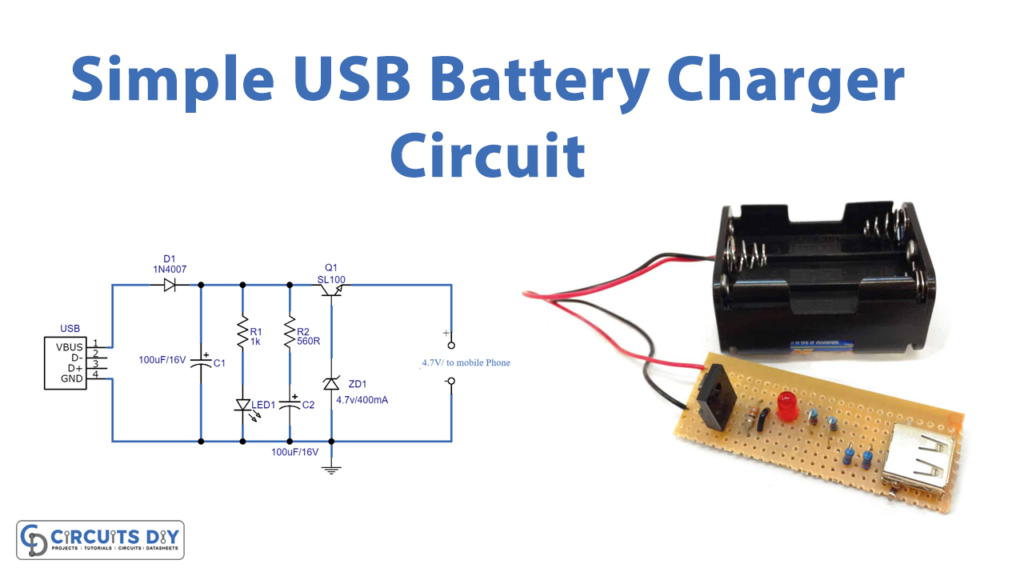
How to Make a Simple USB Charger Circuit
Do you want to make your own USB charger circuit? It’s easier than you think! In this article, we’ll show you how to create a simple USB charger circuit using basic components. This circuit can be a fun DIY project or a practical solution for charging your devices on the go. Let’s get started!
Materials Needed
- USB female connector
- 7805 voltage regulator
- 0.33uF capacitor
- 0.1uF capacitor
- 1N4001 diode
- 10uF capacitor
- 5V DC adapter
- Breadboard
- Jumper wires
Step 1: Connect the Components
First, place the 7805 voltage regulator on the breadboard. Connect the input pin of the regulator to the positive terminal of the USB connector. Then, connect the ground pin of the regulator to the negative terminal of the USB connector.
Next, connect the output pin of the regulator to the positive rail on the breadboard. Connect the ground pin of the USB connector to the negative rail on the breadboard. Make sure to double-check all connections to avoid any short circuits.
Step 2: Add Capacitors and Diode
Place the 0.33uF capacitor between the input pin and ground pin of the voltage regulator. This capacitor helps filter out any noise in the input power supply. Then, place the 0.1uF capacitor between the output pin and ground pin of the voltage regulator to stabilize the output voltage.
Connect the cathode of the 1N4001 diode to the output pin of the voltage regulator and the anode to the positive rail on the breadboard. This diode protects the circuit from reverse polarity and voltage spikes.
Step 3: Final Connections
Connect the positive terminal of the 5V DC adapter to the positive rail on the breadboard and the negative terminal to the negative rail. You can now test your USB charger circuit by plugging in a device to the USB connector. If everything is connected correctly, your device should start charging!
Remember to always double-check your connections and be cautious when working with electrical components. Have fun building your own USB charger circuit!
Conclusion
Congratulations! You’ve successfully created a simple USB charger circuit. This project is a great way to learn about electronics and basic circuitry. Feel free to experiment with different components and designs to customize your charger. Happy building!