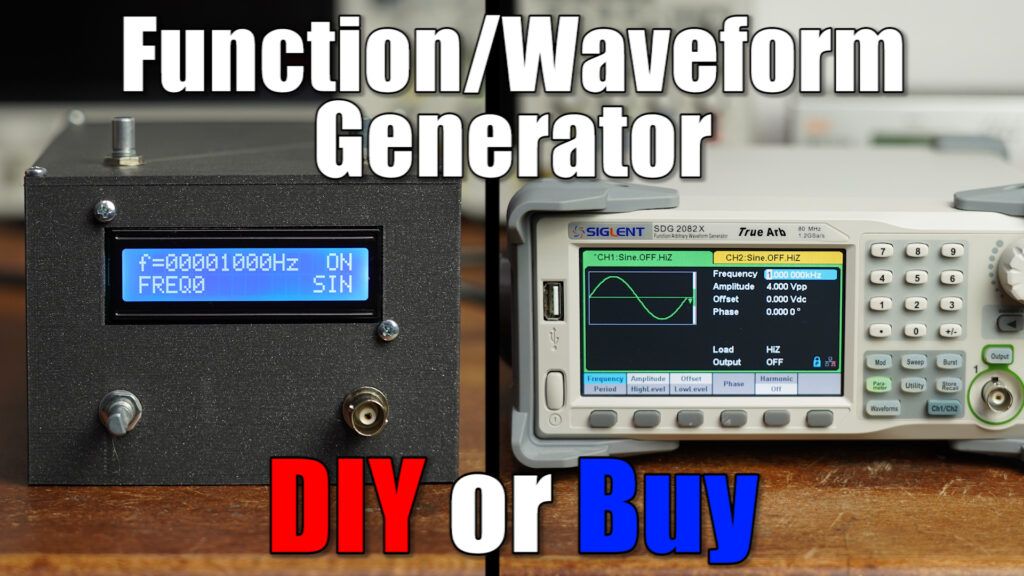
How to make a basic waveform generator?
Are you interested in creating your own basic waveform generator? In this article, we will guide you through the process of building a simple waveform generator that you can use for various electronic projects. Let’s dive into the world of waveforms!
What is a Waveform Generator?
A waveform generator is an electronic device that produces electrical signals in different waveforms such as sine, square, triangle, and sawtooth waves. These signals are used in a wide range of applications including testing electronic circuits, audio signal generation, and frequency modulation.
Components Needed
- Breadboard
- 555 Timer IC
- Resistors
- Capacitors
- Diodes
- Potentiometer
- Jumper Wires
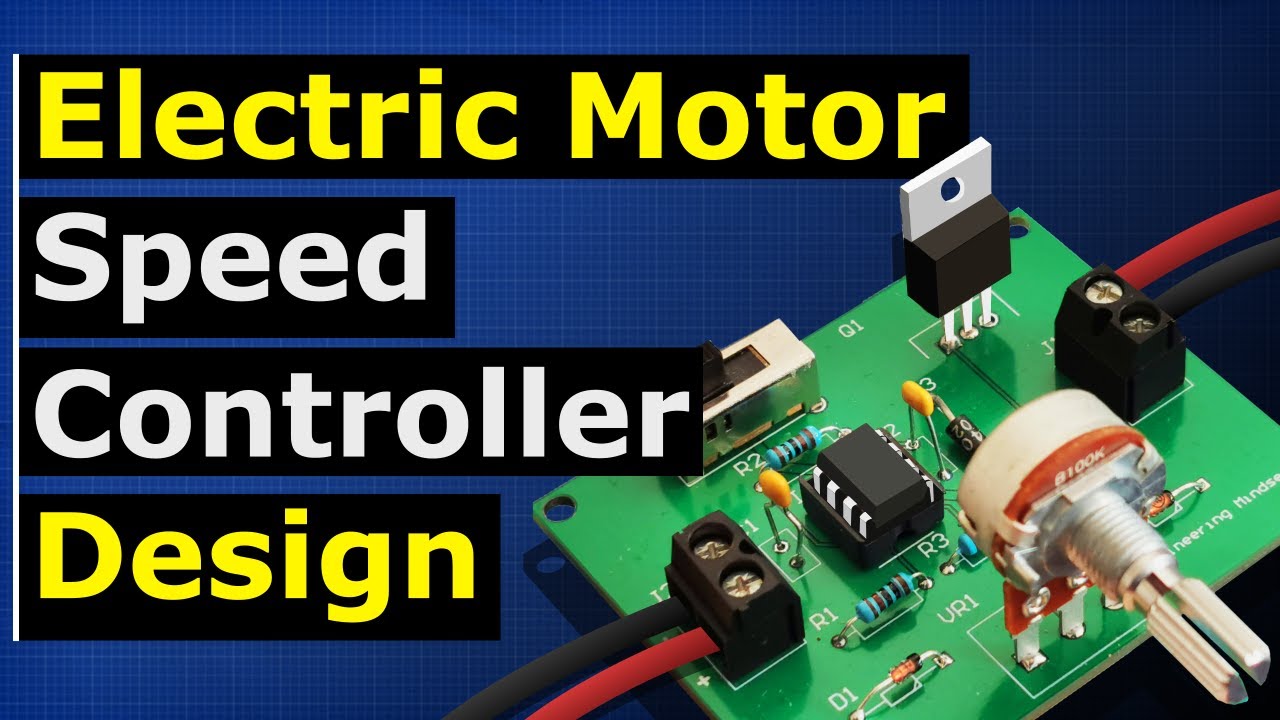
Building the Circuit
To create a basic waveform generator, you will need to follow these steps:
Step 1: 555 Timer Configuration
Begin by placing the 555 Timer IC on the breadboard. Connect pin 1 (Ground) and pin 8 (VCC) to the respective power sources. Pin 4 (Reset) can be connected to VCC. Pins 2 (Trigger) and 6 (Threshold) are connected via a resistor and a capacitor to control the frequency of the waveform.
Step 2: Output Waveform
The output waveform can be obtained from pin 3 (Output) of the 555 Timer IC. This pin generates the desired waveform based on the values of the resistor and capacitor connected to pins 2 and 6.
Adjusting the Frequency
By adjusting the values of the resistor and capacitor, you can change the frequency of the waveform generated by the circuit. A potentiometer can be used to fine-tune the frequency as needed.
Testing the Waveform
Once you have built the circuit, you can test the generated waveform using an oscilloscope. This device displays the waveform on its screen, allowing you to verify the output signal.
Conclusion
Congratulations! You have successfully created a basic waveform generator using a 555 Timer IC. Experiment with different resistor and capacitor values to explore various waveforms and frequencies. Happy tinkering!


