How to interface an airspeed sensor with Arduino?
Interfacing an airspeed sensor with Arduino can be a fun and educational project for anyone interested in aerodynamics and electronics. With the right components and a bit of programming knowledge, you can build a device that measures the speed at which an aircraft is moving through the air. In this article, we will guide you through the process of connecting an airspeed sensor to an Arduino board and collecting data from it.
Materials Needed
- An Arduino board (such as the Arduino Uno or Arduino Mega)
- An airspeed sensor (such as the MPXV7002DP)
- Jumper wires
- Breadboard (optional)
- USB cable for programming Arduino
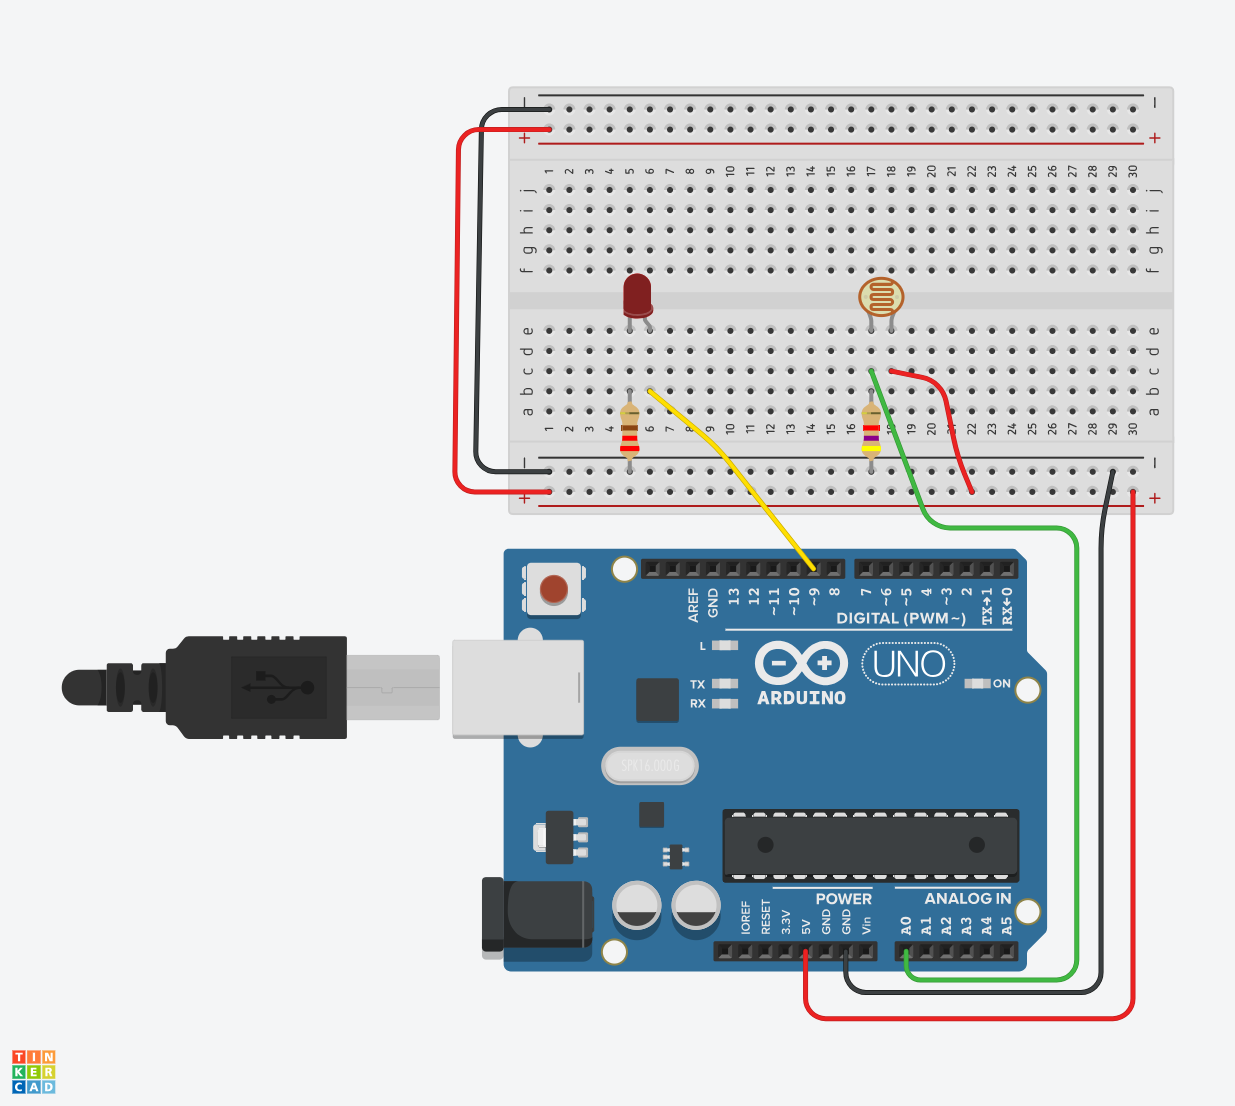
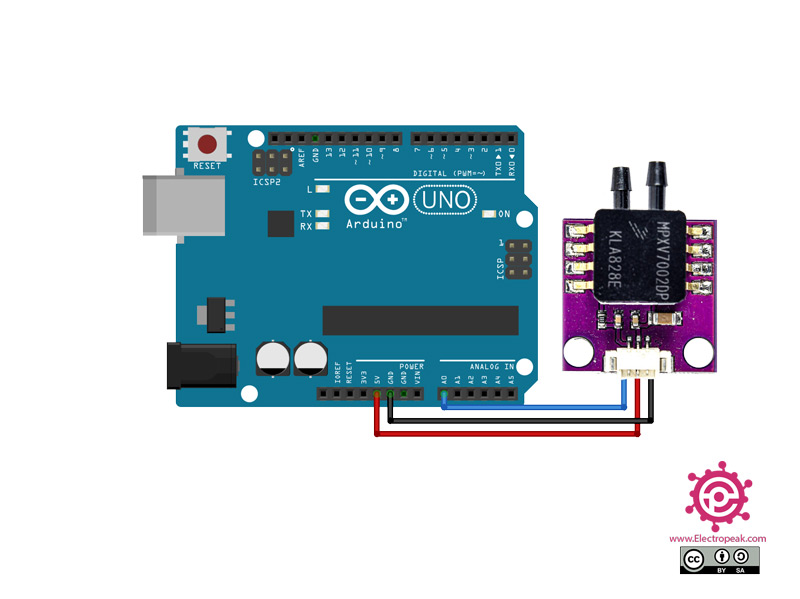
Wiring the Airspeed Sensor
The first step is to connect the airspeed sensor to the Arduino board using jumper wires. The MPXV7002DP airspeed sensor has three pins – Vcc, GND, and Vout. Vcc should be connected to 5V on the Arduino, GND to GND, and Vout to an analog input pin.
Here is an example wiring diagram:
Vcc --> 5V
GND --> GND
Vout --> A0
If you are using a breadboard, you can make the connections on it before connecting them to the Arduino board.
Programming the Arduino
Once the sensor is wired up, you can start writing the Arduino code to read data from the sensor. You will need to use the analogRead() function to get the voltage value from the sensor and convert it to an airspeed value based on the sensor’s datasheet.
Here is an example code snippet:
int sensorPin = A0;  //connect the sensor to analog pin A0
int sensorValue;
float airspeed;

void setup() {
  Serial.begin(9600);  //initialize serial communication at 9600 baud
}

void loop() {
  sensorValue = analogRead(sensorPin);  //read sensor value
  airspeed = convertToAirspeed(sensorValue);  //convert sensor value to airspeed
  Serial.print("Airspeed: ");
  Serial.print(airspeed);
  Serial.println(" m/s");
  delay(1000);  //wait for 1 second
}

float convertToAirspeed(int sensorValue) {
  //conversion formula based on sensor datasheet
  return 0.25 * (sensorValue - 1023) + 500;
}
Upload the code to your Arduino board using the USB cable and open the Serial Monitor in the Arduino IDE to see the airspeed values being printed.
Conclusion
Interfacing an airspeed sensor with Arduino is a rewarding project that combines elements of electronics and aeronautics. By following the steps outlined in this article, you can create a functioning airspeed measurement device and learn valuable skills along the way. Happy flying!
How to interface an airspeed sensor with Arduino?
Interfacing an airspeed sensor with Arduino can be a fun and educational project for anyone interested in aerodynamics and electronics. With the right components and a bit of programming knowledge, you can build a device that measures the speed at which an aircraft is moving through the air. In this article, we will guide you through the process of connecting an airspeed sensor to an Arduino board and collecting data from it.
Materials Needed
- An Arduino board (such as the Arduino Uno or Arduino Mega)
- An airspeed sensor (such as the MPXV7002DP)
- Jumper wires
- Breadboard (optional)
- USB cable for programming Arduino
Wiring the Airspeed Sensor
The first step is to connect the airspeed sensor to the Arduino board using jumper wires. The MPXV7002DP airspeed sensor has three pins – Vcc, GND, and Vout. Vcc should be connected to 5V on the Arduino, GND to GND, and Vout to an analog input pin.
Here is an example wiring diagram:
Vcc --> 5V
GND --> GND
Vout --> A0
If you are using a breadboard, you can make the connections on it before connecting them to the Arduino board.
Programming the Arduino
Once the sensor is wired up, you can start writing the Arduino code to read data from the sensor. You will need to use the analogRead() function to get the voltage value from the sensor and convert it to an airspeed value based on the sensor’s datasheet.
Here is an example code snippet:
int sensorPin = A0;  //connect the sensor to analog pin A0
int sensorValue;
float airspeed;

void setup() {
  Serial.begin(9600);  //initialize serial communication at 9600 baud
}

void loop() {
  sensorValue = analogRead(sensorPin);  //read sensor value
  airspeed = convertToAirspeed(sensorValue);  //convert sensor value to airspeed
  Serial.print("Airspeed: ");
  Serial.print(airspeed);
  Serial.println(" m/s");
  delay(1000);  //wait for 1 second
}

float convertToAirspeed(int sensorValue) {
  //conversion formula based on sensor datasheet
  return 0.25 * (sensorValue - 1023) + 500;
}
Upload the code to your Arduino board using the USB cable and open the Serial Monitor in the Arduino IDE to see the airspeed values being printed.
Conclusion
Interfacing an airspeed sensor with Arduino is a rewarding project that combines elements of electronics and aeronautics. By following the steps outlined in this article, you can create a functioning airspeed measurement device and learn valuable skills along the way. Happy flying!