How to Interface a Differential Pressure Sensor?
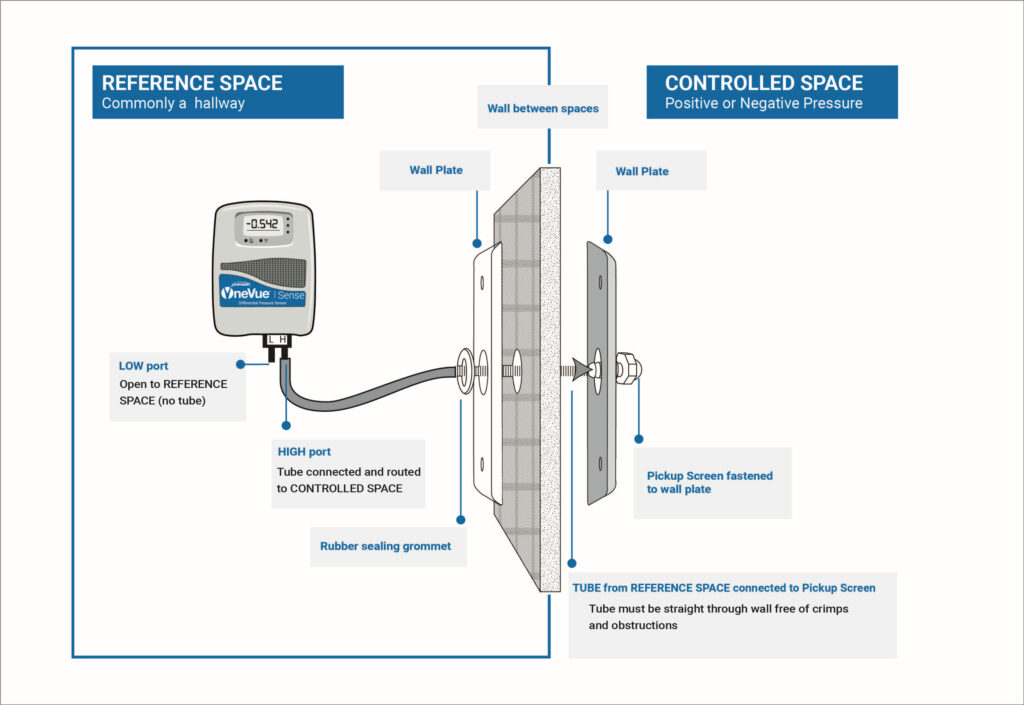
Interfacing a differential pressure sensor is a crucial step in many engineering applications, especially in industries like HVAC, automotive, and aerospace. These sensors are designed to measure the difference in pressure between two points, providing valuable data for various processes.
Whether you are a seasoned engineer or a beginner in the field, understanding how to interface a differential pressure sensor is essential. In this article, we will discuss the basics of interfacing these sensors and provide step-by-step guidance to help you achieve accurate and reliable measurements.
Step 1: Choose the Right Sensor
The first step in interfacing a differential pressure sensor is to choose the right sensor for your application. Consider factors such as the pressure range, accuracy, output signal, and environmental conditions. Make sure the sensor meets the requirements of your project before proceeding to the next steps.
Step 2: Understand the Sensor’s Specifications
Once you have selected a sensor, it is crucial to understand its specifications. Familiarize yourself with the sensor’s sensitivity, response time, temperature range, and output signal type. This will help you configure the sensor properly and ensure accurate measurements.
Step 3: Power the Sensor
Before interfacing the sensor, make sure to provide the necessary power supply. Most differential pressure sensors require a specific voltage to operate correctly. Refer to the sensor’s datasheet for the voltage requirements and connect the power supply accordingly.
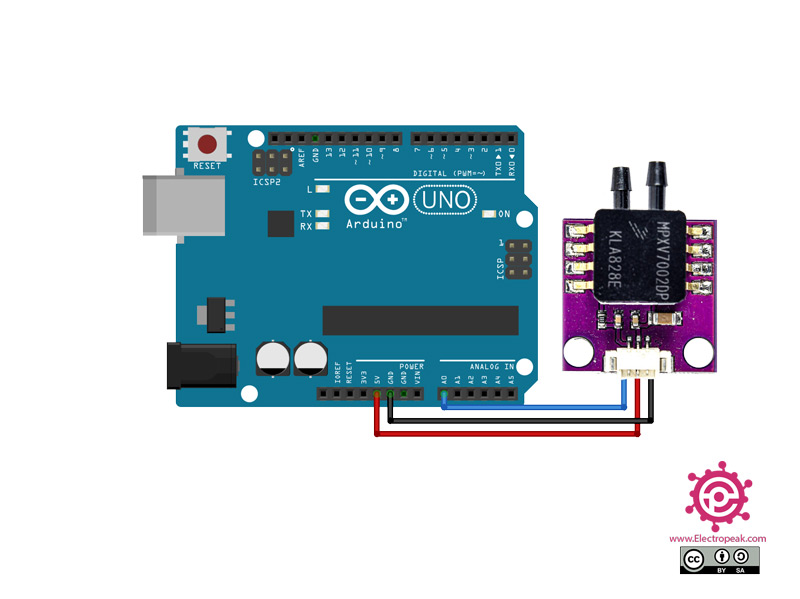
Step 4: Connect the Sensor to a Microcontroller
To interface the sensor with a microcontroller, connect the sensor’s output pins to the microcontroller’s analog or digital input pins. Make sure to follow the pinout information provided in the sensor’s datasheet. Additionally, consider using signal conditioning circuits to improve the accuracy of the measurements.
Step 5: Calibrate the Sensor
Calibrating the sensor is crucial to ensure accurate and consistent measurements. Use a calibration setup to apply known pressure levels to the sensor and compare the output readings. Adjust the sensor’s settings as needed to achieve reliable data output.
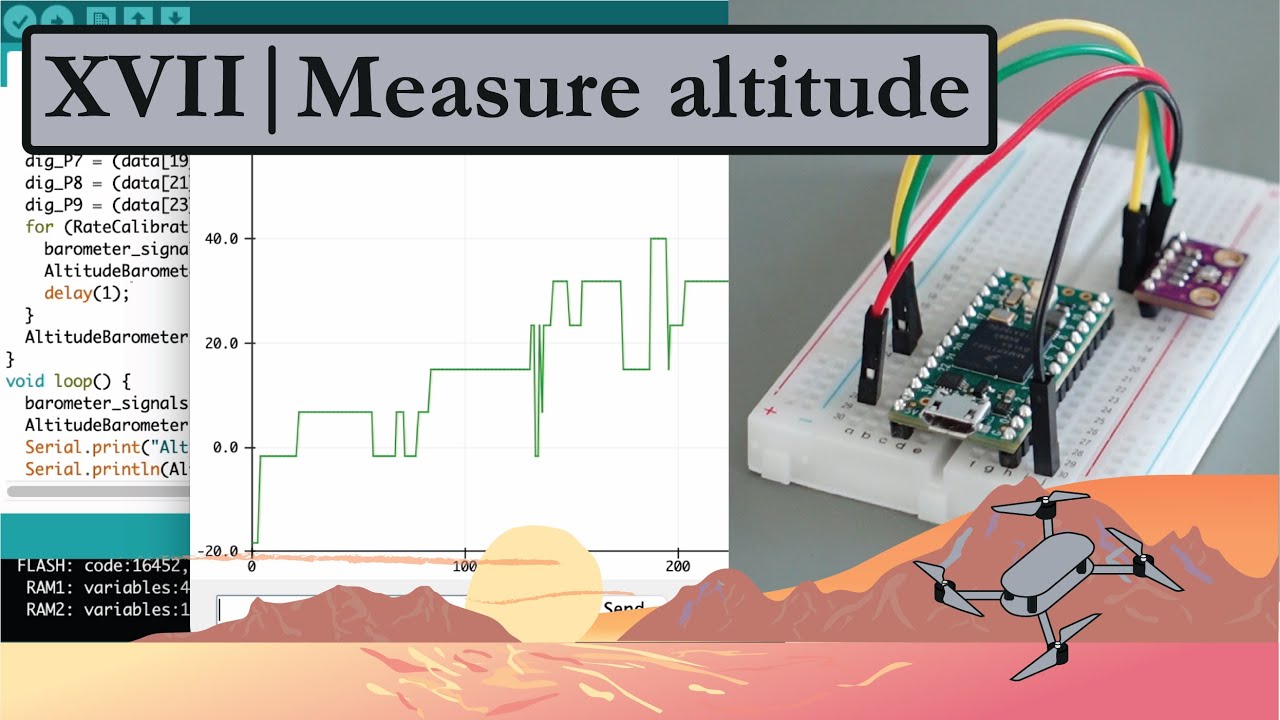
Step 6: Read and Interpret the Sensor Data
Once the sensor is interfaced and calibrated, it is time to read and interpret the sensor data. Use the microcontroller to read the sensor’s output and convert it into meaningful pressure values. Implement data processing algorithms to analyze the data and extract valuable insights for your application.
Step 7: Troubleshooting and Optimization
If you encounter any issues with the sensor readings or data interpretation, troubleshoot the system to identify the root cause. Check for loose connections, incorrect wiring, or environmental factors affecting the sensor’s performance. Optimize the system parameters for improved accuracy and reliability.
Conclusion
Interfacing a differential pressure sensor may seem challenging, but with the right approach and guidance, you can achieve accurate and reliable measurements for your projects. By following the steps outlined in this article and leveraging the sensor’s specifications, you can effectively interface the sensor and extract valuable data for your applications.
Remember to choose the right sensor, understand its specifications, power the sensor correctly, connect it to a microcontroller, calibrate it, read and interpret the data, and troubleshoot any issues that arise. With careful attention to detail and a systematic approach, you can successfully interface a differential pressure sensor and enhance the performance of your engineering projects.
How to Interface a Differential Pressure Sensor?
Interfacing a differential pressure sensor is a crucial step in many engineering applications, especially in industries like HVAC, automotive, and aerospace. These sensors are designed to measure the difference in pressure between two points, providing valuable data for various processes.
Whether you are a seasoned engineer or a beginner in the field, understanding how to interface a differential pressure sensor is essential. In this article, we will discuss the basics of interfacing these sensors and provide step-by-step guidance to help you achieve accurate and reliable measurements.
Step 1: Choose the Right Sensor
The first step in interfacing a differential pressure sensor is to choose the right sensor for your application. Consider factors such as the pressure range, accuracy, output signal, and environmental conditions. Make sure the sensor meets the requirements of your project before proceeding to the next steps.
Step 2: Understand the Sensor’s Specifications
Once you have selected a sensor, it is crucial to understand its specifications. Familiarize yourself with the sensor’s sensitivity, response time, temperature range, and output signal type. This will help you configure the sensor properly and ensure accurate measurements.
Step 3: Power the Sensor
Before interfacing the sensor, make sure to provide the necessary power supply. Most differential pressure sensors require a specific voltage to operate correctly. Refer to the sensor’s datasheet for the voltage requirements and connect the power supply accordingly.
Step 4: Connect the Sensor to a Microcontroller
To interface the sensor with a microcontroller, connect the sensor’s output pins to the microcontroller’s analog or digital input pins. Make sure to follow the pinout information provided in the sensor’s datasheet. Additionally, consider using signal conditioning circuits to improve the accuracy of the measurements.
Step 5: Calibrate the Sensor
Calibrating the sensor is crucial to ensure accurate and consistent measurements. Use a calibration setup to apply known pressure levels to the sensor and compare the output readings. Adjust the sensor’s settings as needed to achieve reliable data output.
Step 6: Read and Interpret the Sensor Data
Once the sensor is interfaced and calibrated, it is time to read and interpret the sensor data. Use the microcontroller to read the sensor’s output and convert it into meaningful pressure values. Implement data processing algorithms to analyze the data and extract valuable insights for your application.
Step 7: Troubleshooting and Optimization
If you encounter any issues with the sensor readings or data interpretation, troubleshoot the system to identify the root cause. Check for loose connections, incorrect wiring, or environmental factors affecting the sensor’s performance. Optimize the system parameters for improved accuracy and reliability.
Conclusion
Interfacing a differential pressure sensor may seem challenging, but with the right approach and guidance, you can achieve accurate and reliable measurements for your projects. By following the steps outlined in this article and leveraging the sensor’s specifications, you can effectively interface the sensor and extract valuable data for your applications.
Remember to choose the right sensor, understand its specifications, power the sensor correctly, connect it to a microcontroller, calibrate it, read and interpret the data, and troubleshoot any issues that arise. With careful attention to detail and a systematic approach, you can successfully interface a differential pressure sensor and enhance the performance of your engineering projects.