How to Install a Backup Camera in a Ford Mustang
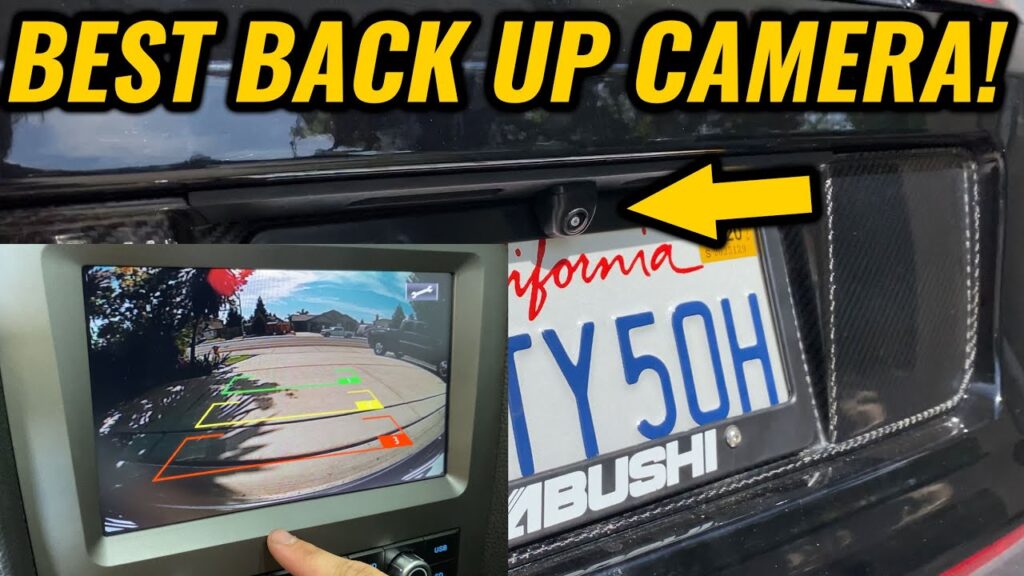
Adding a backup camera to your Ford Mustang can make parking and reversing much easier and safer. While some newer models may come with a built-in backup camera, older models may not have this feature. Fortunately, installing a backup camera in your Ford Mustang is a relatively simple process that you can do yourself with the right tools and a little bit of patience.
1. Choose the Right Backup Camera
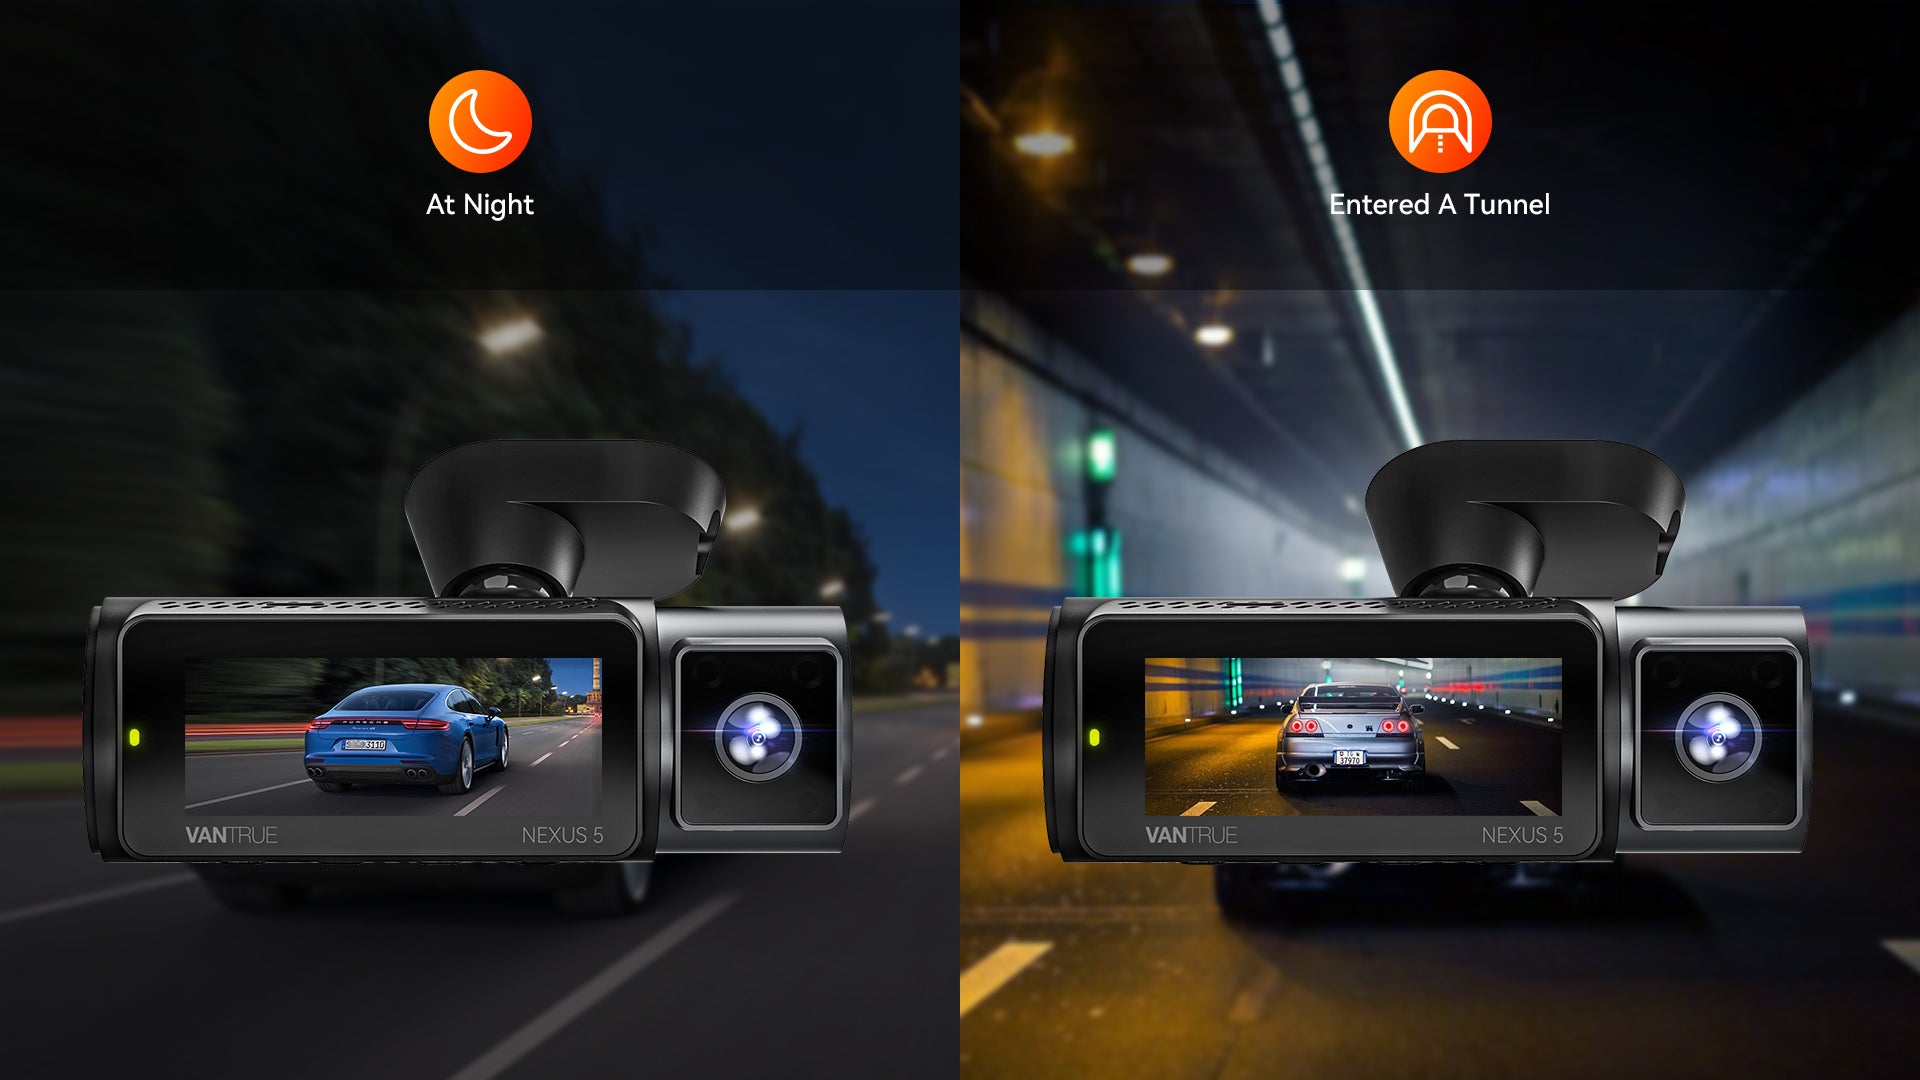
Before you begin the installation process, you’ll need to choose the right backup camera for your Ford Mustang. There are several types of backup cameras available, including license plate cameras, flush-mount cameras, and wireless cameras. Consider your budget and your specific needs when selecting a camera for your Mustang.
2. Gather the Necessary Tools
Next, gather all the necessary tools for the installation process. You will typically need a screwdriver, drill, wire strippers, electrical tape, and zip ties. Make sure you have everything you need before you begin the installation to avoid any unnecessary delays.
3. Prepare Your Ford Mustang
Before you can install the backup camera, you’ll need to prepare your Ford Mustang. Start by disconnecting the car’s battery to prevent any electrical issues. Then, remove the license plate or any existing trim to make room for the camera. Be sure to follow the manufacturer’s instructions for removing any panels or trim pieces.
4. Install the Backup Camera
Once your Mustang is prepared, you can begin installing the backup camera. Begin by mounting the camera in the desired location, typically near the license plate. Use the provided hardware to secure the camera in place. Then, run the camera’s wiring through the trunk and into the cabin of the car.
Next, connect the camera’s power cable to the car’s reverse light. This will ensure that the camera turns on when you shift into reverse. Use wire strippers to expose the wires and connect them securely using electrical tape or wire connectors. Finally, test the camera to make sure it’s working properly before reattaching any panels or trim.
5. Reassemble Your Ford Mustang
After installing the backup camera, reassemble your Ford Mustang by reattaching any panels or trim that you removed earlier. Be sure to double-check all connections and ensure that the camera is securely mounted in place. Once everything is reassembled, test the camera again to make sure it’s functioning correctly.
6. Enjoy Your New Backup Camera
With your backup camera successfully installed, you can now enjoy the added convenience and safety it provides while parking and reversing your Ford Mustang. Remember to regularly clean the camera lens to ensure optimal visibility, and consider adjusting the camera angle if necessary for the best view while backing up.
By following these simple steps, you can easily install a backup camera in your Ford Mustang and enhance your driving experience. Happy driving!


