How to Flash Tasmota on Sonoff Basic
Flashing Tasmota on a Sonoff Basic device allows you to take control of your smart home devices and customize them to your liking. In this guide, we will walk you through the process step by step.
What is Tasmota?
Tasmota is an open-source firmware that allows you to control your IoT devices without the need for cloud services. It offers many features such as MQTT support, web interface, and over-the-air updates.
Why Flash Tasmota on Sonoff Basic?
Flashing Tasmota on a Sonoff Basic device gives you full control over your device and data privacy. You can integrate it with popular smart home platforms like Home Assistant, OpenHAB, and Domoticz.
Step-by-Step Guide to Flash Tasmota on Sonoff Basic
Step 1: Gather Your Supplies
- Sonoff Basic Device
- USB-to-Serial Adapter
- Jumper wires
- Soldering iron
- Male headers
- Computer with Arduino IDE installed
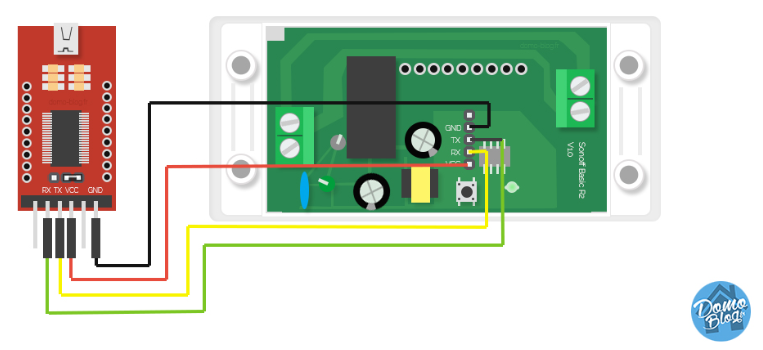
Step 2: Prepare Sonoff Basic for Flashing
Open the Sonoff Basic device by removing the four screws on the bottom. Locate the four pins on the PCB for flashing (3V3, RX, TX, GND). Solder male headers onto the pins for easy connection.
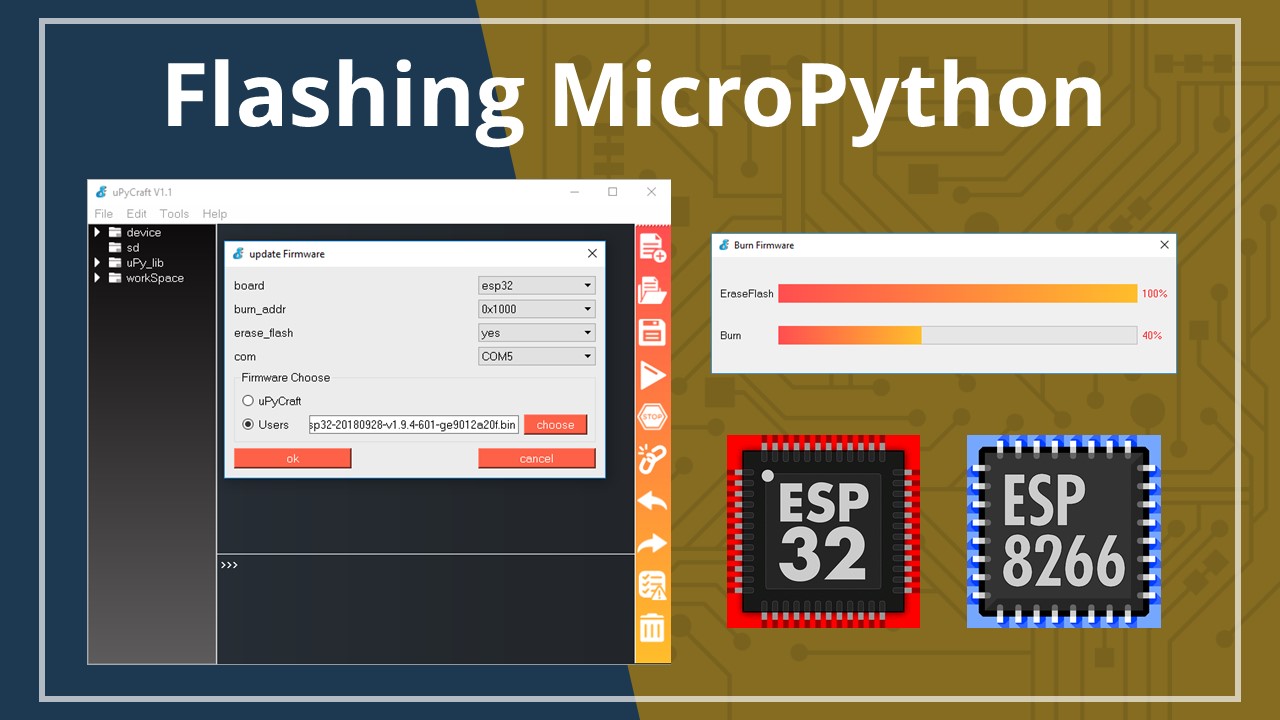
Step 3: Install Tasmota Firmware
Download the Tasmota firmware from the official website and extract it. Open the Arduino IDE and install the ESP8266 board manager. Load the firmware into the IDE and configure the settings as needed.
Step 4: Flash Tasmota onto Sonoff Basic
Connect the USB-to-Serial adapter to your computer and the Sonoff Basic device. Open Arduino IDE and select the correct COM port. Press and hold the push-button on the Sonoff Basic while powering it on to enter flash mode. Finally, upload the firmware to the device.
Step 5: Verify Tasmota Installation
Once the firmware has been uploaded, power cycle the Sonoff Basic device. Use a web browser to access the device by entering its IP address. You should see the Tasmota web interface, confirming a successful flash.
Conclusion
Congratulations! You have successfully flashed Tasmota onto your Sonoff Basic device. You can now enjoy the many features and customization options that Tasmota has to offer. Experiment with different settings and integrations to create your perfect smart home setup.
How to Flash Tasmota on Sonoff Basic
Flashing Tasmota on a Sonoff Basic device allows you to take control of your smart home devices and customize them to your liking. In this guide, we will walk you through the process step by step.
What is Tasmota?
Tasmota is an open-source firmware that allows you to control your IoT devices without the need for cloud services. It offers many features such as MQTT support, web interface, and over-the-air updates.
Why Flash Tasmota on Sonoff Basic?
Flashing Tasmota on a Sonoff Basic device gives you full control over your device and data privacy. You can integrate it with popular smart home platforms like Home Assistant, OpenHAB, and Domoticz.
Step-by-Step Guide to Flash Tasmota on Sonoff Basic
Step 1: Gather Your Supplies
- Sonoff Basic Device
- USB-to-Serial Adapter
- Jumper wires
- Soldering iron
- Male headers
- Computer with Arduino IDE installed
Step 2: Prepare Sonoff Basic for Flashing
Open the Sonoff Basic device by removing the four screws on the bottom. Locate the four pins on the PCB for flashing (3V3, RX, TX, GND). Solder male headers onto the pins for easy connection.
Step 3: Install Tasmota Firmware
Download the Tasmota firmware from the official website and extract it. Open the Arduino IDE and install the ESP8266 board manager. Load the firmware into the IDE and configure the settings as needed.
Step 4: Flash Tasmota onto Sonoff Basic
Connect the USB-to-Serial adapter to your computer and the Sonoff Basic device. Open Arduino IDE and select the correct COM port. Press and hold the push-button on the Sonoff Basic while powering it on to enter flash mode. Finally, upload the firmware to the device.
Step 5: Verify Tasmota Installation
Once the firmware has been uploaded, power cycle the Sonoff Basic device. Use a web browser to access the device by entering its IP address. You should see the Tasmota web interface, confirming a successful flash.
Conclusion
Congratulations! You have successfully flashed Tasmota onto your Sonoff Basic device. You can now enjoy the many features and customization options that Tasmota has to offer. Experiment with different settings and integrations to create your perfect smart home setup.