How to Find a Short Circuit in a PCB?
Short circuits in printed circuit boards (PCBs) are one of the common issues that electronic engineers and hobbyists encounter. A short circuit can cause various problems in a PCB, including overheating, malfunctioning components, and even damage to the entire circuit. In this article, we will discuss how to identify and locate a short circuit in a PCB effectively.
What is a Short Circuit?
A short circuit occurs when a low-resistance path is created between two points in an electrical circuit. This path allows a large current to flow, which can result in damage to components and even cause a fire. Short circuits can be caused by various factors, such as solder bridges, damaged conductive traces, and components touching each other.
Tools Needed
- Multimeter
- Schematic diagram of the PCB
- Visual inspection tools (such as a magnifying glass)
- Isopropyl alcohol and a brush
Step-by-Step Guide
Step 1: Preparation
Before starting the troubleshooting process, make sure to disconnect the power supply from the PCB to avoid any accidents. Also, gather all the necessary tools mentioned above for the process.
Step 2: Inspect the PCB
Visually inspect the PCB for any signs of damage, such as burnt components, solder bridges, or damaged traces. Use a magnifying glass if necessary to examine the PCB closely.
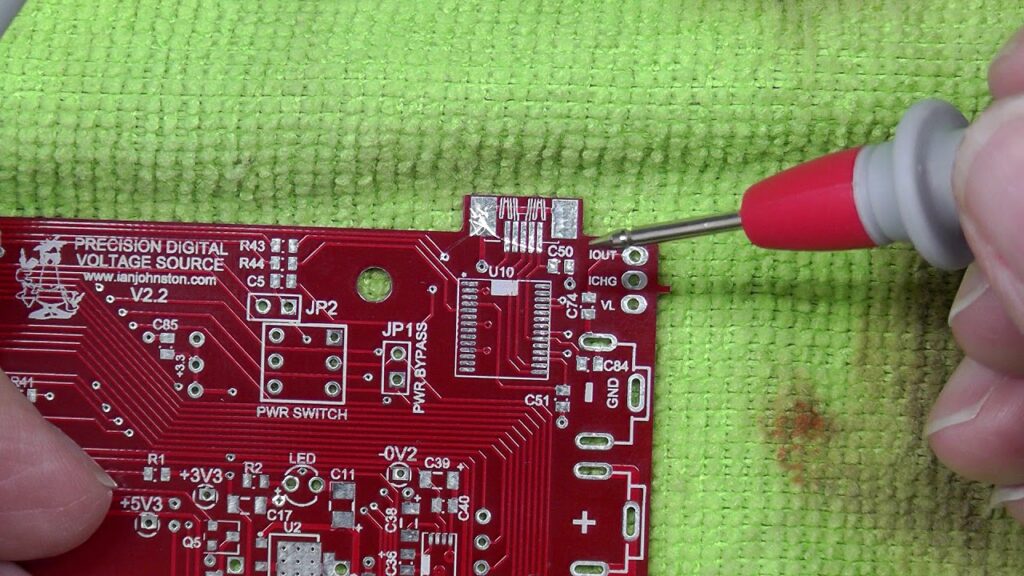
Step 3: Check for Short Circuits with a Multimeter
Set your multimeter to the continuity test mode. Touch one probe to a known good ground point on the PCB and the other probe to various points on the board. If the multimeter beeps or shows a low resistance reading, there is a short circuit at that point.
Step 4: Use the Schematic Diagram
Refer to the schematic diagram of the PCB to identify the connections between components. This will help you pinpoint the areas where a short circuit may be occurring.
Step 5: Isolate and Fix the Short Circuit
Once you have identified the short circuit, isolate the problematic area by removing components or cutting traces. Use isopropyl alcohol and a brush to clean the area and remove any flux residue.
Conclusion
Finding a short circuit in a PCB may seem like a daunting task, but with the right tools and techniques, it can be effectively identified and fixed. By following the steps outlined in this article, you can troubleshoot and repair short circuits in your PCBs with ease. Remember to always take proper precautions when working with electronic circuits to prevent any accidents.
How to Find a Short Circuit in a PCB?
Short circuits in printed circuit boards (PCBs) are one of the common issues that electronic engineers and hobbyists encounter. A short circuit can cause various problems in a PCB, including overheating, malfunctioning components, and even damage to the entire circuit. In this article, we will discuss how to identify and locate a short circuit in a PCB effectively.
What is a Short Circuit?
A short circuit occurs when a low-resistance path is created between two points in an electrical circuit. This path allows a large current to flow, which can result in damage to components and even cause a fire. Short circuits can be caused by various factors, such as solder bridges, damaged conductive traces, and components touching each other.
Tools Needed
- Multimeter
- Schematic diagram of the PCB
- Visual inspection tools (such as a magnifying glass)
- Isopropyl alcohol and a brush
Step-by-Step Guide
Step 1: Preparation
Before starting the troubleshooting process, make sure to disconnect the power supply from the PCB to avoid any accidents. Also, gather all the necessary tools mentioned above for the process.
Step 2: Inspect the PCB
Visually inspect the PCB for any signs of damage, such as burnt components, solder bridges, or damaged traces. Use a magnifying glass if necessary to examine the PCB closely.
Step 3: Check for Short Circuits with a Multimeter
Set your multimeter to the continuity test mode. Touch one probe to a known good ground point on the PCB and the other probe to various points on the board. If the multimeter beeps or shows a low resistance reading, there is a short circuit at that point.
Step 4: Use the Schematic Diagram
Refer to the schematic diagram of the PCB to identify the connections between components. This will help you pinpoint the areas where a short circuit may be occurring.
Step 5: Isolate and Fix the Short Circuit
Once you have identified the short circuit, isolate the problematic area by removing components or cutting traces. Use isopropyl alcohol and a brush to clean the area and remove any flux residue.
Conclusion
Finding a short circuit in a PCB may seem like a daunting task, but with the right tools and techniques, it can be effectively identified and fixed. By following the steps outlined in this article, you can troubleshoot and repair short circuits in your PCBs with ease. Remember to always take proper precautions when working with electronic circuits to prevent any accidents.