How to Create Nano Bugs for STEM Education?
STEM education is all about engaging students in hands-on learning experiences that help develop their critical thinking and problem-solving skills. One fun and creative way to achieve this is by creating nano bugs – tiny robotic creatures that can be programmed to perform various tasks.
Materials Needed:
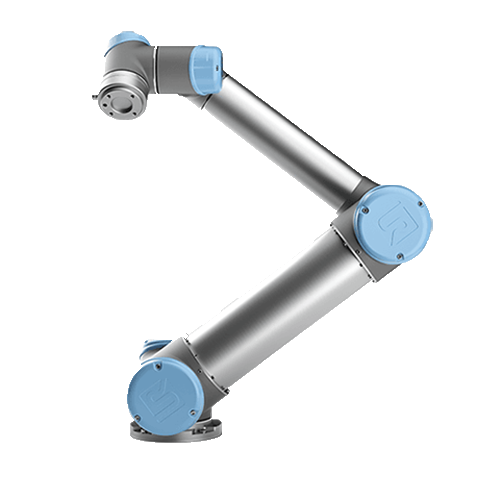
- Microcontrollers (e.g., Arduino or Raspberry Pi)
- Small motors
- LED lights
- Sensors (e.g., ultrasonic, light, temperature)
- 3D printer or other materials for bug body
- Tools for soldering and assembly
Steps to Create Nano Bugs:
Step 1: Design the Bug Body
Use a 3D modeling software to design the body of the nano bug. Consider incorporating spaces for the motors, sensors, and microcontroller.
Step 2: 3D Print the Body
Once you have the design ready, use a 3D printer to bring it to life. Make sure to print all the necessary components accurately.
Step 3: Assemble the Electronics
Solder the motors, sensors, LEDs, and microcontroller onto the bug body according to your design. Make sure all connections are secure.
Step 4: Program the Bug
Write the code to program the nano bug. You can start with simple movements and then add more complex behaviors as you progress.
Step 5: Test and Refine
Test your nano bug to see if it performs the desired tasks. If not, troubleshoot the issues and refine the design and code accordingly.
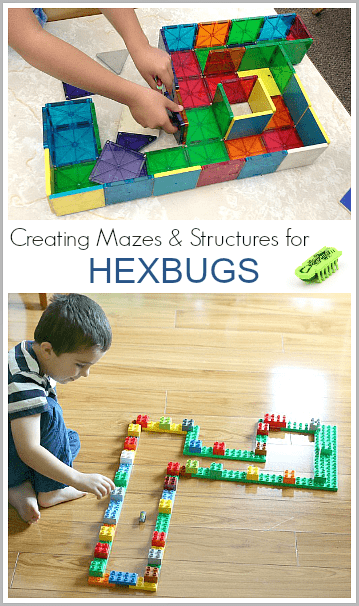
Step 6: Engage Students
Once you have a working nano bug, use it to engage students in STEM education. Encourage them to explore programming, robotics, and problem-solving through hands-on activities with the nano bug.
Creating nano bugs for STEM education can be a rewarding experience for both educators and students. It not only allows students to apply their knowledge in a practical setting but also fosters creativity and innovation. So, why not give it a try and see how nano bugs can spark curiosity and excitement in STEM learning!
How to Create Nano Bugs for STEM Education?
STEM education is all about engaging students in hands-on learning experiences that help develop their critical thinking and problem-solving skills. One fun and creative way to achieve this is by creating nano bugs – tiny robotic creatures that can be programmed to perform various tasks.
Materials Needed:
- Microcontrollers (e.g., Arduino or Raspberry Pi)
- Small motors
- LED lights
- Sensors (e.g., ultrasonic, light, temperature)
- 3D printer or other materials for bug body
- Tools for soldering and assembly
Steps to Create Nano Bugs:
Step 1: Design the Bug Body
Use a 3D modeling software to design the body of the nano bug. Consider incorporating spaces for the motors, sensors, and microcontroller.
Step 2: 3D Print the Body
Once you have the design ready, use a 3D printer to bring it to life. Make sure to print all the necessary components accurately.
Step 3: Assemble the Electronics
Solder the motors, sensors, LEDs, and microcontroller onto the bug body according to your design. Make sure all connections are secure.
Step 4: Program the Bug
Write the code to program the nano bug. You can start with simple movements and then add more complex behaviors as you progress.
Step 5: Test and Refine
Test your nano bug to see if it performs the desired tasks. If not, troubleshoot the issues and refine the design and code accordingly.
Step 6: Engage Students
Once you have a working nano bug, use it to engage students in STEM education. Encourage them to explore programming, robotics, and problem-solving through hands-on activities with the nano bug.
Creating nano bugs for STEM education can be a rewarding experience for both educators and students. It not only allows students to apply their knowledge in a practical setting but also fosters creativity and innovation. So, why not give it a try and see how nano bugs can spark curiosity and excitement in STEM learning!