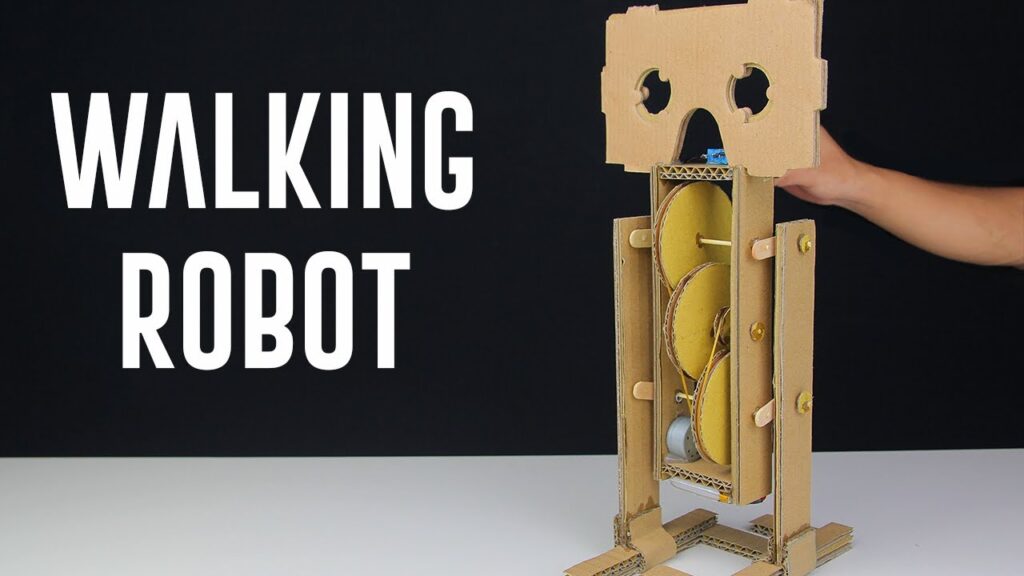
How to Build a Walking Robot from Scratch?
Building a walking robot from scratch can seem like a daunting task, but with the right guidance and a little bit of patience, it can be a rewarding experience. In this article, we will take you through the step-by-step process of building your very own walking robot. So, let’s get started!
Step 1: Designing Your Robot
The first step in building a walking robot is to come up with a design. Consider the size, shape, and materials you will use for your robot. Will it have two legs or four? Will it be made of plastic or metal? Take some time to sketch out your design and make any necessary adjustments before moving on to the next step.
Step 2: Gathering Materials
Once you have a design in mind, it’s time to gather the materials you will need to build your robot. Some common materials you may need include motors, gears, wheels, and a microcontroller. Make a list of everything you need and purchase or gather the materials before moving on to the next step.
Step 3: Building the Chassis
The chassis is the frame of your robot and is where all the components will be mounted. Using your design as a guide, start building the chassis using the materials you have gathered. Make sure to leave enough space for the electronics and other components that will be added later on.
Step 4: Adding Electronics
Once the chassis is complete, it’s time to start adding the electronics. This includes the motors, gears, wheels, and any sensors you may want to include. Connect all the components according to your design and make sure everything is secured in place.
Step 5: Programming Your Robot
Now that your robot is physically built, it’s time to program it. Depending on the microcontroller you are using, you may need to learn a new programming language. Take the time to understand the programming requirements for your robot and write the necessary code to make it walk.
Step 6: Testing and Tweaking
Once your robot is programmed, it’s time to test it out. Make sure to test it on a flat surface to start and then gradually move on to more challenging terrain. Pay attention to how your robot moves and make any necessary tweaks to improve its performance.
Step 7: Showcasing Your Robot
Congratulations! You have now built your very own walking robot from scratch. Now it’s time to showcase your creation. Whether you want to participate in a robotics competition or just show off your robot to friends and family, be proud of what you have accomplished.
Building a walking robot from scratch is no easy feat, but with the right guidance and a lot of hard work, it can be a fun and rewarding experience. So, roll up your sleeves, gather your materials, and get started on building your very own walking robot today!