Best Way to Use a Function Generator
A function generator is a versatile piece of equipment that can be used in a variety of different applications, from testing electronic circuits to generating audio signals for testing audio equipment. However, if you’re not familiar with how to use a function generator properly, it can be a bit intimidating. In this article, we’ll go over the best way to use a function generator so you can get the most out of this powerful tool.
1. Understand the Basics
Before you start using a function generator, it’s important to understand the basics of how it works. A function generator is a piece of equipment that can generate different types of waveforms, such as sine, square, and triangle waves. It also allows you to adjust the frequency, amplitude, and offset of the waveforms.
Make sure to read the user manual that came with your function generator to familiarize yourself with its specific features and capabilities.
2. Connect the Function Generator
Once you’re familiar with how the function generator works, it’s time to connect it to your circuit or device. Most function generators will have at least one output channel where you can connect a cable to your circuit or device.
Make sure to use the correct type of cable for your specific application, whether it’s a BNC cable, banana plug, or coaxial cable.
3. Set the Waveform and Frequency
After connecting the function generator, you’ll need to set the waveform and frequency that you want to generate. Most function generators will have a menu or knob that allows you to select the waveform type, such as sine, square, or triangle.
You’ll also need to set the frequency of the waveform, which dictates how many cycles the wave completes in a given time period. This is usually measured in Hertz (Hz) or kilohertz (kHz).
4. Adjust the Amplitude and Offset
Depending on your application, you may need to adjust the amplitude and offset of the waveform. The amplitude determines the strength of the signal, while the offset shifts the entire waveform up or down.
Make sure to adjust these settings carefully to avoid damaging your circuit or device.
5. Test and Troubleshoot
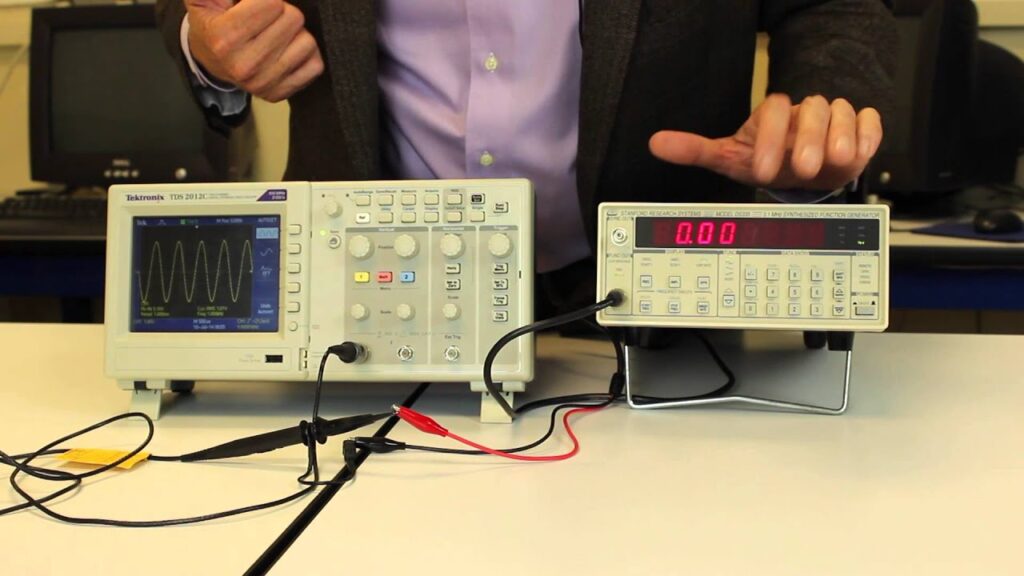
Once you’ve set up your function generator, it’s time to test your circuit or device. Use an oscilloscope or multimeter to measure the output signal and make sure it’s behaving as expected.
If you encounter any issues, refer back to the user manual for troubleshooting tips or seek help from a professional.
6. Experiment and Learn
Now that you know the basics of using a function generator, don’t be afraid to experiment and learn more about its capabilities. Try generating different waveforms, adjusting frequencies, and exploring new applications for your function generator.
Remember, practice makes perfect, so the more you use your function generator, the more comfortable you’ll become with using it.
Conclusion
Using a function generator can open up a world of possibilities in electronics testing and design. By understanding the basics of how to use a function generator and following these best practices, you’ll be able to make the most of this powerful tool and take your projects to the next level.
Best Way to Use a Function Generator
A function generator is a versatile piece of equipment that can be used in a variety of different applications, from testing electronic circuits to generating audio signals for testing audio equipment. However, if you’re not familiar with how to use a function generator properly, it can be a bit intimidating. In this article, we’ll go over the best way to use a function generator so you can get the most out of this powerful tool.
1. Understand the Basics
Before you start using a function generator, it’s important to understand the basics of how it works. A function generator is a piece of equipment that can generate different types of waveforms, such as sine, square, and triangle waves. It also allows you to adjust the frequency, amplitude, and offset of the waveforms.
Make sure to read the user manual that came with your function generator to familiarize yourself with its specific features and capabilities.
2. Connect the Function Generator
Once you’re familiar with how the function generator works, it’s time to connect it to your circuit or device. Most function generators will have at least one output channel where you can connect a cable to your circuit or device.
Make sure to use the correct type of cable for your specific application, whether it’s a BNC cable, banana plug, or coaxial cable.
3. Set the Waveform and Frequency
After connecting the function generator, you’ll need to set the waveform and frequency that you want to generate. Most function generators will have a menu or knob that allows you to select the waveform type, such as sine, square, or triangle.
You’ll also need to set the frequency of the waveform, which dictates how many cycles the wave completes in a given time period. This is usually measured in Hertz (Hz) or kilohertz (kHz).
4. Adjust the Amplitude and Offset
Depending on your application, you may need to adjust the amplitude and offset of the waveform. The amplitude determines the strength of the signal, while the offset shifts the entire waveform up or down.
Make sure to adjust these settings carefully to avoid damaging your circuit or device.
5. Test and Troubleshoot
Once you’ve set up your function generator, it’s time to test your circuit or device. Use an oscilloscope or multimeter to measure the output signal and make sure it’s behaving as expected.
If you encounter any issues, refer back to the user manual for troubleshooting tips or seek help from a professional.
6. Experiment and Learn
Now that you know the basics of using a function generator, don’t be afraid to experiment and learn more about its capabilities. Try generating different waveforms, adjusting frequencies, and exploring new applications for your function generator.
Remember, practice makes perfect, so the more you use your function generator, the more comfortable you’ll become with using it.
Conclusion
Using a function generator can open up a world of possibilities in electronics testing and design. By understanding the basics of how to use a function generator and following these best practices, you’ll be able to make the most of this powerful tool and take your projects to the next level.