Best Way to Make a Sound-Activated Switch
Are you tired of fumbling for the light switches in the dark? Or maybe you want to impress your friends with a cool gadget at your next party? Whatever the reason, creating a sound-activated switch can be a fun and practical DIY project. In this article, we will discuss the best way to make a sound-activated switch that is both efficient and easy to build.
Materials Needed
- 1. Microphone Module
- 2. Relay Module
- 3. Arduino Uno
- 4. Breadboard
- 5. Jumper Wires
- 6. LED Lights
- 7. Resistors
- 8. Power Supply
Step 1: Setting Up the Circuit
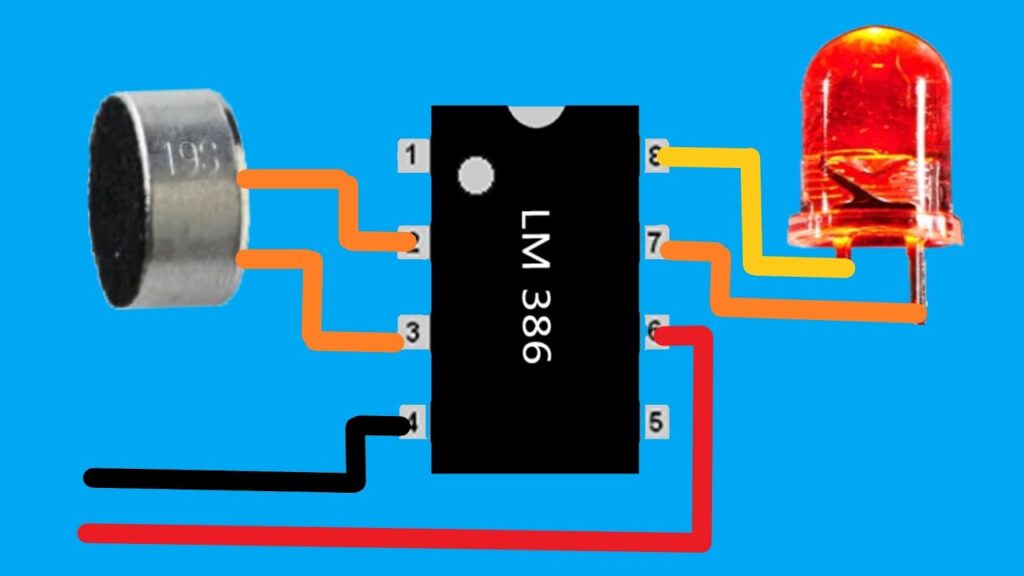
The first step in making a sound-activated switch is to set up the circuit. Connect the microphone module to the Arduino Uno using jumper wires. Then, connect the relay module to the Arduino Uno as well. Make sure to follow the wiring diagram that comes with your microphone and relay modules to ensure proper connection.
Step 2: Writing the Code
Next, you will need to write the code that will activate the switch when a sound is detected. You can use the Arduino IDE to write and upload the code to your Arduino Uno. Here is a sample code snippet to get you started:
int microphonePin = A0;
int threshold = 500;
boolean soundDetected = false;
int relayPin = 12;

void setup() {
  pinMode(microphonePin, INPUT);
  pinMode(relayPin, OUTPUT);
  Serial.begin(9600);
}

void loop() {
  int sensorValue = analogRead(microphonePin);
  if (sensorValue > threshold) {
    soundDetected = true;
  } else {
    soundDetected = false;
  }
  if (soundDetected) {
    digitalWrite(relayPin, HIGH);
    delay(1000);
    digitalWrite(relayPin, LOW);
  }
  delay(100);
}
Step 3: Testing the Switch
After uploading the code to your Arduino Uno, it’s time to test the sound-activated switch. Clap your hands or make a loud noise near the microphone module. If everything is connected correctly, the LED lights should turn on when a sound is detected. You can adjust the threshold value in the code to make the switch more or less sensitive to sound.
Conclusion
Creating a sound-activated switch is a fun and useful project that can be easily customized to fit your needs. Whether you want to control your lights, music, or any other electronic device, a sound-activated switch can add some excitement to your daily routine. So gather your materials, follow the steps outlined in this article, and get ready to impress everyone with your DIY skills!


