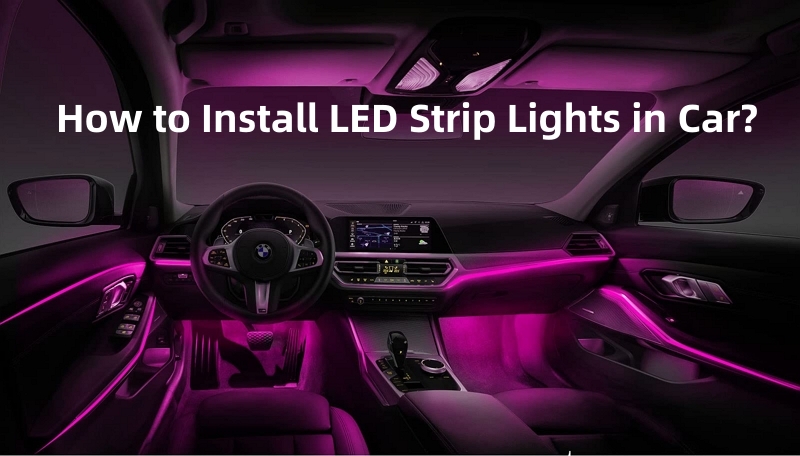
Best Way to Install an LED Strip Under a Car
Adding LED strips under your car can instantly enhance its aesthetic appeal and make it stand out from the crowd. Whether you want to give your vehicle a unique look, improve visibility in low-light conditions, or simply add a touch of personalization, installing LED strips is a great way to achieve all of these goals.
However, installing LED strips under a car may seem like a daunting task if you’re not familiar with the process. In this article, we’ll guide you through the best way to install LED strips under your car to ensure a seamless and professional-looking result.
Choose the Right LED Strips
Before you begin the installation process, it’s important to choose the right LED strips for your car. LED strips come in various colors, lengths, and features, so make sure to select a product that suits your preferences and needs. Additionally, opt for LEDs that are waterproof and durable to withstand the harsh conditions under your car.
Prepare the Installation Area
Once you’ve selected the LED strips, the next step is to prepare the installation area. Clean the underside of your car thoroughly to remove any dirt, debris, or grease that may hinder the adhesion of the LED strips. Make sure the surface is dry before proceeding with the installation.
Secure the LED Strips
Start by measuring the length of the area where you want to install the LED strips. Cut the LED strips to the appropriate size using scissors or a utility knife. Peel off the backing of the LED strips to reveal the adhesive side and carefully attach them to the underside of your car. Press firmly to ensure a strong bond.
When securing the LED strips, avoid placing them near any hot or moving parts of your car to prevent damage. Instead, aim for a location that offers maximum visibility and protection from external elements.
Connect the Wiring
After securing the LED strips in place, it’s time to connect the wiring. Depending on the type of LED strips you’ve chosen, you may need to connect them to a power source or controller. Follow the manufacturer’s instructions carefully to ensure the wiring is connected correctly and securely.
It’s recommended to use wire loom or cable ties to secure the wiring and protect it from potential damage. Make sure the connections are water-resistant to prevent any issues due to exposure to moisture.
Test the LED Strips
Before finalizing the installation, test the LED strips to ensure they are functioning properly. Turn on the power source and check that all the LEDs illuminate evenly and without flickering. Make any necessary adjustments before securing the wiring and completing the installation.
Final Touches
Once you’ve confirmed that the LED strips are working correctly, it’s time to make some final touches to enhance the overall look. Consider adding a diffuser or cover to protect the LEDs and create a more uniform and professional appearance.
You can also customize the LED strips with a remote control or app to adjust the colors, brightness, and patterns according to your preferences. Get creative and showcase your unique style by personalizing the LED strips to make your car truly one-of-a-kind.
Conclusion
Installing LED strips under a car is a fun and rewarding project that can transform the look of your vehicle in no time. By following these steps and taking the necessary precautions, you can achieve a professional and eye-catching result that will make your car stand out on the road.


