How to Replace the Touchscreen in a Tesla Model 3
Are you having issues with the touchscreen in your Tesla Model 3? Whether it’s not responding to touch, displaying strange colors, or completely blacked out, a malfunctioning touchscreen can be frustrating. Instead of bringing your car to the dealership and spending a fortune on repairs, you can actually replace the touchscreen yourself with a little know-how and some tools.
Here’s a step-by-step guide on how to replace the touchscreen in your Tesla Model 3:
Step 1: Gather the Necessary Tools
- Tesla Model 3 touchscreen replacement kit (available online)
- Plastic pry tool
- Torx screwdriver set
- Microfiber cloth
Step 2: Turn Off the Car and Disconnect the Battery
Before you start working on the touchscreen, make sure to turn off your Tesla Model 3 and disconnect the battery to prevent any electrical mishaps.
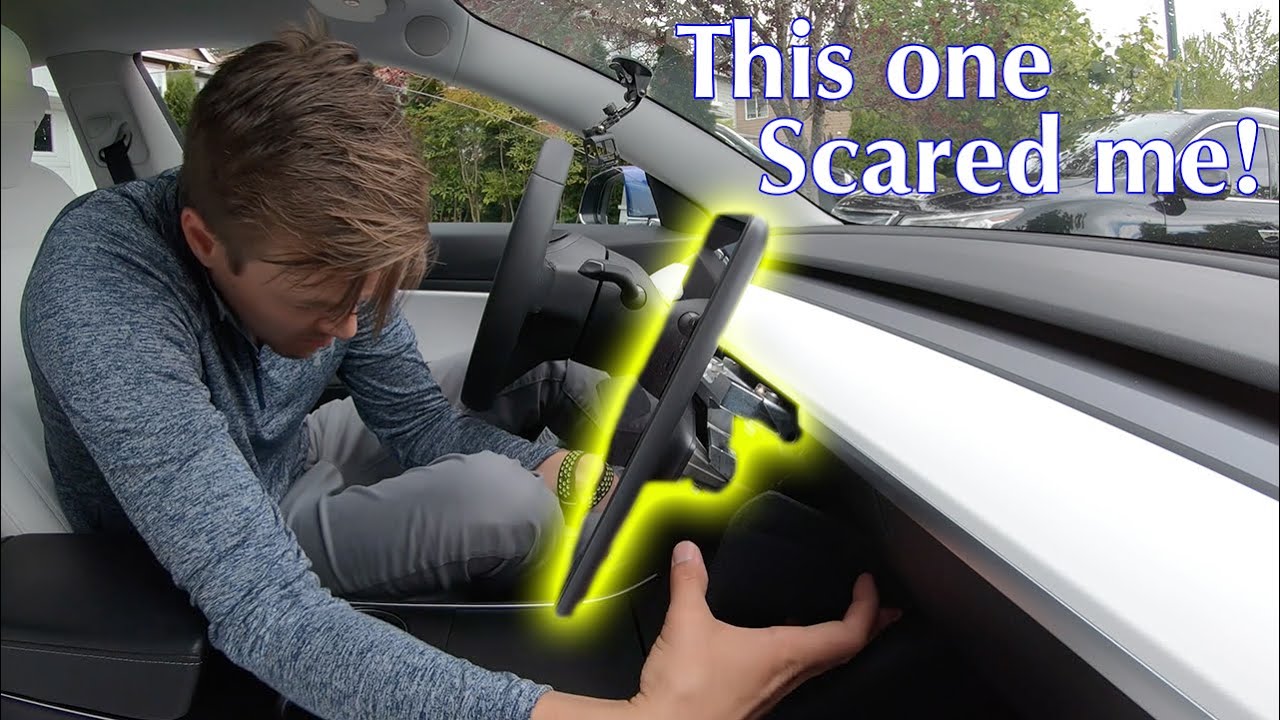
Step 3: Remove the Trim Panel
Using the plastic pry tool, carefully remove the trim panel surrounding the touchscreen. Be gentle to avoid damaging the trim or the touchscreen itself.
Step 4: Unscrew the Touchscreen
Using the Torx screwdriver set, unscrew the bolts holding the touchscreen in place. Keep track of the screws to make reassembly easier.
Step 5: Disconnect the Cables
Carefully disconnect the cables attached to the touchscreen, including the power and data cables. Be gentle and take your time to avoid damaging any components.
Step 6: Install the New Touchscreen
Once the old touchscreen is removed, carefully install the new touchscreen in its place. Make sure all cables are connected securely and the bolts are tightened properly.
Step 7: Reassemble the Trim Panel
Once the new touchscreen is in place, reattach the trim panel using the plastic pry tool. Make sure it is securely in place before moving on.
Step 8: Reconnect the Battery and Test the Touchscreen
Before closing everything up, reconnect the battery and turn on the car to test the new touchscreen. Make sure it responds to touch and displays correctly before finishing up.
By following these steps, you can save money and replace the touchscreen in your Tesla Model 3 on your own. If you’re not comfortable with DIY repairs, it’s always best to consult with a professional technician to ensure the job is done correctly. But with a little patience and the right tools, you can have your touchscreen working like new in no time!
Was this helpful?
0 / 0