Best Way to Wire a Dash Cam in a Hyundai Tucson
Are you looking to install a dash cam in your Hyundai Tucson? Worried about where to wire it or how to do it properly? Look no further, as we have got you covered! In this article, we will guide you through the best way to wire a dash cam in your Hyundai Tucson to ensure a seamless and safe installation process.
Having a dash cam installed in your car can provide you with peace of mind and security, especially in the event of an accident or any unforeseen incidents on the road. By following these simple steps, you can easily wire a dash cam in your Hyundai Tucson without any hassle.
Step 1: Choose the Right Dash Cam
The first step in wiring a dash cam in your Hyundai Tucson is to choose the right dash cam for your needs. Consider factors such as video quality, storage capacity, and additional features like GPS and parking mode. Make sure to purchase a dash cam that is compatible with your Hyundai Tucson and meets all your requirements.
Step 2: Find a Suitable Mounting Location
Once you have chosen the right dash cam, the next step is to find a suitable mounting location inside your Hyundai Tucson. The ideal location for mounting a dash cam is behind the rearview mirror, where it is less likely to obstruct your view while driving. Make sure to mount the dash cam securely to prevent any vibrations or shaking while on the road.
Step 3: Locate the Fuse Box
In order to wire the dash cam properly, you will need to locate the fuse box in your Hyundai Tucson. The fuse box is usually located under the dashboard or in the engine compartment. Use a fuse tap to connect the dash cam to a fuse that is only powered when the ignition is on to avoid draining your car’s battery.
Step 4: Connect the Dash Cam to the Fuse Box
Now that you have located the fuse box, it’s time to connect the dash cam to the fuse box using the fuse tap. Make sure to connect the positive wire from the dash cam to the positive terminal of the fuse tap and the negative wire to the negative terminal. Double-check the connections to ensure that they are secure and properly insulated to prevent any electrical issues.
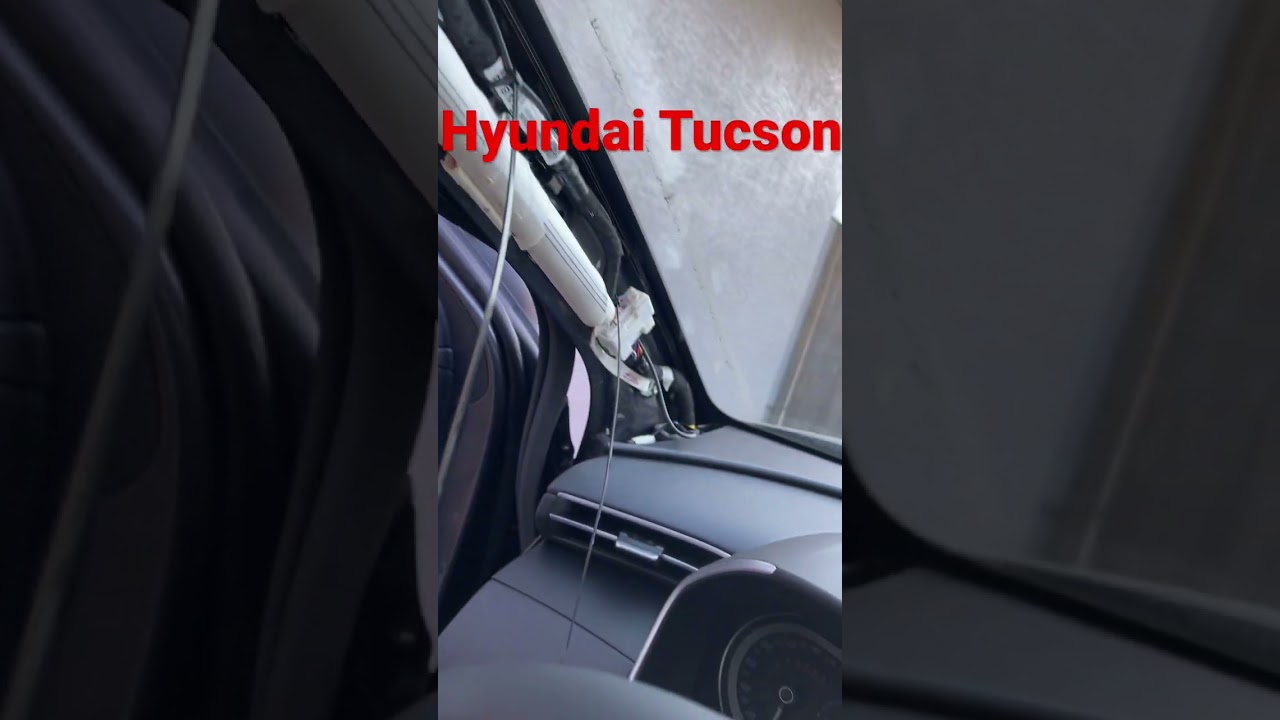
Step 5: Hide the Wires
After connecting the dash cam to the fuse box, it’s important to hide the wires to achieve a clean and professional installation. Secure the wires along the edges of the windshield and the A-pillar using cable clips or adhesive tape. Make sure to tuck the wires away neatly to avoid any distractions while driving.
Step 6: Test the Dash Cam
Once you have wired the dash cam and hidden the wires, it’s time to test the dash cam to ensure that it is functioning properly. Turn on the ignition of your Hyundai Tucson and check if the dash cam powers on automatically. Test the recording and playback functions to make sure that everything is working as it should.
Congratulations! You have successfully wired a dash cam in your Hyundai Tucson. By following these simple steps, you can enjoy the benefits of having a dash cam installed in your car and drive with confidence knowing that you have an extra layer of security on the road.
Remember to regularly check and maintain your dash cam to ensure optimal performance. Stay safe and happy driving!
Was this helpful?
0 / 0