How to Upgrade a Car Battery in a Tesla Model X
Upgrading the car battery in your Tesla Model X can be a daunting task, but with the right knowledge and tools, it can be done efficiently and safely. Whether you’re looking to increase your vehicle’s range or simply replace an old battery, this guide will walk you through the steps of upgrading the battery in your Tesla Model X.
Step 1: Gather the necessary tools
Before you begin the upgrade process, make sure you have all the necessary tools on hand. You will need safety gloves, a socket wrench set, a torque wrench, and a new Tesla Model X car battery.
Step 2: Safety first
Before you start working on your Tesla Model X, it’s essential to ensure your safety. Make sure the vehicle is turned off, and the battery is disconnected before you begin any work.
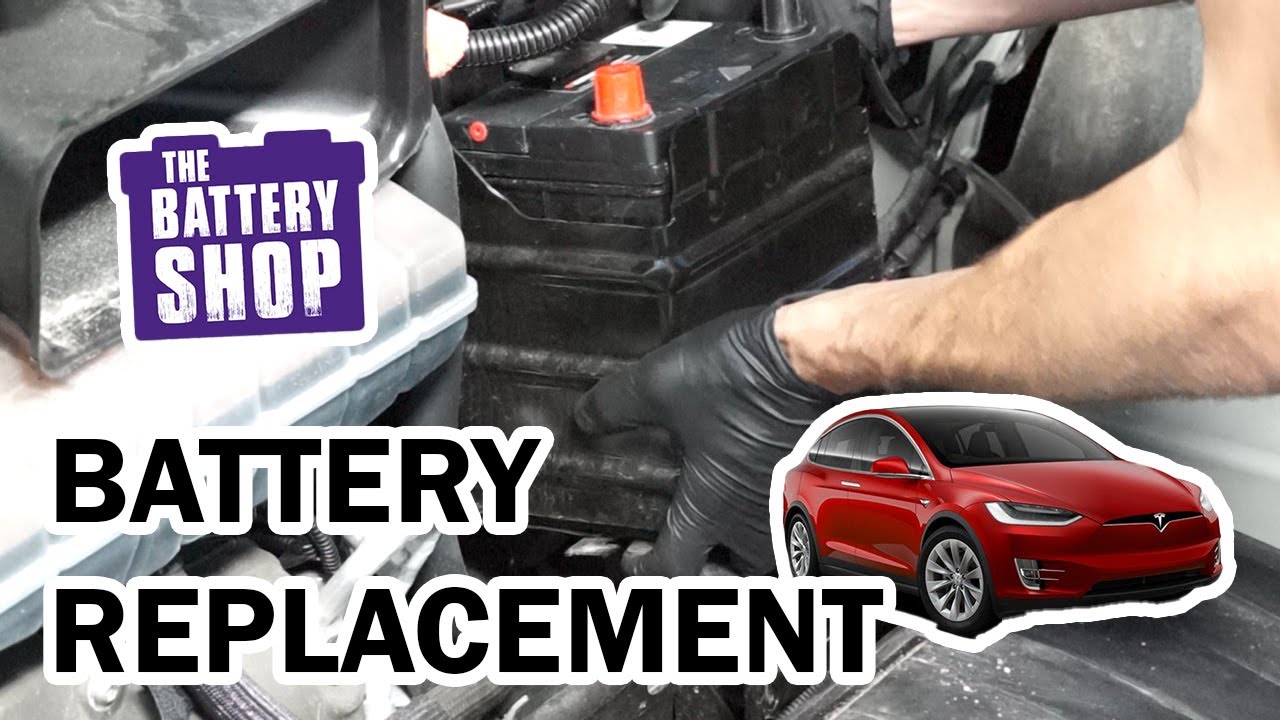
Step 3: Remove the old battery
Using a socket wrench set, carefully remove the old battery from your Tesla Model X. Make sure to follow the manufacturer’s instructions to avoid damaging any components of the vehicle.
Step 4: Install the new battery
Once you have successfully removed the old battery, it’s time to install the new one. Carefully place the new Tesla Model X car battery into the designated area and secure it in place using a torque wrench.
Step 5: Reconnect the battery
After securing the new battery, reconnect it to your Tesla Model X. Make sure all connections are secure before turning the vehicle back on to test the new battery.
Step 6: Test the battery
Start your Tesla Model X and ensure that the new battery is functioning correctly. Monitor the battery’s performance to ensure it meets your expectations.
Step 7: Enjoy your upgraded car battery
Congratulations! You have successfully upgraded the car battery in your Tesla Model X. Enjoy increased range and enhanced performance on your next drive.
Remember, always consult a professional if you are unsure about any step of the process. Safety should always be your top priority when working on your vehicle’s battery.
Was this helpful?
0 / 0