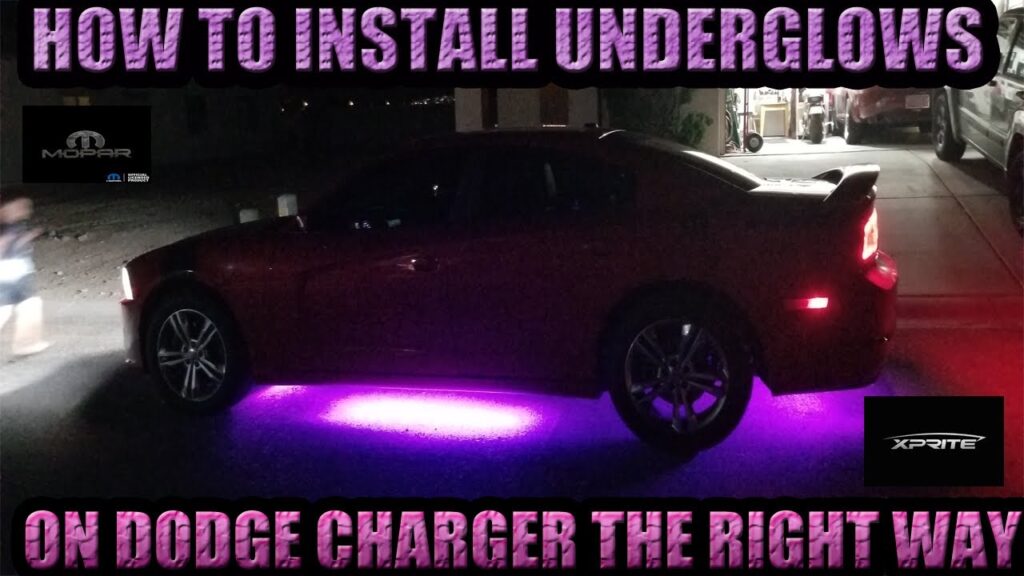
How to Install Underglow Lights on a Dodge Charger
Underglow lights are a fun and stylish way to add some flair to your Dodge Charger. Whether you’re looking to turn heads at a car show or just want to give your ride a unique look, installing underglow lights is a relatively simple process that you can do yourself with some basic tools and a little bit of know-how.
Below, we’ll walk you through the step-by-step process of installing underglow lights on your Dodge Charger. Let’s get started!
Step 1: Gather Your Materials
Before you begin, make sure you have all the necessary materials on hand. You’ll need underglow lights (available at most auto parts stores or online), a screwdriver, wire strippers, electrical tape, zip ties, and a power source for the lights.
Step 2: Find a Suitable Mounting Location
Choose a location under your Dodge Charger where you want to mount the underglow lights. Make sure it’s a flat, clean surface that won’t interfere with any moving parts or get in the way of airflow to the engine.
Many Dodge Charger owners choose to mount their underglow lights along the frame or under the side skirts for a sleek and subtle look. However, feel free to get creative and find a location that suits your style!
Step 3: Install the Lights
Using the screwdriver, attach the underglow lights to the mounting location you’ve chosen. Make sure the lights are securely fastened and won’t come loose while driving.
Once the lights are mounted, use the wire strippers to expose a small amount of wire on both the positive and negative leads of the lights. Connect the positive lead to the power source and the negative lead to the ground.
Secure the connections with electrical tape and zip ties to ensure everything stays in place. Test the lights to make sure they’re working properly before moving on to the next step.
Step 4: Connect the Power Source
Your underglow lights will need a power source to operate. Depending on the type of lights you have, you may be able to connect them directly to your car’s battery or fuse box.
Follow the manufacturer’s instructions for connecting the lights to the power source. Make sure the connection is secure and won’t come loose while driving. Once everything is connected, test the lights again to ensure they’re working correctly.
Step 5: Enjoy Your New Underglow Lights!
Once everything is installed and working correctly, take your Dodge Charger for a spin and show off your new underglow lights! You’re sure to turn heads and make a statement wherever you go.
Remember to check your underglow lights periodically to make sure they’re still working properly and are securely mounted. With proper maintenance, your underglow lights will continue to add a touch of style to your Dodge Charger for years to come!