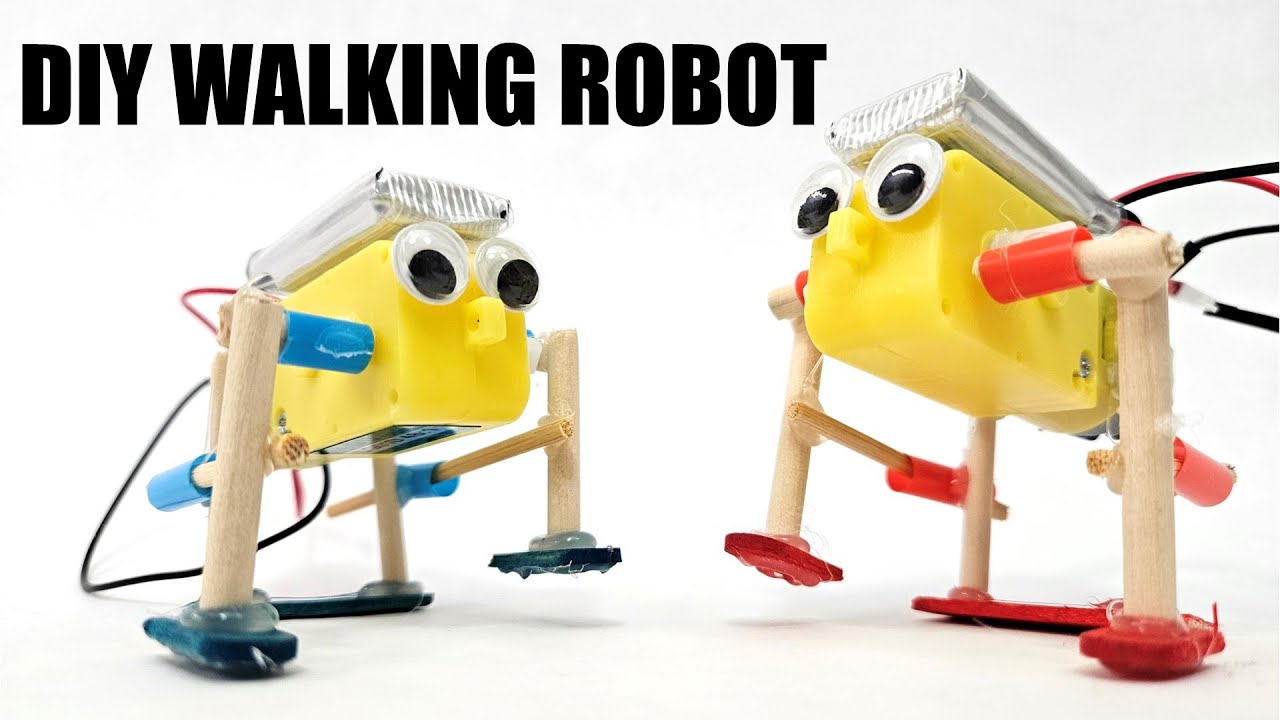
How to build a small robot for DIY experiments?
Are you a fan of robotics and eager to start building your own small robots for DIY experiments? Look no further! In this guide, we will walk you through the step-by-step process of creating a small robot from scratch. Not only is this a fun and educational project, but it will also allow you to explore the fascinating world of robotics from the comfort of your own home.
Materials needed:
- Microcontroller (e.g. Arduino Uno)
- Motor driver
- DC motors
- Wheels
- Chassis
- Sensors (e.g. ultrasonic sensor, IR sensor)
- Jumper wires
- Battery pack
- Screwdriver
Step 1: Assemble the chassis
The first step in building your small robot is to assemble the chassis. This will serve as the foundation for your robot and will hold all the necessary components in place. Follow the instructions provided with your chassis kit to put it together correctly.
Step 2: Install the wheels
Next, attach the wheels to the motors. Depending on the type of wheels and motors you have, this step may vary. Make sure the wheels are securely attached to the motor shafts to ensure smooth movement.
Step 3: Connect the motors to the motor driver
Using jumper wires, connect the DC motors to the motor driver. The motor driver will control the speed and direction of the motors, allowing your robot to move forward, backward, and turn.
Step 4: Add the microcontroller
Now it’s time to add the brains of the operation – the microcontroller. Connect the microcontroller to the motor driver and any sensors you plan to use. This will allow you to program your robot and control its behavior.
Step 5: Attach sensors
Depending on the capabilities you want your robot to have, you can attach sensors such as ultrasonic sensors or IR sensors. These sensors will help your robot detect obstacles and navigate its environment effectively.
Step 6: Power up your robot
Connect a battery pack to power up your robot. Make sure to use the correct voltage and current for your components to avoid damaging them. Once powered up, you can start testing and programming your robot to perform various tasks.
Step 7: Experiment and have fun!
Now that you have built your small robot, the possibilities are endless. Experiment with different sensors, programming techniques, and challenges to see what your robot is capable of. Whether you’re interested in robotics as a hobby or a potential career, building your small robot is a great way to start exploring this exciting field.
So there you have it – a step-by-step guide on how to build a small robot for DIY experiments. Get creative, have fun, and see what amazing things you can create with your new robotic companion!
Was this helpful?
0 / 0