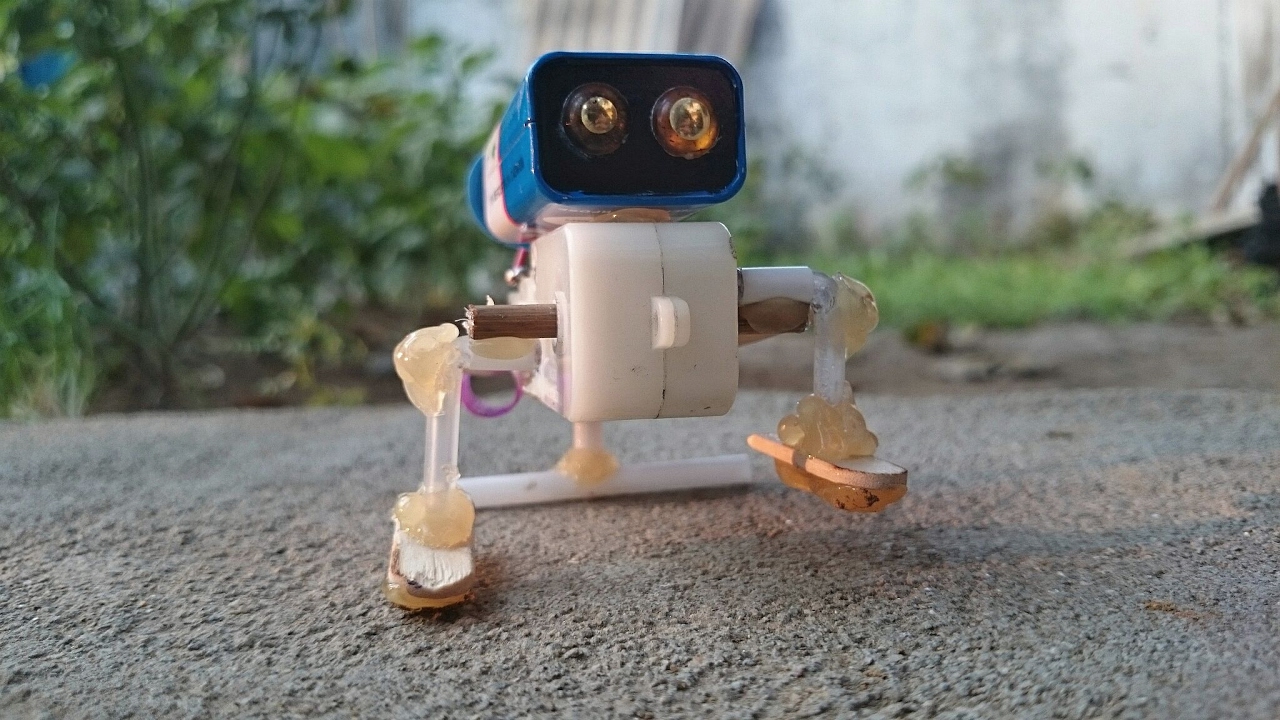
How to Build a DIY Robot from Scratch?
Building a DIY robot from scratch can be a fun and rewarding project for anyone interested in robotics and electronics. Whether you’re a beginner or an experienced hobbyist, creating your own robot allows you to customize its design and functionality to suit your needs and interests. In this guide, we’ll walk you through the steps involved in building a basic robot from scratch.
Step 1: Define Your Robot’s Purpose
The first step in building a DIY robot is to define its purpose. Are you looking to build a robot for educational purposes, entertainment, or a specific task? Understanding the intended use of your robot will help you determine the size, shape, and functionality it should have.
Step 2: Choose the Right Components
Once you have a clear idea of your robot’s purpose, it’s time to choose the right components. This includes selecting the right microcontroller, motors, sensors, and other electronic parts. Make sure to research different options and consider factors such as compatibility, power requirements, and cost.
Step 3: Design the Robot’s Body
After selecting the components, it’s time to design the robot’s body. This involves creating a chassis that will hold all the electronic components together. You can use materials such as wood, plastic, or metal to build the body, depending on your design preferences and budget.
Step 4: Assemble the Electronics
Once you have the body ready, it’s time to assemble the electronic components. This includes wiring the motors, sensors, and microcontroller according to your robot’s design. Make sure to double-check all connections to avoid any errors that could prevent your robot from functioning correctly.
Step 5: Program the Robot
After assembling the electronics, you need to program your robot to perform the desired tasks. This involves writing code that will control the motors, process sensor data, and make decisions based on input from the environment. If you’re new to programming, there are plenty of online resources and tutorials to help you get started.
Step 6: Test and Refine
Once you have programmed your robot, it’s time to test it out and make any necessary adjustments. This may involve tweaking the code, adjusting the hardware, or fine-tuning the robot’s movements. Don’t be discouraged if your robot doesn’t work perfectly on the first try – building and programming robots is a learning process that requires patience and persistence.
Step 7: Have Fun!
Building a DIY robot from scratch is a challenging but rewarding experience that can teach you valuable skills in electronics, programming, and engineering. Whether you’re building a simple line-following robot or a sophisticated humanoid robot, the process of creating something from scratch is an exciting journey that can ignite your creativity and passion for robotics.
Was this helpful?
0 / 0