How to set up the mBot Ranger for educational projects?
The mBot Ranger is a versatile educational robot that can be used for a wide range of projects in STEM education. Whether you are a teacher looking to incorporate robotics into your curriculum or a student interested in learning more about programming and electronics, the mBot Ranger is an excellent choice.
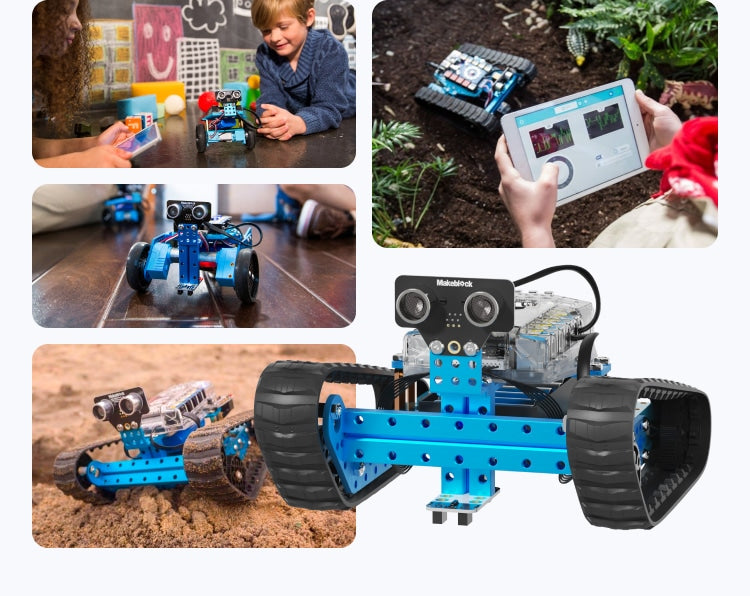
Step 1: Unboxing and Assembly
When you first receive your mBot Ranger, the first step is to unbox it and assemble the robot. Follow the instructions provided in the user manual to put together the chassis, motors, wheels, and sensors. Make sure to properly tighten all screws and connectors to ensure that the robot is sturdy and functional.
Step 2: Installing the Software
Once the mBot Ranger is assembled, the next step is to install the software on your computer. You can download the mBlock software from the official Makeblock website for free. This software is based on Scratch, a visual programming language that is easy to learn and perfect for beginners.
Step 3: Connecting the mBot Ranger
After installing the software, connect the mBot Ranger to your computer using the USB cable provided. Open the mBlock software and select the appropriate device (mBot Ranger) from the drop-down menu. Make sure that the robot is powered on and that the connection is stable before proceeding.
Step 4: Programming the mBot Ranger
Now that the mBot Ranger is connected to your computer, you can start programming it to perform various tasks. The mBlock software allows you to drag and drop blocks of code to create sequences of instructions for the robot. Experiment with different commands and sensors to see what the mBot Ranger is capable of.
Step 5: Exploring Educational Projects
Once you are familiar with programming the mBot Ranger, it’s time to explore educational projects that you can do with the robot. From obstacle courses to line-following challenges, the possibilities are endless. You can also incorporate the mBot Ranger into your school projects or robotics club activities to enhance learning and creativity.
Step 6: Sharing Your Projects
Finally, don’t forget to share your educational projects with others. Whether it’s posting your code online, presenting your robot at a school science fair, or participating in robotics competitions, sharing your work can inspire others and help you connect with like-minded individuals in the STEM community.
Conclusion
Setting up the mBot Ranger for educational projects is a rewarding experience that can help you develop valuable skills in programming, robotics, and teamwork. By following the steps outlined in this guide and exploring different projects, you can unleash the full potential of this versatile robot and take your learning to new heights.
Was this helpful?
0 / 0