How to build a Raspberry Pi robot for DIY projects?
Are you looking to get into robotics but not sure where to start? Building a Raspberry Pi robot is a great way to dive into the world of DIY projects and learn valuable skills along the way. In this article, we’ll guide you through the process of building your own Raspberry Pi robot, step by step.
Step 1: Gather your materials
- Raspberry Pi (any model will work)
- Motor controller board
- Chassis kit
- Wheels
- DC motors
- Battery pack
- Jumper wires
Step 2: Assemble the chassis
Start by assembling the chassis kit according to the instructions provided. This will give you a sturdy base for your robot to sit on and will make it easier to attach the other components.
Step 3: Connect the motors
Next, you’ll need to connect the DC motors to the motor controller board using jumper wires. Make sure to follow the wiring diagram provided with your motor controller board to ensure everything is connected correctly.
Step 4: Attach the wheels
Once the motors are connected, attach the wheels to the motor shafts. This will allow your robot to move around once everything is up and running.
Step 5: Install the Raspberry Pi
Now it’s time to install the Raspberry Pi onto the chassis. You can use mounting brackets or adhesive to secure the Raspberry Pi in place.
Step 6: Connect the motor controller to the Raspberry Pi
Using jumper wires, connect the motor controller board to the GPIO pins on the Raspberry Pi. This will allow the Raspberry Pi to control the movement of the robot.
Step 7: Add any additional components
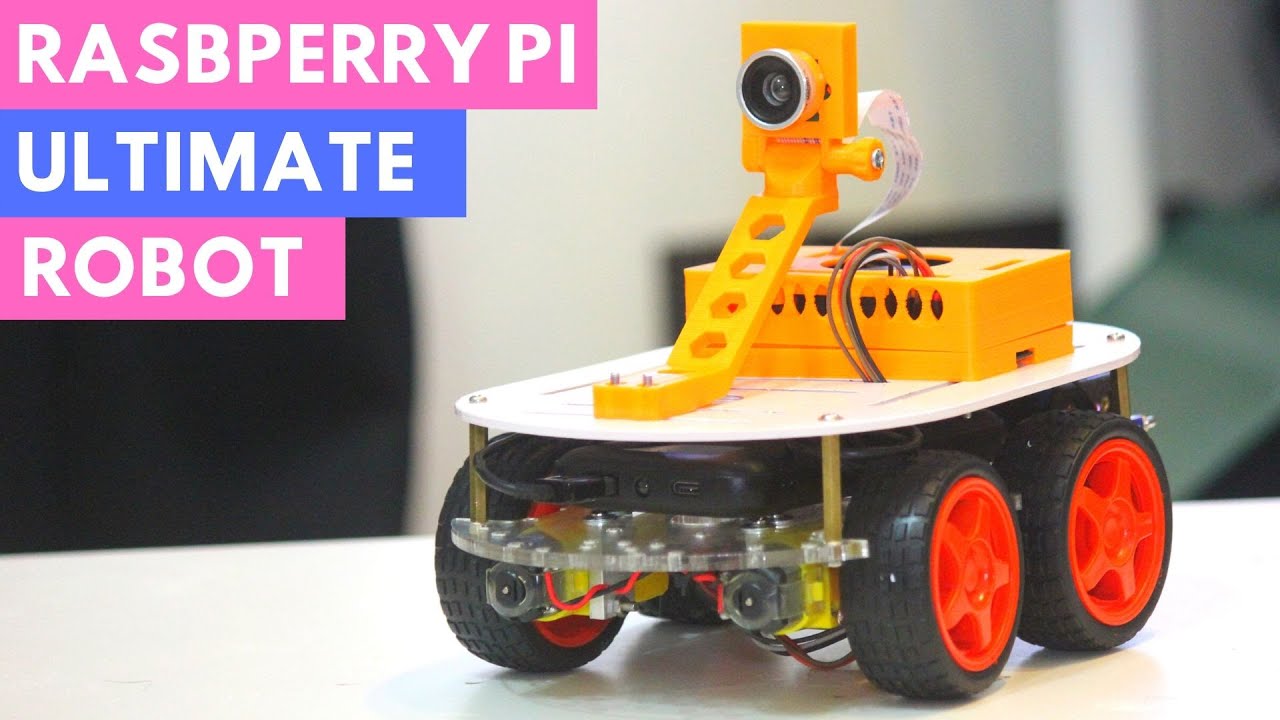
If you want to add sensors, cameras, or other components to your robot, now is the time to do so. Make sure to connect everything to the Raspberry Pi and test that it all works together seamlessly.
Step 8: Program your robot
Finally, you’ll need to program your Raspberry Pi robot to carry out specific tasks. You can use Python or any other programming language that is compatible with the Raspberry Pi to write code for your robot.
Once you’ve programmed your robot, you’re ready to start experimenting with different DIY projects. Whether you want to build a robot that can navigate a maze or one that can water your plants, the possibilities are endless!
Building a Raspberry Pi robot is a fun and rewarding way to learn about robotics and develop your skills as a maker. So why wait? Get started on your own DIY robot project today!
Was this helpful?
0 / 0