How to Configure a Bee Bot for Educational Use?
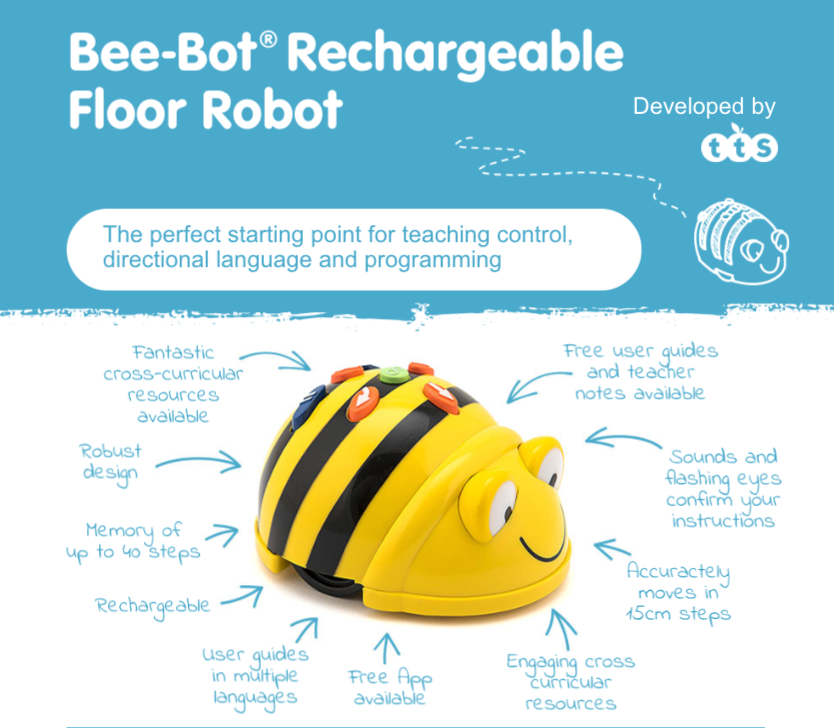
Bee Bots are a fantastic tool for introducing young learners to the basics of programming and developing their problem-solving skills. These cute, bee-shaped robots are programmable devices that can move in different directions and are perfect for classroom activities. In this article, we will guide you through the process of configuring a Bee Bot for educational use.
Step 1: Introduction to Bee Bot
Before jumping into the configuration process, it’s essential to introduce students to the Bee Bot and familiarize them with its basic functions. Show them how to turn it on/off, reset it, and how to use the directional buttons to program its movements. You can start with simple commands like moving forward, turning left/right, and using the clear button to erase the program.
Step 2: Setting Up the Bee Bot
Make sure the Bee Bot is placed on a flat surface free of obstacles to avoid any disruptions during its movement. Check that the batteries are fully charged or replace them if necessary to ensure smooth operation. You can also use a mat with grids or markings to create a structured environment for the Bee Bot to navigate.
Step 3: Programming the Bee Bot
Once students are familiar with the basic functions of the Bee Bot, encourage them to create simple programs using the directional buttons. Start with straightforward tasks like navigating through a maze or reaching a specific point on the mat. As they gain confidence, introduce more complex challenges that involve multiple steps and decision-making.
Step 4: Incorporating Educational Content
To enhance the learning experience, consider integrating educational content into the Bee Bot activities. For example, you can use math problems or spelling words as instructions for the Bee Bot to follow. This not only reinforces academic concepts but also makes programming more engaging and relevant to students’ studies.
Step 5: Reflecting and Iterating
After completing programming tasks with the Bee Bot, take time to reflect on the process with your students. Discuss what worked well, what challenges they faced, and how they can improve their programming skills. Encourage them to iterate on their programs, make adjustments, and try new approaches to problem-solving.
Step 6: Exploring Advanced Features
Once students are comfortable with the basics of programming the Bee Bot, you can introduce them to more advanced features such as loops, conditions, and functions. These concepts allow for more complex and efficient programming, challenging students to think critically and creatively to solve problems.
Step 7: Collaborative Projects
To further engage students and foster teamwork, consider assigning collaborative projects that require multiple Bee Bots to work together towards a common goal. This encourages communication, cooperation, and problem-solving skills, making the learning experience more dynamic and interactive.
Conclusion
Configuring a Bee Bot for educational use can be a fun and rewarding experience for students of all ages. By following these steps and incorporating educational content into the programming tasks, you can create a stimulating learning environment that promotes critical thinking, creativity, and collaboration. So why wait? Start configuring your Bee Bot today and watch your students’ programming skills soar to new heights!
Was this helpful?
0 / 0