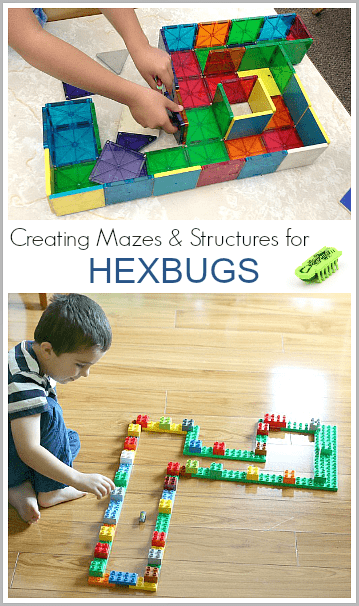
How to Create Nano Bugs for STEM Education?
STEM education is all about engaging students in hands-on learning experiences that help develop their critical thinking and problem-solving skills. One fun and creative way to achieve this is by creating nano bugs – tiny robotic creatures that can be programmed to perform various tasks.
Materials Needed:
- Microcontrollers (e.g., Arduino or Raspberry Pi)
- Small motors
- LED lights
- Sensors (e.g., ultrasonic, light, temperature)
- 3D printer or other materials for bug body
- Tools for soldering and assembly
Steps to Create Nano Bugs:
Step 1: Design the Bug Body
Use a 3D modeling software to design the body of the nano bug. Consider incorporating spaces for the motors, sensors, and microcontroller.
Step 2: 3D Print the Body
Once you have the design ready, use a 3D printer to bring it to life. Make sure to print all the necessary components accurately.
Step 3: Assemble the Electronics
Solder the motors, sensors, LEDs, and microcontroller onto the bug body according to your design. Make sure all connections are secure.
Step 4: Program the Bug
Write the code to program the nano bug. You can start with simple movements and then add more complex behaviors as you progress.
Step 5: Test and Refine
Test your nano bug to see if it performs the desired tasks. If not, troubleshoot the issues and refine the design and code accordingly.
Step 6: Engage Students
Once you have a working nano bug, use it to engage students in STEM education. Encourage them to explore programming, robotics, and problem-solving through hands-on activities with the nano bug.
Creating nano bugs for STEM education can be a rewarding experience for both educators and students. It not only allows students to apply their knowledge in a practical setting but also fosters creativity and innovation. So, why not give it a try and see how nano bugs can spark curiosity and excitement in STEM learning!
Was this helpful?
0 / 0