How to Set Up a Robot Operating System (ROS) for Your Project
Are you planning to work on a robotics project and wondering how to set up the Robot Operating System (ROS)? Setting up ROS for your project may seem like a daunting task, but with the right guidance, you can get started in no time. In this article, we will walk you through the steps to set up ROS and get your project up and running.
Step 1: Choose the Right ROS Distribution
The first step in setting up ROS is to choose the right ROS distribution for your project. ROS has different versions, each with its own set of features and compatibility. Make sure to choose the distribution that best suits your project’s requirements.
Step 2: Install ROS
Once you have selected the ROS distribution, the next step is to install ROS on your system. You can install ROS by following the official installation guide provided on the ROS website. Make sure to carefully follow the instructions to ensure a successful installation.
Step 3: Set Up the Workspace
After installing ROS, you need to set up a workspace for your project. A workspace is a directory where you will store your project’s code and packages. To set up a workspace, you can use the catkin_make command provided by ROS.
Step 4: Create a ROS Package
Once you have set up the workspace, the next step is to create a ROS package for your project. A package is a collection of files that contain the code and configuration for your project. You can create a new ROS package using the catkin_create_pkg command.
Step 5: Write Your ROS Nodes
With the workspace and package set up, you can now start writing your ROS nodes. ROS nodes are individual programs that communicate with each other to perform different tasks. Write your nodes in Python or C++ depending on your preference.
Step 6: Run Your ROS Nodes
After writing your ROS nodes, you can run them using the rosrun command provided by ROS. This command allows you to execute specific nodes within your package and observe their behavior.
Step 7: Launch Your ROS System
Once you have tested your nodes individually, you can launch your complete ROS system using launch files. Launch files allow you to start multiple nodes simultaneously and set up their communication. Create a launch file for your project and run it using the roslaunch command.
Step 8: Debug and Optimize Your ROS System
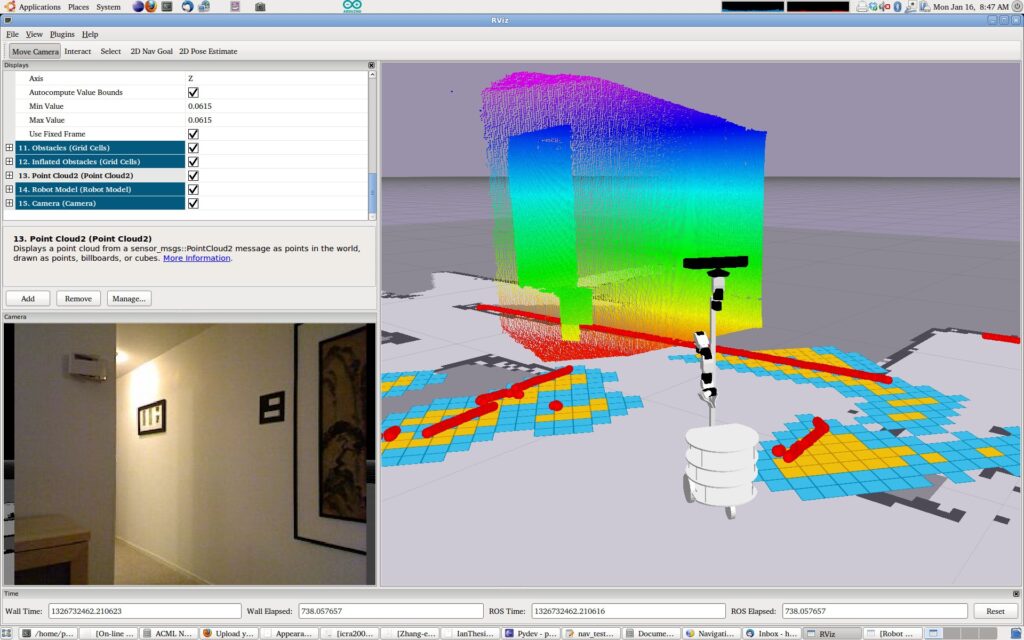
After launching your ROS system, you may encounter bugs or performance issues that need to be addressed. Use the debugging tools provided by ROS, such as rostopic and rviz, to identify and fix any issues in your system. Optimize your code for better performance and efficiency.
Conclusion
Setting up a Robot Operating System (ROS) for your project may seem challenging at first, but with the right guidance and resources, you can successfully build and run your robotics project. Follow the steps outlined in this article to set up ROS and get started with your project today. Happy robotics coding!


