Best Way to Detect Magnetic Fields with an Arduino
Are you looking to detect magnetic fields using your Arduino board? Whether you’re a beginner or an experienced maker, exploring the world of magnetism can be a fascinating and rewarding experience. In this article, we’ll discuss the best way to detect magnetic fields with an Arduino, and provide you with some tips and tricks to help you get started on your magnetic field detection journey.
Understanding Magnetic Fields
Before we delve into detecting magnetic fields with an Arduino, it’s important to understand what magnetic fields are and how they work. Magnetic fields are invisible forces that surround magnets and electric currents. They have both a magnitude and a direction, and can exert a pulling or pushing force on other magnetic materials. By detecting these magnetic fields, we can gain insights into the presence and strength of magnets or electric currents in our environment.
Using a Hall Effect Sensor
One of the most common and effective ways to detect magnetic fields with an Arduino is to use a Hall effect sensor. These sensors are designed to respond to changes in magnetic fields, and can convert these changes into electrical signals that can be read by the Arduino. By interfacing a Hall effect sensor with your Arduino board, you can easily detect the presence and strength of magnetic fields in your vicinity.
Connecting the Hall Effect Sensor to Your Arduino
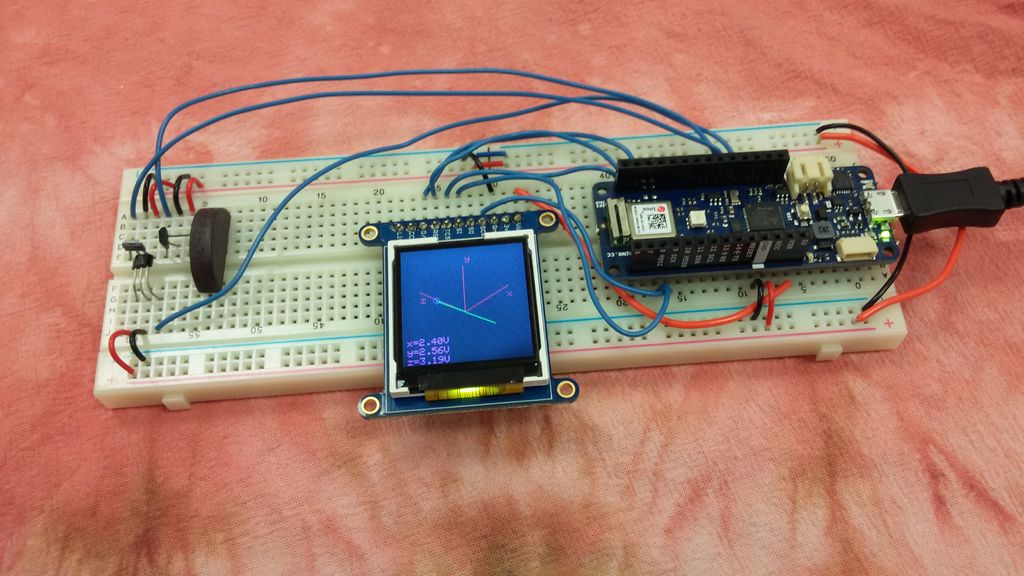
To connect a Hall effect sensor to your Arduino board, you will need to wire the sensor to the appropriate pins on the Arduino. Most Hall effect sensors have three pins: Vcc (power), GND (ground), and OUT (output). Connect the Vcc pin to the 5V pin on your Arduino, the GND pin to the GND pin, and the OUT pin to one of the digital input pins (e.g., pin 2) on your Arduino. This will allow the sensor to communicate with the Arduino and send magnetic field data to it.
Reading Magnetic Field Data
Once you’ve connected the Hall effect sensor to your Arduino, you can start reading magnetic field data. By writing a simple Arduino sketch, you can read the sensor’s output and display the magnetic field strength on a display or serial monitor. You can also set up thresholds to trigger actions when the magnetic field strength exceeds a certain value, such as turning on a buzzer or LED. The possibilities are endless when it comes to detecting magnetic fields with an Arduino!
Experimenting with Magnetic Fields
Now that you know how to detect magnetic fields with an Arduino using a Hall effect sensor, it’s time to start experimenting. Try placing different magnets or electrical devices near the sensor and observe how the magnetic field strength changes. You can also explore more advanced projects, such as building a magnetic field mapping device or creating a magnetic field detector for specific applications. The key is to have fun and learn as you explore the world of magnetism!
Conclusion
Detecting magnetic fields with an Arduino can be a rewarding and educational experience. By using a Hall effect sensor and writing simple Arduino sketches, you can easily detect and measure magnetic field strength in your environment. Whether you’re a hobbyist, student, or professional, exploring magnetic fields with an Arduino opens up a world of possibilities for creative projects and learning opportunities. So grab your Arduino board, a Hall effect sensor, and start detecting magnetic fields today!
Was this helpful?
0 / 0