How to Build a USB-Powered Circuit
Are you looking to create a simple and efficient USB-powered circuit? Well, you’re in luck! In this step-by-step guide, we will show you how to build your very own USB-powered circuit from scratch. Whether you’re a beginner or an experienced hobbyist, this article will provide you with all the information you need to get started. So, let’s dive in and get building!
Materials Needed
- USB connector
- Breadboard
- Jumper wires
- LED
- Resistor
- Switch
- Multimeter
- USB cable
Before we jump into the building process, let’s go over the basic materials you’ll need to create your USB-powered circuit. Make sure you have all the items listed above before you begin.
Step 1: Understanding USB Power
USB, or Universal Serial Bus, is a common interface used to connect various devices to a computer. USB ports provide a 5-volt power supply that can be used to power small electronic circuits. In our case, we will tap into this power supply to create our circuit.
Step 2: Connecting the Components
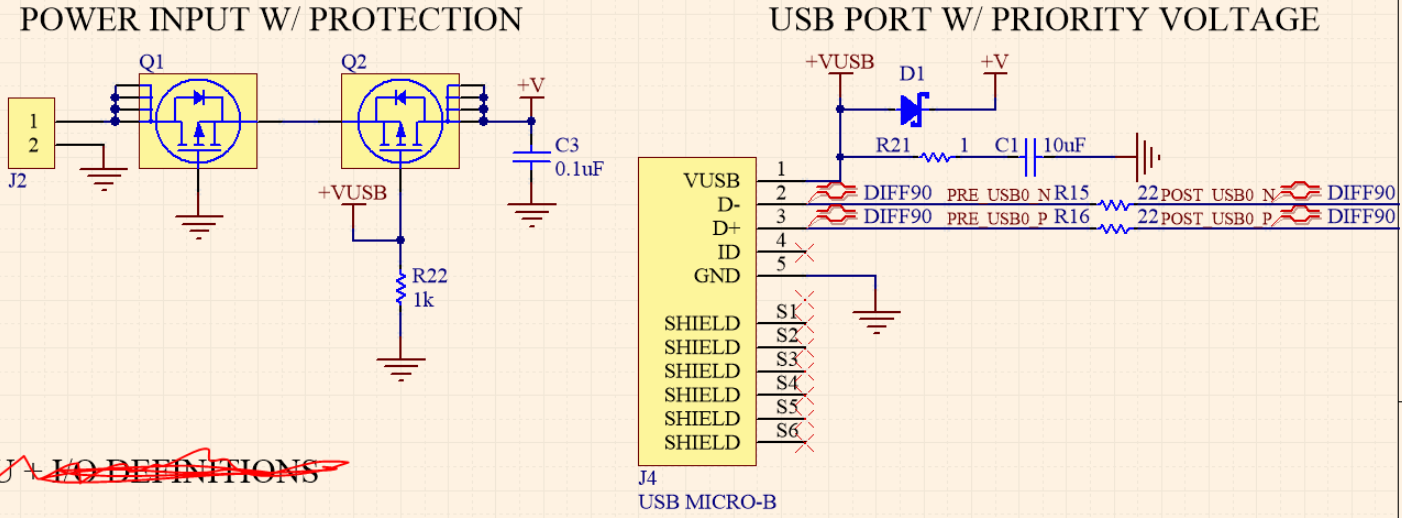
Start by connecting the USB connector to the breadboard. The USB connector has four pins – VCC, D-, D+, and GND. Connect the VCC pin to the positive rail on the breadboard and the GND pin to the negative rail.
Next, connect the resistor to the positive rail and the anode of the LED to the other end of the resistor. Connect the cathode of the LED to the negative rail. Make sure to use the correct resistor value to prevent the LED from burning out.
Finally, connect a switch between the positive rail and the anode of the LED. This will allow you to turn the LED on and off as needed.
Step 3: Testing the Circuit
Before plugging in the USB cable, double-check all the connections to ensure everything is properly connected. Once you’re confident in your setup, plug in the USB cable to a power source. The LED should light up, indicating that the circuit is working correctly.
If the LED doesn’t light up, use a multimeter to check for any faulty connections or components. Make the necessary adjustments until the circuit functions as intended.
Step 4: Finalizing the Circuit
Once you have confirmed that the circuit is working properly, you can finalize the build by securing the components in place and tidying up the wiring. Consider using heat shrink tubing to protect the connections and make the circuit more durable.
Congratulations! You have successfully built your own USB-powered circuit. You can now use this circuit to power small projects or experiment with electronics. Feel free to modify the circuit and add more components to suit your needs.
Remember to always practice caution when working with electronic circuits and avoid touching exposed wires when the circuit is powered on. Have fun building and exploring the world of electronics!
Was this helpful?
0 / 1