Best way to program a microcontroller over UART?
One of the most common ways to program a microcontroller is using the Universal Asynchronous Receiver Transmitter (UART) protocol. This method allows for serial communication between the microcontroller and a computer, making programming and debugging much easier. In this article, we will discuss the best practices for programming a microcontroller over UART.
1. Choose the right microcontroller
Before you start programming a microcontroller over UART, make sure you choose the right microcontroller for your project. Different microcontrollers have different UART capabilities, so it is important to select one that can support the UART protocol. Some popular microcontrollers with UART capabilities include the Arduino Uno, Raspberry Pi, and ESP8266.
2. Set up the hardware
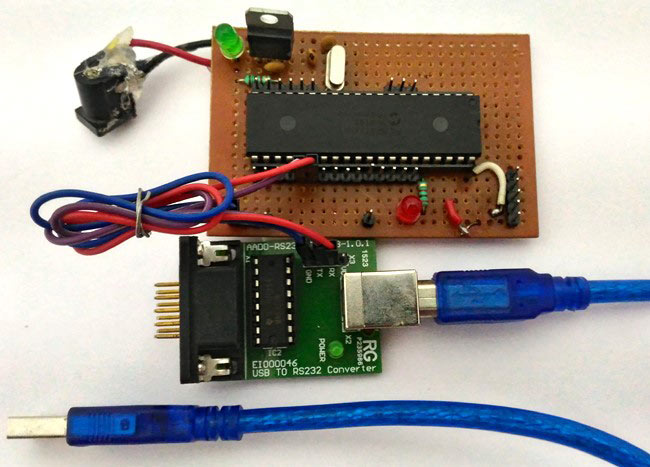
Once you have chosen the right microcontroller, you will need to set up the hardware for UART communication. This typically involves connecting the microcontroller to a computer using a USB-to-serial converter or a dedicated UART interface. Make sure to check the datasheet of your microcontroller for the pinout and UART settings.
3. Install the necessary software
Next, you will need to install the necessary software for programming the microcontroller over UART. This usually involves downloading and installing a UART programming tool, such as PuTTY or Tera Term. These tools allow you to send commands and code to the microcontroller over the UART interface.
4. Write the program
Now that you have set up the hardware and installed the software, it’s time to write the program for the microcontroller. You can use a programming language such as C or Python to write the code, depending on the microcontroller you are using. Make sure to include the necessary UART functions to enable serial communication.
5. Upload the program
After writing the program, you will need to upload it to the microcontroller. This can usually be done using the UART programming tool you installed earlier. Make sure to follow the instructions provided by the tool to upload the program successfully.
6. Test the program
Once the program has been uploaded to the microcontroller, it’s time to test it. Use the UART programming tool to send commands to the microcontroller and check if it responds correctly. You can also use the tool to debug any issues in the program.
7. Troubleshooting
If you encounter any issues while programming the microcontroller over UART, don’t panic. Check the connections, UART settings, and code for any mistakes. It’s also a good idea to refer to the datasheet of your microcontroller for troubleshooting tips.
Conclusion
Programming a microcontroller over UART can be a straightforward process if you follow the best practices outlined in this article. By choosing the right microcontroller, setting up the hardware correctly, installing the necessary software, writing the program accurately, uploading it successfully, testing it thoroughly, and troubleshooting any issues that arise, you can ensure a smooth programming experience.


