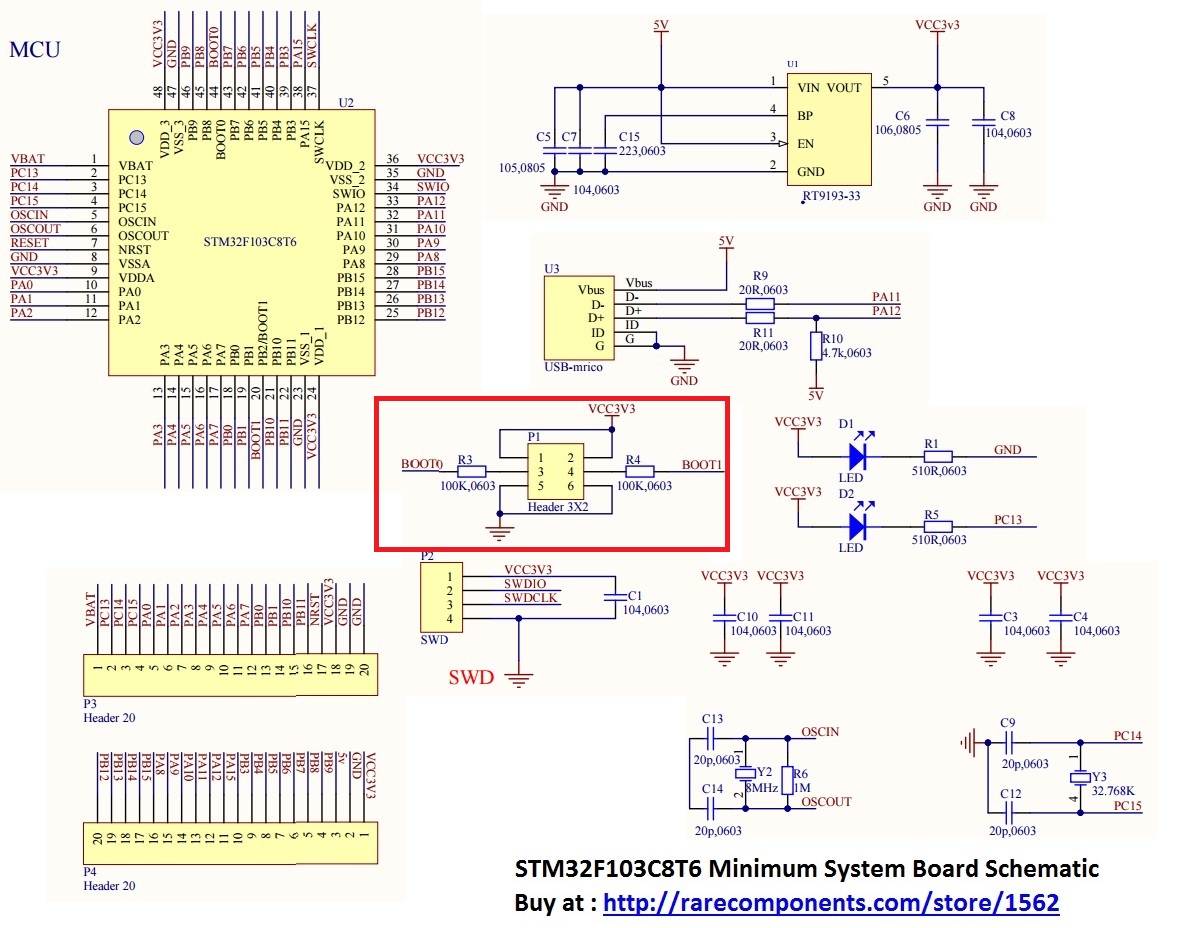
How to Program an STM32 Without a Bootloader
If you want to program an STM32 microcontroller without using a bootloader, you’ve come to the right place. Bootloaders are great for updating firmware and software over a USB or UART connection, but sometimes you may need to bypass the bootloader and program the microcontroller directly through a SWD (Serial Wire Debug) interface.
Programming an STM32 without a bootloader may sound daunting, but it’s actually quite straightforward once you understand the process. In this article, we’ll walk you through the steps to program an STM32 microcontroller without a bootloader using popular programming tools like STM32CubeMX and ST-Link.
Step 1: Set Up Your Development Environment
Before you can start programming your STM32 microcontroller without a bootloader, you’ll need to set up your development environment. Make sure you have the necessary software installed, including STM32CubeMX for configuring your microcontroller and generating code, as well as ST-Link Utility for programming the microcontroller.
Once you have the software installed, connect your STM32 microcontroller to your computer using an ST-Link programmer. Make sure you have the necessary drivers installed for the ST-Link programmer to communicate with your microcontroller.
Step 2: Generate Code with STM32CubeMX
Next, open STM32CubeMX and start a new project for your STM32 microcontroller. Select your microcontroller model and configure the desired settings for your project, such as clock configurations, peripherals, and pin assignments.
Once you’ve finished configuring your project, generate the initialization code using STM32CubeMX. This code will set up the necessary peripherals and configurations for your microcontroller.
Step 3: Program the STM32 Microcontroller
Now that you have generated the initialization code with STM32CubeMX, it’s time to program the STM32 microcontroller. Open ST-Link Utility and connect to your microcontroller using the SWD interface.
Load the generated code onto the microcontroller using ST-Link Utility. You can also debug your code and run it step by step to ensure everything is working correctly.
Step 4: Debug and Test Your Program
Once you’ve programmed your STM32 microcontroller without a bootloader, it’s time to debug and test your program. Use the debugging features in ST-Link Utility to step through your code and identify any errors or issues.
You can also test your program by running it on the STM32 microcontroller and verifying that it behaves as expected. Make any necessary adjustments to your code and reprogram the microcontroller as needed.
Conclusion
Programming an STM32 microcontroller without a bootloader may seem challenging at first, but with the right tools and a solid understanding of the process, it can be a straightforward and rewarding experience. By following the steps outlined in this article and leveraging popular programming tools like STM32CubeMX and ST-Link, you can successfully program an STM32 microcontroller without a bootloader and bring your projects to life.
Was this helpful?
0 / 0