How to Connect an NRF24L01 Module to Arduino
Are you looking to connect an NRF24L01 module to your Arduino board? This powerful wireless module is widely used for communication between devices in various DIY projects. In this guide, we’ll walk you through the steps to connect an NRF24L01 module to your Arduino and start sending data wirelessly.
What You’ll Need
- Arduino board (e.g., Arduino Uno)
- NRF24L01 module (with appropriate antenna)
- Jumper wires
- Breadboard
- USB cable for Arduino
Connections
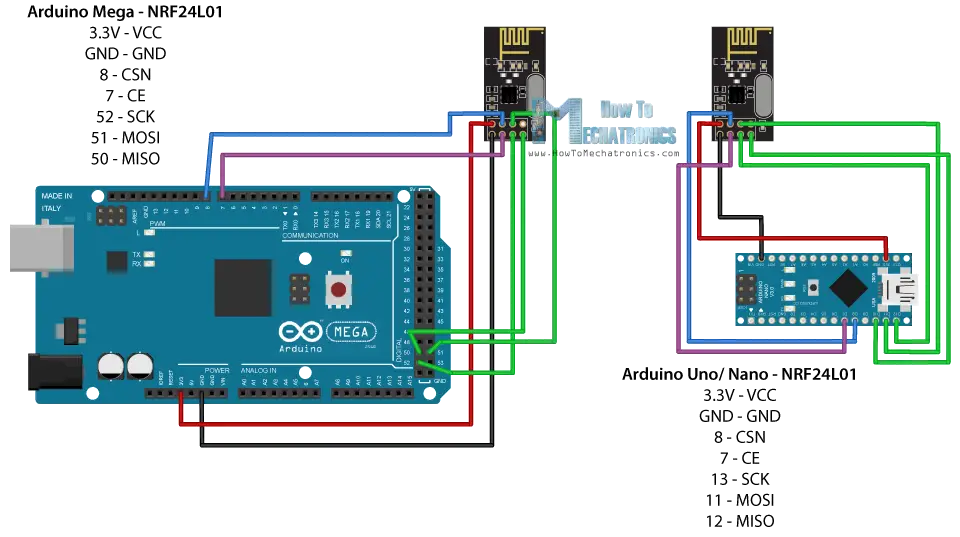
First, you’ll need to make the following connections between the NRF24L01 module and your Arduino board:
NRF24L01 Module Pin — Arduino Pin
- VCC — 3.3V
- GND — GND
- CE — Digital Pin 9
- CSN — Digital Pin 10
- SCK — Digital Pin 13
- MOSI — Digital Pin 11
- MISO — Digital Pin 12
Once you’ve made these connections, you’re ready to start coding!
Installing NRF24 Library
Before you can start using the NRF24L01 module with your Arduino, you’ll need to install the necessary library. You can download the library from the Arduino Library Manager by searching for “NRF24.” Install the library and you’re all set.
Arduino Code
Here’s a simple example code snippet to get you started with communicating via the NRF24L01 module:
#include <SPI.h>
#include <RF24.h>
RF24 radio(9, 10);
const uint64_t pipe = 0xE8E8F0F0E1LL;
void setup()
{
radio.begin();
radio.openReadingPipe(1,pipe);
radio.startListening();
}
void loop()
{
if(radio.available())
{
char text[32] = "";
radio.read(&text, sizeof(text));
Serial.println(text);
}
}
Testing
Once you’ve uploaded the code to your Arduino board, open the serial monitor in the Arduino IDE. You should see any incoming data being printed in the serial monitor. You can now start experimenting with sending data wirelessly using the NRF24L01 module.
Conclusion
Connecting an NRF24L01 module to Arduino is a fun and rewarding project that opens up a world of possibilities for wireless communication. Follow the steps outlined in this guide, and you’ll be well on your way to creating amazing projects with your Arduino board and NRF24L01 module.
Was this helpful?
0 / 0