How to Use a Raspberry Pi Pico with MicroPython
The Raspberry Pi Pico is a powerful microcontroller board that can be used for a variety of projects. One popular way to program the Raspberry Pi Pico is by using MicroPython, a subset of the Python 3 programming language that is optimized for microcontrollers. In this article, we will show you how to get started with using a Raspberry Pi Pico with MicroPython.
Step 1: Setting up your Raspberry Pi Pico
The first step in using your Raspberry Pi Pico with MicroPython is to set up the board. To do this, you will need a computer with a USB port, as well as a micro USB cable. Connect your Raspberry Pi Pico to your computer using the micro USB cable. Your computer should recognize the Raspberry Pi Pico as a USB storage device.
Next, you will need to install the MicroPython firmware onto your Raspberry Pi Pico. To do this, download the latest version of the MicroPython firmware from the official MicroPython website. Once you have downloaded the firmware, drag and drop it onto the Raspberry Pi Pico. Your Raspberry Pi Pico is now ready to be programmed using MicroPython.
Step 2: Writing your first MicroPython program
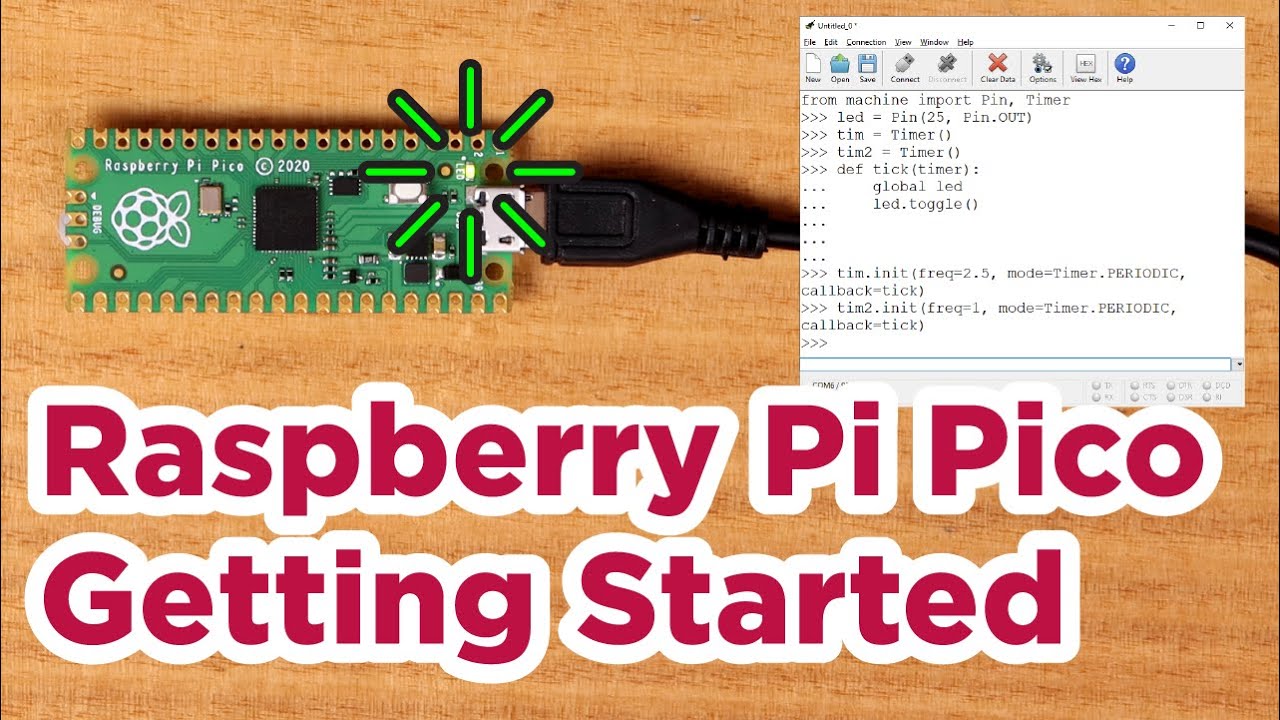
Now that your Raspberry Pi Pico is set up with MicroPython, it’s time to write your first program. You can use any text editor to write your program, such as Thonny or the Mu editor. Open your text editor and create a new file. The following is an example of a simple MicroPython program that blinks an LED connected to GPIO pin 0:
import machine
import utime

led_pin = machine.Pin(0, machine.Pin.OUT)

while True:
    led_pin.value(1)
    utime.sleep(1)
    led_pin.value(0)
    utime.sleep(1)
Save your file with a .py extension, such as blink.py. Now it’s time to load your program onto your Raspberry Pi Pico. Connect your Raspberry Pi Pico to your computer using the micro USB cable. Your Raspberry Pi Pico should show up as a USB storage device on your computer. Drag and drop your .py file onto the Raspberry Pi Pico. Your program is now loaded onto the Raspberry Pi Pico and will start running automatically.
Step 3: Experimenting with MicroPython
Once you have successfully written and run your first MicroPython program on the Raspberry Pi Pico, you can start experimenting with more advanced projects. MicroPython has a rich library of modules that you can use to interface with sensors, displays, and other peripherals.
- Explore the machine module to interact with the GPIO pins on the Raspberry Pi Pico.
- Experiment with the network module to connect your Raspberry Pi Pico to the internet.
- Try out the urequests module to make HTTP requests from your Raspberry Pi Pico.
By following these steps, you can easily start using a Raspberry Pi Pico with MicroPython for a wide range of projects. Have fun experimenting and building projects with your Raspberry Pi Pico!
Was this helpful?
0 / 0