How to Interface an LCD with PIC Microcontroller?
Interfacing an LCD (Liquid Crystal Display) with a PIC microcontroller is a common task in many embedded systems projects. The LCD provides a visual output display that can convey information to the user in a clear and understandable way. In this article, we will discuss the steps to interface an LCD with a PIC microcontroller, along with some tips and tricks to make the process easier.
Materials Required:
- PIC Microcontroller (e.g., PIC16F877A)
- LCD Module (e.g., 16×2 or 20×4)
- 10k potentiometer
- Connecting wires
- Breadboard
Step 1: Connecting the LCD to the PIC Microcontroller
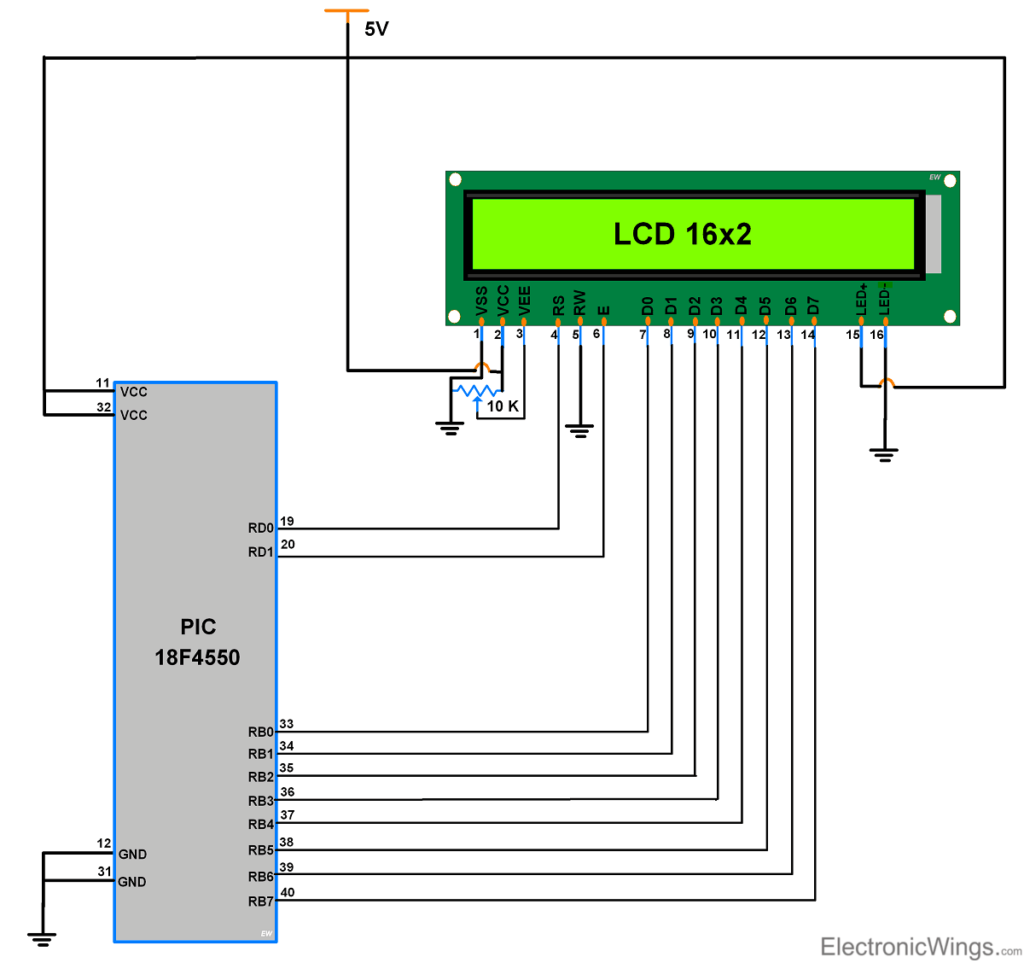
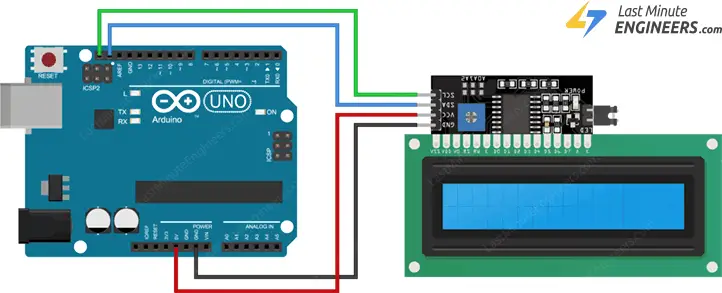
The first step in interfacing an LCD with a PIC microcontroller is to connect the pins of the LCD module to the appropriate pins on the PIC microcontroller. The most common connections include:
- VSS (Ground) to Ground
- VDD (Power) to Power
- VO (Contrast) to a potentiometer
- RS (Register Select) to a digital pin on the PIC
- R/W (Read/Write) to Ground
- E (Enable) to a digital pin on the PIC
- Data pins (D4-D7) to digital pins on the PIC
Step 2: Writing the Code
Once the hardware connections are in place, the next step is to write the code that will control the LCD module. This code will typically involve initializing the LCD, sending commands and data to the LCD, and handling any necessary delays. Here is a simple example of code to display “Hello, World!” on a 16×2 LCD:
#include
#define _XTAL_FREQ 8000000
// Define LCD pins
#define RS   RC0
#define E    RC1
#define D4   RC2
#define D5   RC3
#define D6   RC4
#define D7   RC5

void LCD_command(unsigned char command)
{
    RS = 0;
    PORTC = (PORTC & 0xF0) | (command >> 4);
    E = 1;
    __delay_ms(1);
    E = 0;

    PORTC = (PORTC & 0xF0) | (command & 0x0F);
    E = 1;
    __delay_ms(1);
    E = 0;
}
Step 3: Testing the Interface
Once the code is written, it is important to test the interface between the microcontroller and the LCD module. This can be done by uploading the code to the PIC microcontroller and observing the output on the LCD. Check for any errors or incorrect displays, and make any necessary adjustments to the code or connections.
Conclusion
Interfacing an LCD with a PIC microcontroller is a valuable skill for any electronics enthusiast or embedded systems developer. By following the steps outlined in this article and practicing with different LCD modules and microcontrollers, you can gain a deeper understanding of how to create visual displays in your projects. Remember to consult the datasheets for your specific microcontroller and LCD module for more detailed information on the pins and commands needed for successful interfacing.


