How to create a smart home dashboard with ESP8266?
Are you looking to add some smart functionalities to your home using an ESP8266 module? In this guide, we’ll show you how to create a smart home dashboard with ESP8266, allowing you to control various devices and monitor their status from anywhere in the world.
What is ESP8266?
The ESP8266 is a versatile Wi-Fi module that is widely used in IoT projects due to its low cost and ease of use. It can be programmed using the Arduino IDE and has built-in Wi-Fi capabilities, making it a perfect choice for creating smart home systems.
Setting up the ESP8266
To get started, you’ll need an ESP8266 module, a USB to TTL adapter, and the Arduino IDE installed on your computer. Connect the ESP8266 to the USB to TTL adapter and plug it into your computer’s USB port.
- Open the Arduino IDE and go to File > Preferences.
- In the Additional Board Manager URLs field, add
http://arduino.esp8266.com/stable/package_esp8266com_index.json. - Go to Tools > Board > Boards Manager, search for ESP8266 and install the board.
Creating the smart home dashboard
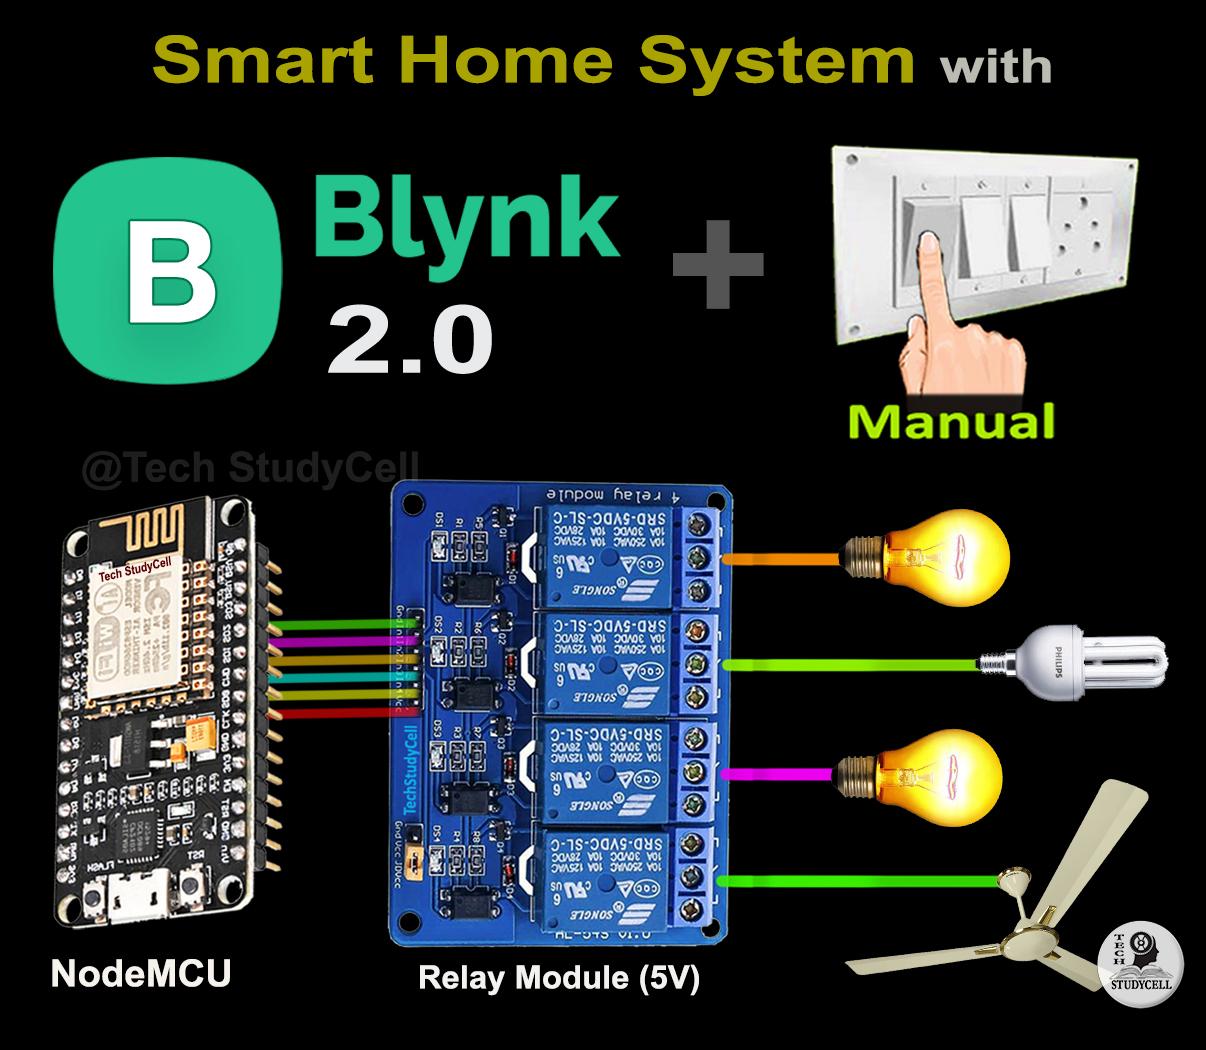
Now that you have the ESP8266 set up, it’s time to create the smart home dashboard. For this project, we’ll be using the Blynk app, which allows you to control your devices with a user-friendly interface.
Follow these steps to create the dashboard:
- Download the Blynk app from the App Store or Google Play Store.
- Create a new project and select the ESP8266 as the device.
- Drag and drop widgets onto the dashboard to control your devices.
Programming the ESP8266
To program the ESP8266, you’ll need to install the Blynk library in the Arduino IDE. Here’s how:
- Go to Sketch > Include Library > Manage Libraries.
- Search for Blynk and install the library.
- Open the Blynk example sketch, enter your Blynk Auth Token, and upload it to the ESP8266.
Controlling your devices
Once you have programmed the ESP8266 and set up the dashboard, you can start controlling your devices remotely. Turn on lights, adjust the temperature, or even schedule tasks from the comfort of your smartphone.
Monitoring device status
In addition to controlling devices, the smart home dashboard allows you to monitor their status in real-time. Check if a door is open, track the energy usage of appliances, or receive notifications if something isn’t working as expected.
Final thoughts
Creating a smart home dashboard with ESP8266 is a fun and rewarding project that can enhance your home’s automation capabilities. With a little programming and some creativity, you can create a truly smart home that caters to your needs and preferences.
So grab your ESP8266 module, fire up the Arduino IDE, and start building your smart home dashboard today!
Was this helpful?
0 / 0