How to Build a Weather Station with ESP8266
Are you interested in building your very own weather station using ESP8266? Look no further! In this step-by-step guide, we will walk you through the process of creating a weather monitoring system using this powerful microcontroller.
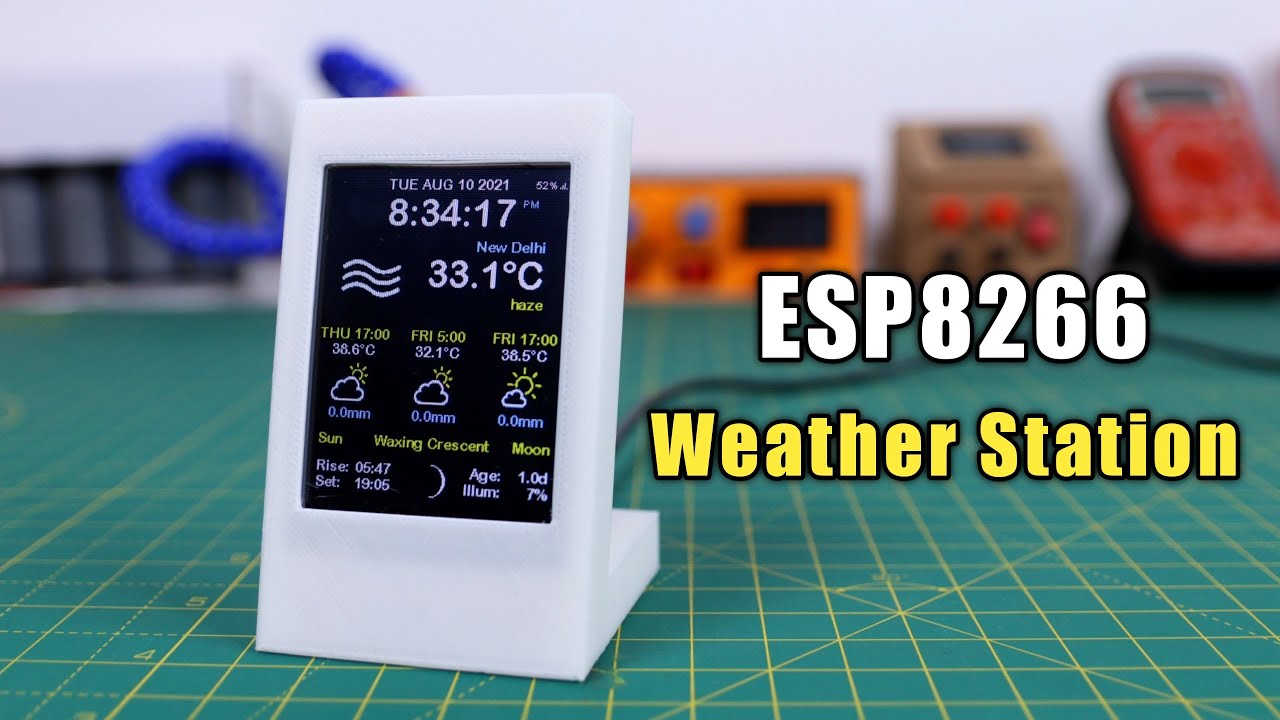
Weather stations are a great way to keep track of the temperature, humidity, and other environmental conditions in your area. With an ESP8266, you can easily collect and transmit this data to a web server for real-time monitoring. Let’s get started!
Materials Needed:
- ESP8266 microcontroller
- Temperature and humidity sensors
- Breadboard and jumper wires
- USB cable for programming
- Computer with Arduino IDE installed
Step 1: Set up the Hardware
Start by connecting the temperature and humidity sensors to the ESP8266 using the jumper wires. Make sure to follow the wiring diagram provided with your sensors to ensure proper connections. Next, connect the ESP8266 to the breadboard and power it up using the USB cable.
Step 2: Program the ESP8266
Download and install the Arduino IDE on your computer if you haven’t already. Open the IDE and create a new sketch. Copy and paste the code provided below into the sketch, making sure to modify any necessary settings for your specific hardware setup.
//ESP8266 Weather Station Code
//Add code here...
Step 3: Monitor the Data
Once you have uploaded the code to your ESP8266, you can start monitoring the data from your weather station. Open a serial monitor in the Arduino IDE to view the temperature, humidity, and other sensor readings in real-time.
Step 4: Transmit Data to a Web Server
To allow for remote monitoring of your weather station, you can set up the ESP8266 to transmit data to a web server. You can use platforms like ThingSpeak or Blynk to create a dashboard for viewing the collected data online.
Conclusion
Congratulations! You have successfully built a weather station using ESP8266. With this project, you can now monitor and track environmental conditions in your area with ease. Feel free to customize and expand upon this project to suit your specific needs. Happy tinkering!
Was this helpful?
0 / 0