How to Use an ESP32 with IFTTT?
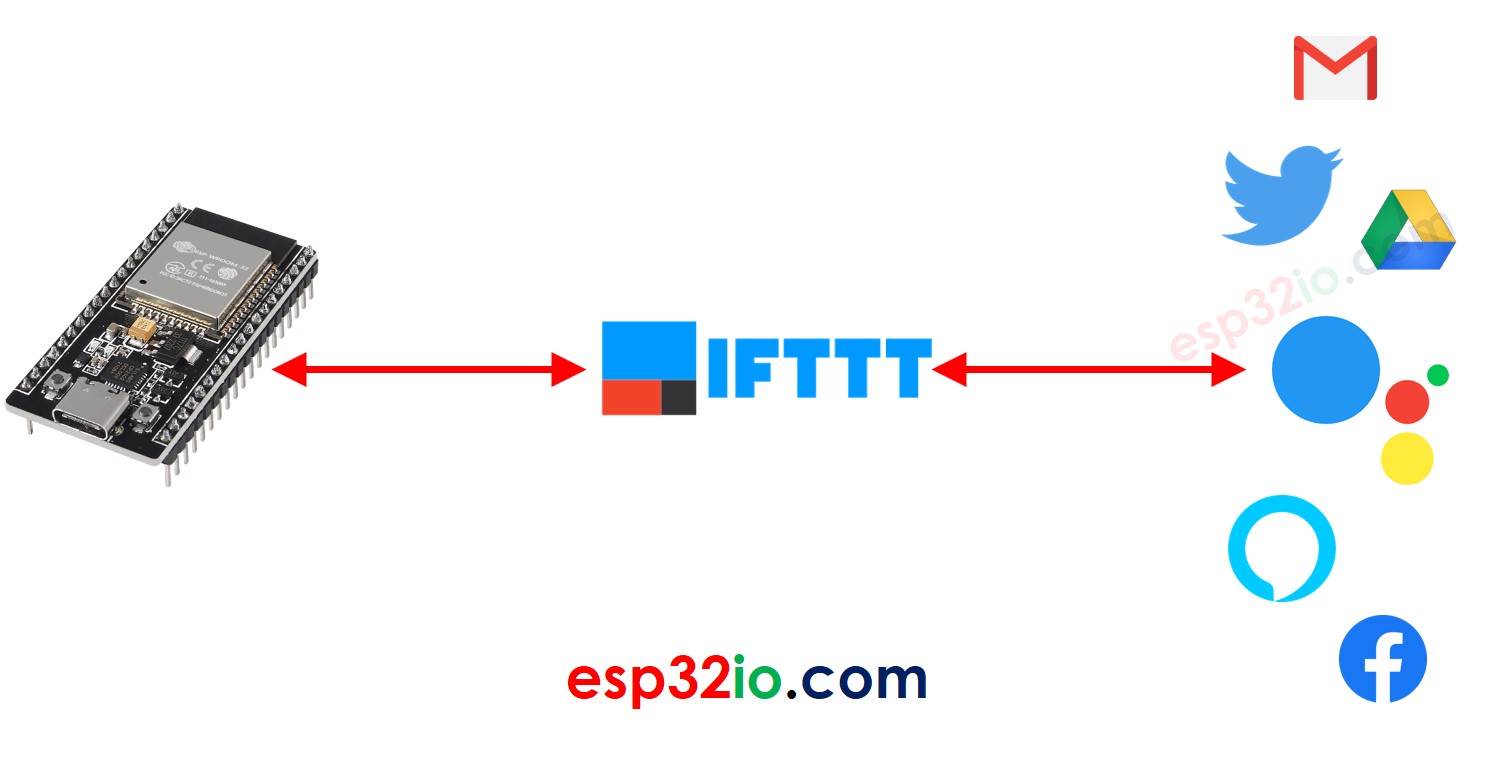
IFTTT, which stands for “If This Then That,” is a popular automation service that allows you to connect different apps, services, and devices to create custom workflows. The ESP32 is a powerful microcontroller that can be used to build IoT projects and connect to the internet. By combining the ESP32 with IFTTT, you can create a wide range of smart home and automation projects. In this article, we will guide you through the process of using an ESP32 with IFTTT.
Step 1: Setting up IFTTT
The first step is to create an account on IFTTT if you don’t already have one. You can sign up for free on their website or download the IFTTT app on your smartphone. Once you have created an account, you can start creating applets. Applets are the basic building blocks of IFTTT, and they consist of two parts: a trigger and an action. The trigger is the “If This” part, which is an event that starts the workflow, while the action is the “Then That” part, which is the task that is performed when the trigger occurs.
Step 2: Setting up the ESP32
Next, you will need to set up your ESP32 board. If you haven’t already done so, you can follow the official documentation on how to install the necessary libraries and tools for programming the ESP32. Once you have everything set up, you can start coding your ESP32 to interact with IFTTT. You can use the IFTTT Webhooks service to send HTTP requests to trigger events on IFTTT.
Step 3: Connecting the ESP32 to IFTTT
Now it’s time to connect your ESP32 to IFTTT. To do this, you will need to create an applet on IFTTT that uses the Webhooks service as the trigger. You will receive a unique HTTP URL that you can use to send requests to IFTTT. In your ESP32 code, you can use the HTTPClient library to send POST requests to this URL. You can also include any parameters or data that you want to send to IFTTT in these requests.
Step 4: Testing Your Setup
Once you have set up your ESP32 and created the applet on IFTTT, it’s time to test your setup. You can trigger the applet by sending a request from your ESP32 to IFTTT. You should see the action that you specified in your applet being executed. If everything is working correctly, you can now start thinking about all the cool automation projects that you can build using the ESP32 and IFTTT.
Conclusion
Using an ESP32 with IFTTT can open up a world of possibilities for creating smart home devices, automation projects, and IoT solutions. By following the steps outlined in this article, you can easily connect your ESP32 to IFTTT and start building your own custom workflows. With a little creativity and experimentation, you can create some truly amazing projects that will make your life easier and more efficient. So what are you waiting for? Start exploring the world of ESP32 and IFTTT today!
Was this helpful?
0 / 0