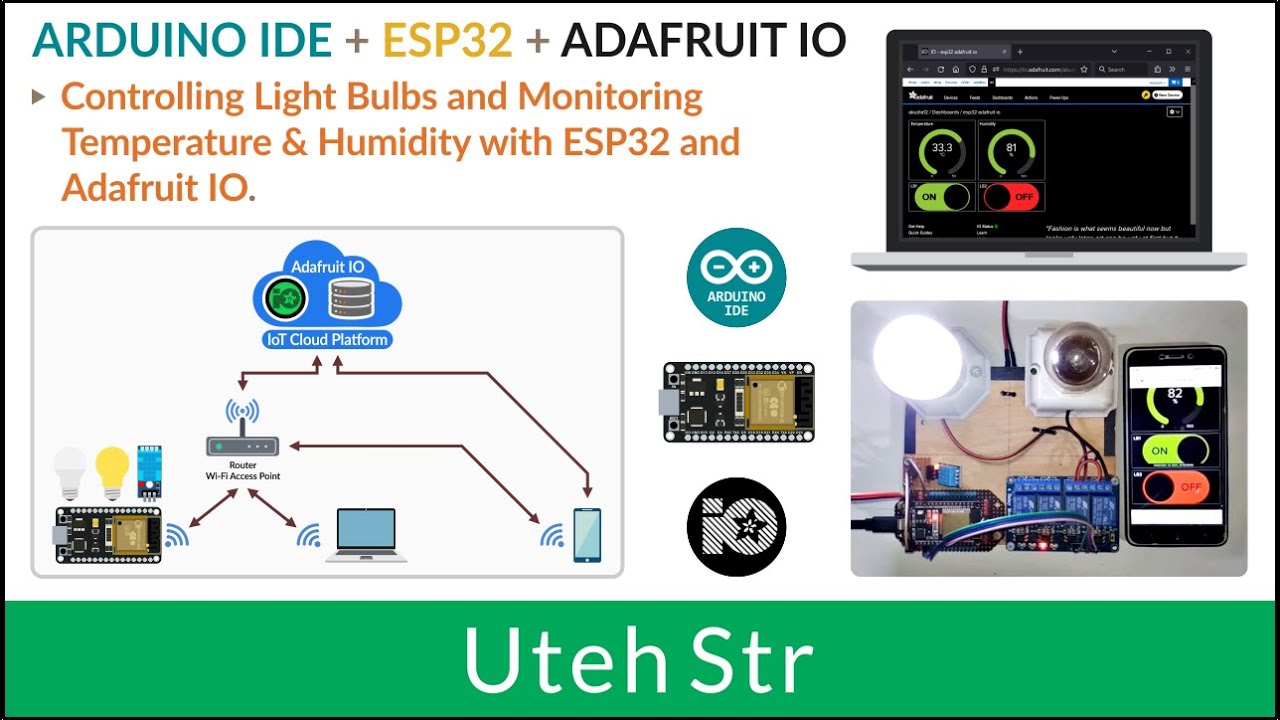
How to Connect ESP32 to Adafruit IO?
Do you want to connect your ESP32 to Adafruit IO? Adafruit IO is a cloud-based service that enables you to easily connect your internet-connected devices to the web. By connecting your ESP32 to Adafruit IO, you can monitor and control your devices from anywhere in the world. In this article, we will walk you through the steps to connect your ESP32 to Adafruit IO.
Step 1: Create an Adafruit IO Account
The first step in connecting your ESP32 to Adafruit IO is to create an Adafruit IO account. Visit the Adafruit IO website and sign up for an account. Once you have created your account, you will be able to access the Adafruit IO dashboard, where you can create feeds and dashboards for your devices.
Step 2: Set Up Your ESP32
Next, you will need to set up your ESP32. If you haven’t already done so, you will need to install the ESP32 board support package in your Arduino IDE. Once you have done this, connect your ESP32 to your computer using a USB cable and upload a sketch to the board.
For this tutorial, we will use the Adafruit MQTT library to connect our ESP32 to Adafruit IO. You can install this library by going to the Arduino IDE, selecting Sketch -> Include Library -> Manage Libraries and searching for “Adafruit MQTT”. Install the library and you are ready to proceed.
Step 3: Connect Your ESP32 to Adafruit IO
Now it’s time to connect your ESP32 to Adafruit IO. Open the example sketch provided by the Adafruit MQTT library (File -> Examples -> Adafruit MQTT Library -> mqtt_esp8266) and modify it to suit your needs.
Replace the following lines of code with your Adafruit IO username, key, and feed name:
#define AIO_USERNAME "your_username"#define AIO_KEY "your_key"#define AIO_FEED "your_feed"
After making these changes, upload the sketch to your ESP32. Once the sketch has been uploaded, open the serial monitor and you should see your ESP32 connecting to Adafruit IO.
Step 4: Monitor and Control Your ESP32 Remotely
Congratulations! You have successfully connected your ESP32 to Adafruit IO. You can now monitor and control your ESP32 remotely using the Adafruit IO dashboard. Create feeds and dashboards to visualize your data and control your devices from anywhere in the world.
By following these steps, you can easily connect your ESP32 to Adafruit IO and take advantage of the powerful cloud-based services offered by Adafruit. Have fun experimenting with your connected devices!
Was this helpful?
0 / 0