How to connect ESP8266 to Firebase?
So you’ve got your ESP8266 and you want to connect it to Firebase? That’s awesome! Firebase is a powerful platform that will allow you to store and sync data in real-time, making it the perfect companion for your IoT project. In this article, we’ll walk you through the steps to connect your ESP8266 to Firebase so you can start building your dream project.
What you’ll need:
- ESP8266 board
- Computer with Arduino IDE installed
- Firebase account
Step 1: Setting up Firebase
The first thing you’ll need to do is create a Firebase account if you don’t already have one. Once you have your account set up, create a new project on the Firebase console. Take note of your project’s URL as you’ll need it later.
Step 2: Adding Firebase to Arduino IDE
Open the Arduino IDE and navigate to File > Preferences. In the Additional Board Manager URLs field, add the following URL:
http://arduino.esp8266.com/stable/package_esp8266com_index.json
Next, go to Tools > Board > Board Manager and search for ESP8266. Click Install to add the ESP8266 board to your Arduino IDE.
Step 3: Writing the Code
Now it’s time to write the code that will allow your ESP8266 to communicate with Firebase. You can find a sample code snippet below:
#include <ESP8266WiFi.h>
#include <FirebaseArduino.h>

#define FIREBASE_HOST "your-firebase-project.firebaseio.com"
#define FIREBASE_AUTH "your-firebase-auth-token"

void setup() {
  Serial.begin(9600);

  WiFi.begin("your-ssid", "your-password");
  Serial.print("Connecting to WiFi");

  while (WiFi.status() != WL_CONNECTED) {
    delay(500);
    Serial.print(".");
  }

  Serial.println();
  Serial.print("Connected to WiFi!");

  Firebase.begin(FIREBASE_HOST, FIREBASE_AUTH);
}

void loop() {
  // Your code here
}
Make sure to replace your-firebase-project.firebaseio.com with your Firebase project’s URL and your-firebase-auth-token with your authentication token.
Step 4: Uploading the Code
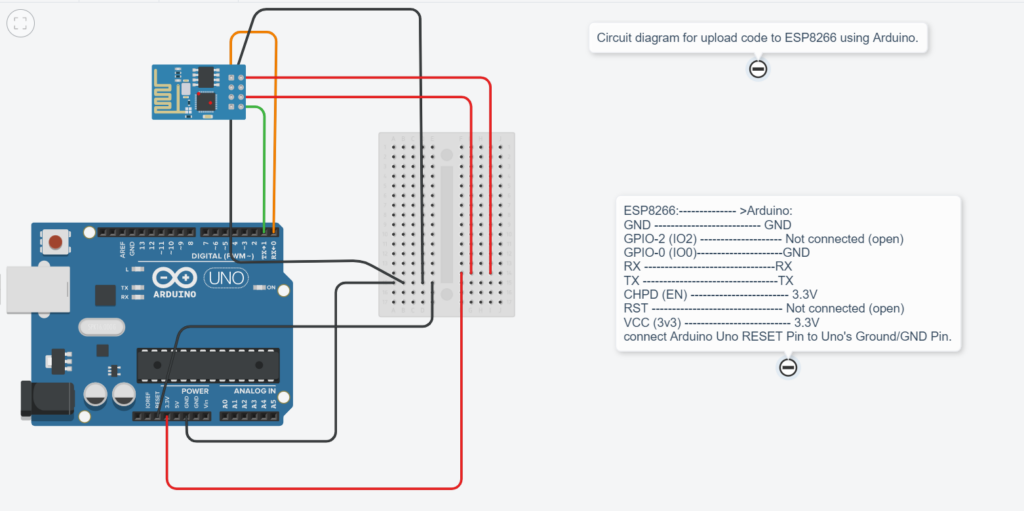
Connect your ESP8266 to your computer using a USB cable and upload the code to your board. Open the Serial Monitor to see if your ESP8266 successfully connects to Firebase.
Step 5: Testing the Connection
Now that everything is set up, it’s time to test the connection. Update your Firebase database with some dummy data and see if your ESP8266 can read it. If everything is working correctly, congratulations! You’ve successfully connected your ESP8266 to Firebase.
Conclusion
Connecting your ESP8266 to Firebase opens up a world of possibilities for your IoT projects. With real-time data syncing and storage, Firebase makes it easy to build powerful and responsive applications. Now that you’ve learned how to connect your ESP8266 to Firebase, you can start creating amazing projects that leverage the full potential of IoT technology. Happy building!


