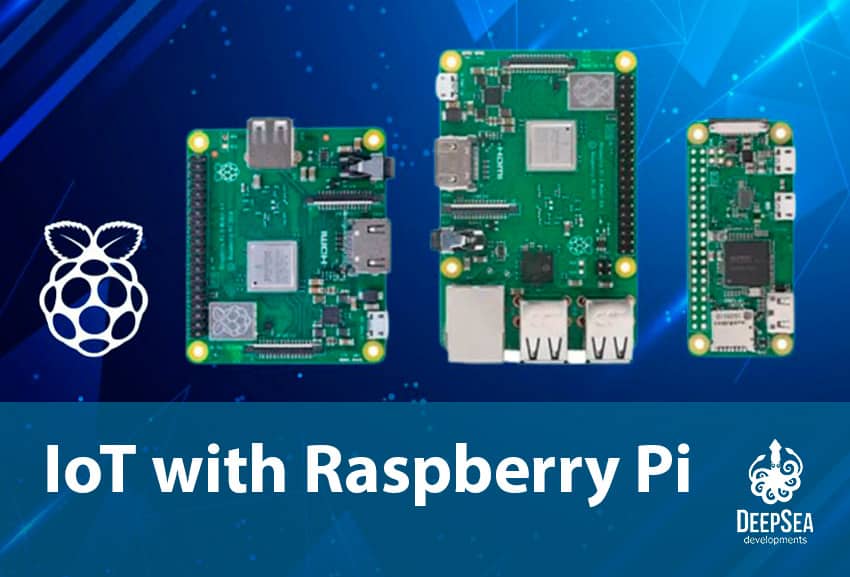
How to Use Raspberry Pi for IoT
Raspberry Pi is a versatile and powerful mini-computer that can be used for a wide range of applications, including Internet of Things (IoT) projects. In this article, we will discuss how you can use Raspberry Pi to create your very own IoT projects.
What is IoT?
IoT stands for Internet of Things, which refers to the network of physical devices, vehicles, home appliances, and other items embedded with sensors, software, and connectivity that enables them to connect and exchange data. Essentially, IoT allows these devices to communicate and interact with each other over the internet.
Why Use Raspberry Pi for IoT?
Raspberry Pi is a popular choice for IoT projects due to its small size, low cost, and ease of use. It is a single-board computer that can run a variety of operating systems, making it a versatile platform for developing IoT applications. Additionally, Raspberry Pi has a large community of enthusiasts and developers who provide support and resources for building IoT projects.
Getting Started with Raspberry Pi for IoT
Before you can start building IoT projects with Raspberry Pi, you will need to set up your Raspberry Pi board and install the necessary software. Here is a step-by-step guide to get you started:
Step 1: Get a Raspberry Pi
The first step is to obtain a Raspberry Pi board. There are several models available, with the Raspberry Pi 4 being the latest and most powerful. You can purchase a Raspberry Pi board online or from a local retailer. Make sure to also get a microSD card to store the operating system and data for your projects.
Step 2: Set Up Your Raspberry Pi
Once you have your Raspberry Pi board, you will need to set it up by installing the operating system. The Raspberry Pi Foundation provides an official operating system called Raspbian, which is based on the popular Linux distribution Debian. You can download Raspbian from the Raspberry Pi website and follow the instructions to flash it onto the microSD card.
Step 3: Connect Your Raspberry Pi
After installing the operating system, you can connect your Raspberry Pi board to a monitor, keyboard, and mouse. You will also need to connect it to the internet either via an ethernet cable or Wi-Fi. Once your Raspberry Pi is connected, you can boot it up and start exploring the possibilities.
Step 4: Install IoT Software
To develop IoT projects with Raspberry Pi, you will need to install software that enables communication with sensors, devices, and the internet. Popular IoT platforms like Home Assistant, ThingsBoard, and OpenHAB are compatible with Raspberry Pi and offer a range of features for building IoT applications.
Step 5: Start Building IoT Projects
With your Raspberry Pi set up and the necessary software installed, you can start building IoT projects. Whether you want to create a smart home system, monitor environmental data, or build a connected robot, Raspberry Pi provides the flexibility and power to bring your ideas to life.
Conclusion
Raspberry Pi is an excellent platform for developing IoT projects due to its affordability, versatility, and community support. By following the steps outlined in this article, you can start creating your very own IoT applications with Raspberry Pi. So what are you waiting for? Get your Raspberry Pi board today and unleash your creativity in the world of IoT!
Was this helpful?
0 / 0