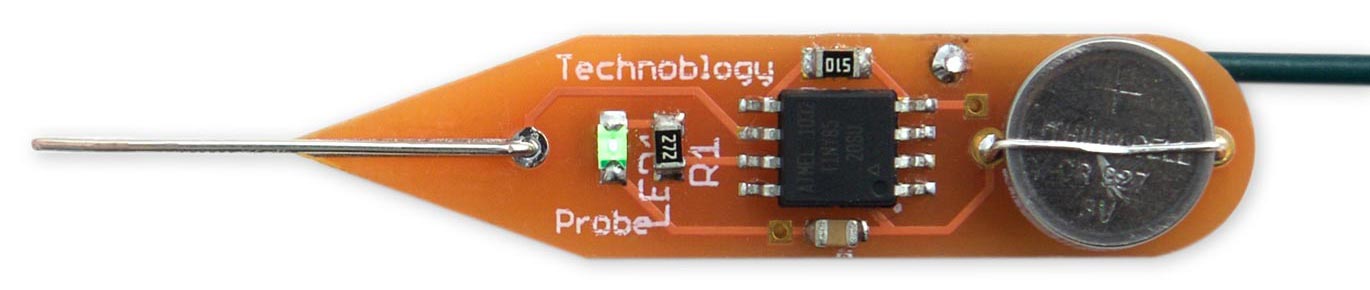
How to Test an ATtiny85 Microcontroller
Testing an ATtiny85 microcontroller is a crucial step in ensuring that your electronics project runs smoothly. Whether you are a beginner or an experienced maker, it is essential to have a reliable method of testing your microcontroller to avoid potential issues down the line. In this guide, we will walk you through the process of testing an ATtiny85 microcontroller effectively.
1. Gather the Necessary Tools
Before you begin testing your ATtiny85 microcontroller, make sure you have the necessary tools on hand. You will need a programmer that is compatible with the ATtiny85, such as an AVR ISP programmer, as well as a breadboard, jumper wires, and any other components required for your specific project.
2. Connect the ATtiny85 to the Programmer
Next, you will need to connect the ATtiny85 microcontroller to the programmer using the appropriate wiring. Make sure that the connections are secure and that there are no loose wires that could cause a faulty connection.
3. Upload a Test Sketch
After the ATtiny85 is connected to the programmer, you can begin uploading a test sketch to the microcontroller. This sketch should be a simple program that blinks an LED or performs another basic function to verify that the ATtiny85 is functioning correctly.
4. Check the Output
Once the test sketch has been uploaded, check the output of the ATtiny85 microcontroller. If the LED blinks as expected or the desired function is performed, this indicates that the microcontroller is working properly. If not, double-check your connections and re-upload the sketch.
5. Test Additional Functionality
Depending on the requirements of your project, you may need to test additional functionality of the ATtiny85 microcontroller. This could include testing input and output pins, communication protocols, or sensor readings to ensure that the microcontroller is fully operational.
6. Troubleshooting
If you encounter any issues during the testing process, refer to the datasheet of the ATtiny85 microcontroller to troubleshoot common problems. Check your connections, verify the integrity of your code, and ensure that all components are functioning correctly to identify and resolve any issues.
7. Conclusion
Testing an ATtiny85 microcontroller is a straightforward process that can help ensure the success of your electronics project. By following these steps and thoroughly testing the functionality of the microcontroller, you can identify and address any issues before they impact your project. Remember to document your testing process and results for future reference, and enjoy building with the ATtiny85 microcontroller!
Was this helpful?
0 / 0