How to Build a DIY Step-Down Converter
Do you find yourself in need of a step-down converter but don’t want to shell out the cash for a pre-made one? Well, you’re in luck! In this article, we’ll guide you through the process of building your very own DIY step-down converter.
A step-down converter, also known as a buck converter, is a type of power supply that takes a higher voltage and converts it to a lower voltage. This can be particularly useful in applications where you need to power devices that require a lower voltage than what is readily available.
Materials Needed
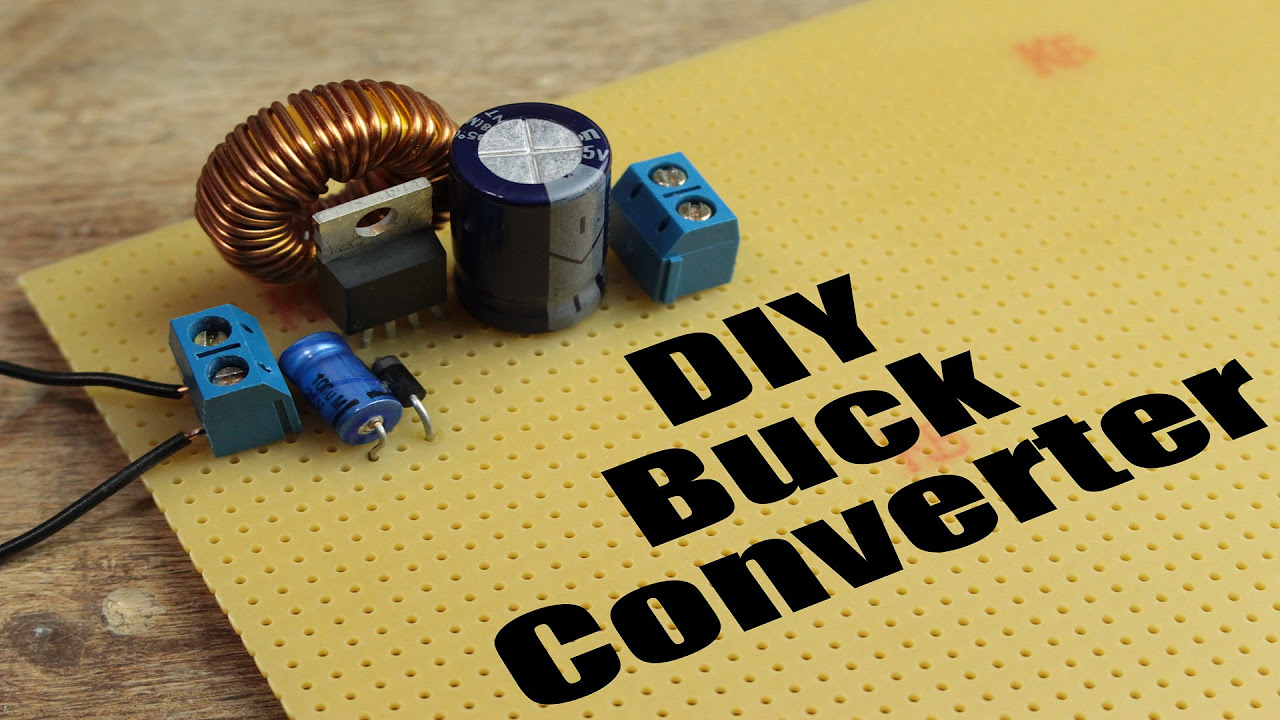
- DC-DC Buck Converter Module
- Input and Output Capacitors
- Inductor
- Diode
- PCB Board
- Soldering Iron
- Wire
- Multimeter
- Enclosure (optional)
Step 1: Gather Your Materials
The first step in building your DIY step-down converter is to gather all the necessary materials. Make sure you have everything listed above before proceeding to the next step.
Step 2: Solder Components onto the PCB Board
Next, you’ll need to solder the DC-DC buck converter module, input and output capacitors, inductor, and diode onto the PCB board. Make sure to follow the manufacturer’s instructions for proper placement and soldering techniques.
Pro tip: Use a multimeter to check for any shorts or faulty connections before proceeding to the next step.
Step 3: Connect Input and Output Wires
Once you have soldered all the components onto the PCB board, it’s time to connect the input and output wires. The input wire should be connected to the higher voltage source, while the output wire should be connected to the device you wish to power.
Pro tip: Make sure to properly insulate and secure the wires to prevent any electrical hazards.
Step 4: Test Your DIY Step-Down Converter
Before using your DIY step-down converter, it’s important to test it to ensure it’s working correctly. Use a multimeter to measure the output voltage and verify that it matches the desired lower voltage.
Pro tip: If the output voltage doesn’t match the desired value, double-check your connections and components for any errors.
Step 5: Enclose Your DIY Step-Down Converter (Optional)
If you want to protect your DIY step-down converter and give it a more professional look, consider enclosing it in a case or enclosure. This will also help prevent any accidental contact with the internal components.
Congratulations! You’ve successfully built your very own DIY step-down converter. Now you can power your devices efficiently and cost-effectively.
Remember, when working with electrical components, always prioritize safety and double-check your connections to prevent any accidents or damage.
Was this helpful?
0 / 0