How to Make a DIY USB Oscilloscope
Are you interested in electronics and looking to make your own USB oscilloscope? Well, you’re in luck! In this article, we will guide you through the process of creating your very own DIY USB oscilloscope. This project is not only fun and educational but also practical for monitoring and analyzing electronic signals. So, let’s dive in!
Materials Needed:
- Arduino Uno
- USB cable
- PC or laptop
- Jumper wires
- Resistors
- Capacitors
- Breadboard
- Op-Amp IC
- Diodes
- LEDs
- Potentiometers
- Prototyping board
Step-by-Step Guide:
1. Connect the Arduino Uno to your PC or laptop using the USB cable.
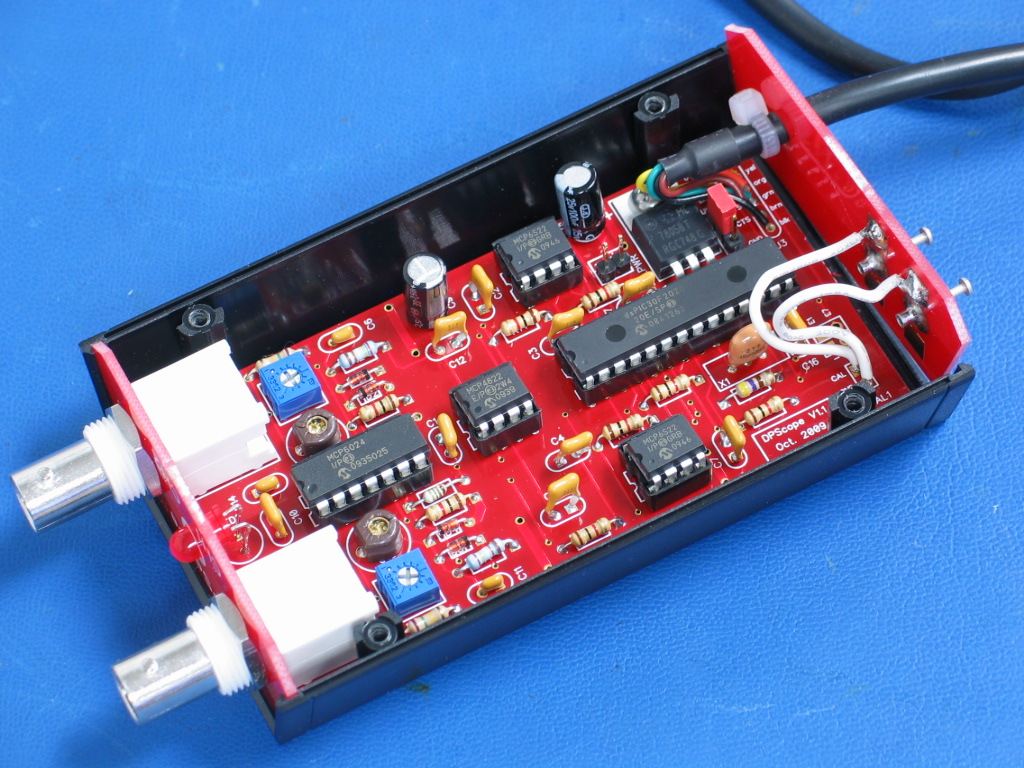
2. Set up the circuit on the breadboard using the components listed above, following a circuit diagram for a basic oscilloscope.
3. Upload the Arduino sketch for the oscilloscope to the Arduino Uno.
4. Install software on your PC or laptop to communicate with the Arduino and display the captured waveform.
5. Connect the components of your circuit to the Arduino Uno according to the wiring diagram provided in the software.
6. Calibrate the oscilloscope by adjusting the potentiometers on the circuit until you achieve accurate waveform display.
7. Test the oscilloscope by connecting it to different electronic devices and observing the waveforms displayed on your PC or laptop.
Benefits of DIY USB Oscilloscope:
Making your own USB oscilloscope has several benefits. Firstly, it is a cost-effective alternative to purchasing a commercial oscilloscope, saving you money. Secondly, building your own equipment enhances your technical skills and understanding of electronic circuits. Finally, a DIY oscilloscope can be customized to suit your specific requirements and preferences.
Conclusion:
Creating a DIY USB oscilloscope is a rewarding and fulfilling project for electronics enthusiasts. By following the steps outlined in this article and using your creativity and ingenuity, you can build a functional and reliable oscilloscope at a fraction of the cost of a commercial device. So, roll up your sleeves, gather your materials, and embark on this exciting DIY adventure!
Was this helpful?
0 / 0