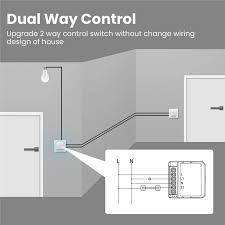
How to Design a Wi-Fi Controlled Switch?
In this modern era of technology, having control over your devices remotely has become more convenient than ever. One such device that has gained popularity is the Wi-Fi controlled switch. This innovative product allows you to turn on or off your lights, appliances, or any other electronic devices through your smartphone or any other connected device. In this article, we will guide you on how to design your very own Wi-Fi controlled switch.
Step 1: Required Components
- ESP8266 or ESP32 microcontroller
- Relay module
- Power supply
- Wi-Fi module
- Breadboard
- Jumper wires
- Soldering iron and solder
- Mobile app development tools
Step 2: Circuit Design
Now that you have gathered all the necessary components, it’s time to design the circuit. Connect the ESP8266 or ESP32 microcontroller to the relay module using jumper wires. Make sure to connect the power supply to both the microcontroller and relay module. Additionally, connect the Wi-Fi module to the microcontroller to enable wireless communication. You can use a breadboard to organize the connections neatly.
Step 3: Coding
After setting up the circuit, you need to write the code for the microcontroller. Utilize the mobile app development tools to create a custom application that will communicate with the Wi-Fi controlled switch. The code should include functions to turn the switch on or off based on the commands received from the app. Ensure that the Wi-Fi module is properly configured to connect to your home network.
Step 4: Testing
Once you have completed the circuit design and coding, it’s time to test your Wi-Fi controlled switch. Power up the circuit and open the mobile application on your smartphone. Try sending commands to the switch to turn on or off a connected device. If everything works as expected, congratulations! You have successfully designed your very own Wi-Fi controlled switch.
Step 5: Installation
After successful testing, you can now proceed with the installation of the Wi-Fi controlled switch. Place the switch in a convenient location where it can easily connect to your home Wi-Fi network. Connect the switch to the electronic device you want to control, and you’re all set. You can now enjoy the convenience of controlling your devices remotely with just a few taps on your smartphone.
Conclusion
Designing a Wi-Fi controlled switch may seem like a daunting task, but with the right components and guidance, it can be a fun and rewarding project. By following the steps outlined in this article, you can create your very own smart switch that offers convenience and control at your fingertips. So why wait? Start designing your Wi-Fi controlled switch today and enjoy the benefits of home automation.
Was this helpful?
0 / 0