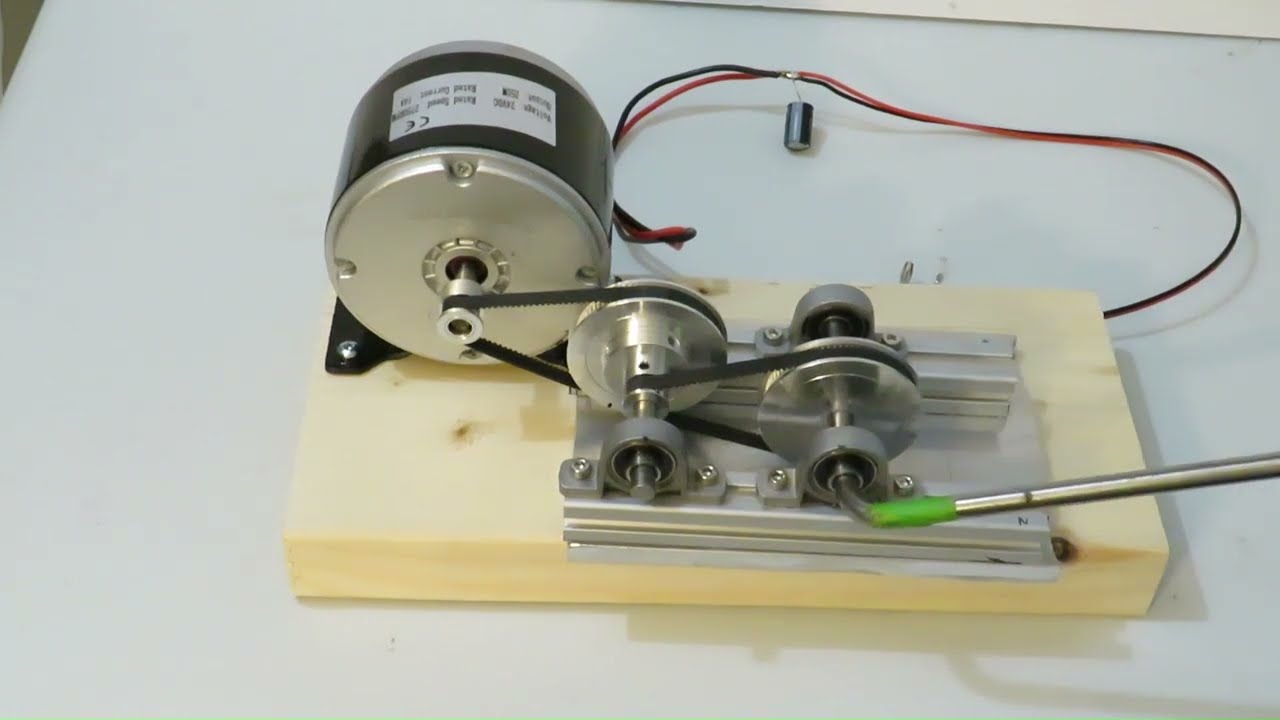
How to Make a DIY Hand Crank Generator
Are you looking for an eco-friendly and portable way to generate electricity? Look no further than a DIY hand crank generator! In this article, we’ll walk you through the step-by-step process of building your very own hand crank generator that you can use to power small electronic devices on the go.
Materials Needed:
- DC motor
- Hand crank
- Rectifier
- Diode
- Capacitor
- Switch
- LED
- Wires
- Battery
Steps to Build Your Hand Crank Generator:
1. Connect the DC motor to the rectifier, making sure to pay attention to the polarity of the connections.
2. Attach the diode to the output of the rectifier to prevent reverse current flow.
3. Connect the capacitor to the output of the diode to store the generated electricity.
4. Attach the switch to the capacitor to control the flow of electricity.
5. Connect the LED to the capacitor to indicate when electricity is being generated.
6. Attach the battery to the capacitor to store excess electricity for later use.
7. Connect the hand crank to the DC motor and start cranking to generate electricity!
Benefits of Using a Hand Crank Generator:
1. Portable and easy to use.
2. Eco-friendly alternative to traditional power sources.
3. Provides a backup power source in case of emergencies.
4. Helps you save on electricity bills.
Final Thoughts
Building your own hand crank generator is a fun and rewarding DIY project that can help you become more self-sufficient and eco-friendly. With just a few simple materials and some basic knowledge of electronics, you can create a sustainable power source that you can rely on anytime, anywhere. So why not give it a try and start generating your own electricity today!
Was this helpful?
0 / 0