How to Make a DIY Clap Switch: A Step-by-Step Guide
Have you ever wanted to control your lights or appliances with just a clap of your hands? Well, look no further because in this article, we will show you how to make a DIY clap switch. It’s a fun and easy project that you can do at home with just a few simple materials. So, let’s get started!
Materials You Will Need:
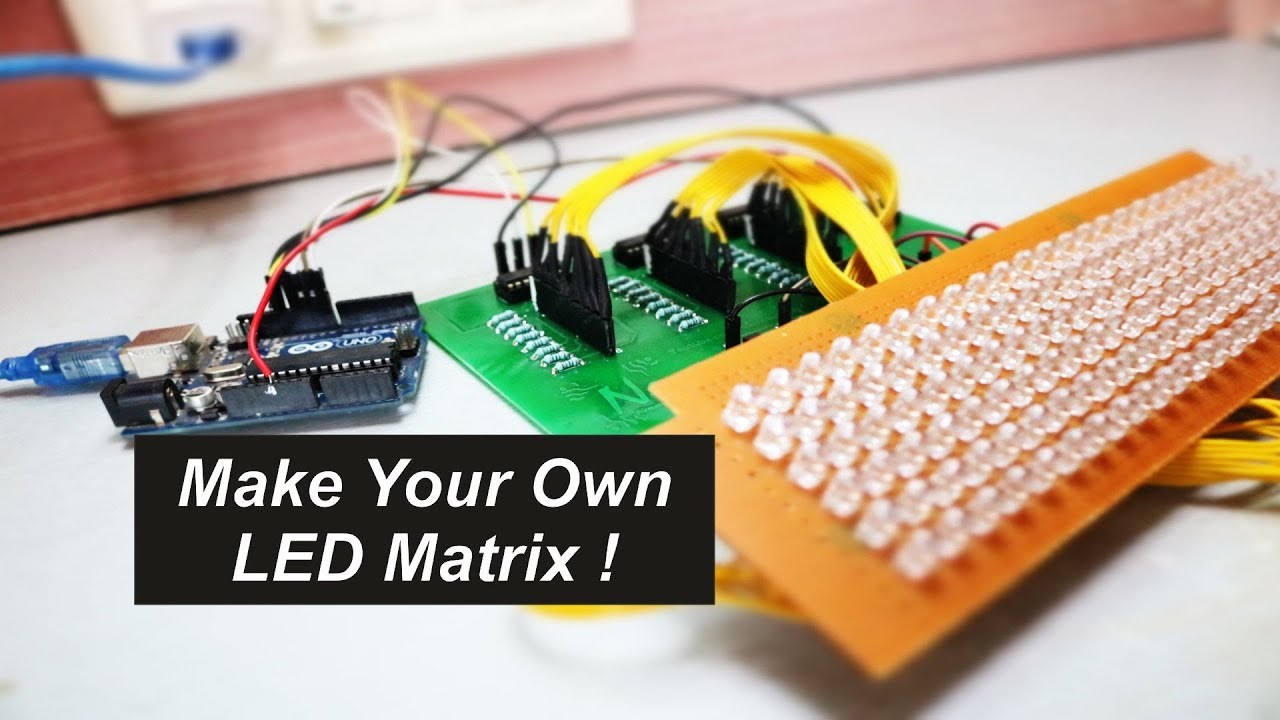
- 1 x Arduino Uno
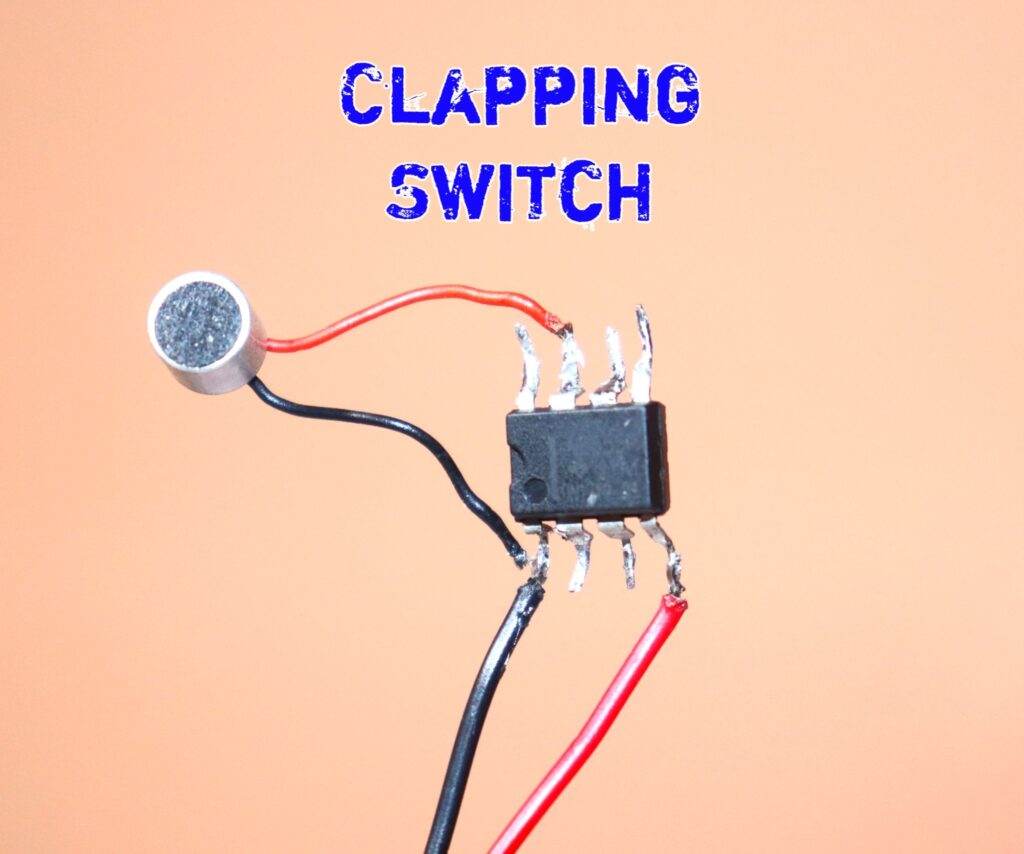
- 1 x Clap Switch Sensor Module
- 1 x Relay Module
- 1 x Breadboard
- Jumper Wires
- LED Lights or any Appliance
- USB Cable for Arduino
- Computer with Arduino IDE Installed
Step 1: Setting Up the Arduino
First, connect your Arduino Uno to the computer using the USB cable. Open the Arduino IDE and create a new sketch. Copy and paste the following code into the IDE:
int clapSensor = 2; //clap sensor input pin
int relay = 13; //relay control pin

void setup() {
  pinMode(clapSensor, INPUT); //set clap sensor pin as input
  pinMode(relay, OUTPUT); //set relay pin as output
}

void loop() {
  int sensorValue = digitalRead(clapSensor); //read the sensor value
  if(sensorValue == HIGH) {  //if a clap is detected
    digitalWrite(relay, HIGH); //turn on the relay
    delay(1000); //delay for 1 second
    digitalWrite(relay, LOW); //turn off the relay
  }
}
Step 2: Connecting the Components
Next, connect the clap switch sensor module to pin 2 on the Arduino and the relay module to pin 13. Make sure to connect the LED lights or appliance to the relay module as well. Use jumper wires and the breadboard to make the connections.
Step 3: Uploading the Code
Upload the code to the Arduino by clicking the upload button in the IDE. Once the code is uploaded, disconnect the Arduino from the computer and power it with an external power source. Now, your DIY clap switch is ready to use!
Step 4: Testing the Clap Switch
Clap your hands near the clap sensor and watch as the LED lights or appliance connected to the relay module turns on and off with each clap. Congratulations, you have successfully made a DIY clap switch!
Conclusion
Creating a DIY clap switch is a fun and interactive project that anyone can enjoy. It’s a great way to learn more about electronics and coding while also having a practical use for your home. So, why not give it a try and impress your friends and family with your cool and innovative creation!
How to Make a DIY Clap Switch: A Step-by-Step Guide
Have you ever wanted to control your lights or appliances with just a clap of your hands? Well, look no further because in this article, we will show you how to make a DIY clap switch. It’s a fun and easy project that you can do at home with just a few simple materials. So, let’s get started!
Materials You Will Need:
- 1 x Arduino Uno
- 1 x Clap Switch Sensor Module
- 1 x Relay Module
- 1 x Breadboard
- Jumper Wires
- LED Lights or any Appliance
- USB Cable for Arduino
- Computer with Arduino IDE Installed
Step 1: Setting Up the Arduino
First, connect your Arduino Uno to the computer using the USB cable. Open the Arduino IDE and create a new sketch. Copy and paste the following code into the IDE:
int clapSensor = 2; //clap sensor input pin
int relay = 13; //relay control pin

void setup() {
  pinMode(clapSensor, INPUT); //set clap sensor pin as input
  pinMode(relay, OUTPUT); //set relay pin as output
}

void loop() {
  int sensorValue = digitalRead(clapSensor); //read the sensor value
  if(sensorValue == HIGH) {  //if a clap is detected
    digitalWrite(relay, HIGH); //turn on the relay
    delay(1000); //delay for 1 second
    digitalWrite(relay, LOW); //turn off the relay
  }
}
Step 2: Connecting the Components
Next, connect the clap switch sensor module to pin 2 on the Arduino and the relay module to pin 13. Make sure to connect the LED lights or appliance to the relay module as well. Use jumper wires and the breadboard to make the connections.
Step 3: Uploading the Code
Upload the code to the Arduino by clicking the upload button in the IDE. Once the code is uploaded, disconnect the Arduino from the computer and power it with an external power source. Now, your DIY clap switch is ready to use!
Step 4: Testing the Clap Switch
Clap your hands near the clap sensor and watch as the LED lights or appliance connected to the relay module turns on and off with each clap. Congratulations, you have successfully made a DIY clap switch!
Conclusion
Creating a DIY clap switch is a fun and interactive project that anyone can enjoy. It’s a great way to learn more about electronics and coding while also having a practical use for your home. So, why not give it a try and impress your friends and family with your cool and innovative creation!