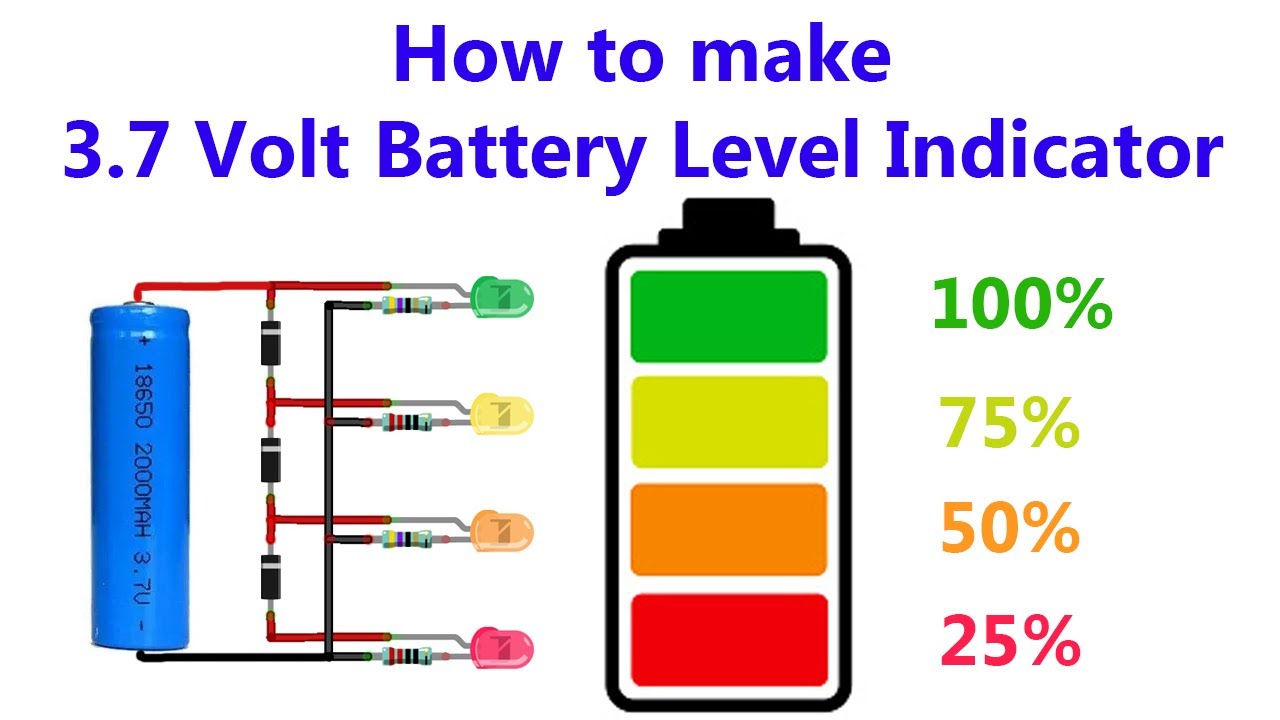
How to Make a Battery Level Indicator Circuit
Are you tired of constantly wondering how much battery life your devices have left? Whether it’s your smartphone, laptop, or even a portable speaker, knowing the battery level is crucial for planning your day and avoiding unexpected shutdowns. In this article, we will guide you through the process of creating a simple battery level indicator circuit that will help you keep track of your battery’s remaining power. Let’s get started!
Materials Needed:
- Breadboard
- LM3914 IC
- 10 LEDs
- 1k Ohm resistor
- 9V battery
- Wires
Step 1: Wire up the Circuit
Start by placing the LM3914 IC onto the breadboard. Connect the pins of the IC to the LEDs, resistor, and battery as shown in the circuit diagram. Make sure to follow the correct pinout of the LM3914 IC to ensure the circuit operates correctly.

Step 2: Test the Circuit
Once you have wired up the circuit, it’s time to test it. Connect the 9V battery to the circuit and observe the LEDs. Depending on the battery level, a different number of LEDs will light up, indicating the remaining power.
Step 3: Mount the Indicator
Once you have confirmed that the circuit is working properly, you can mount the LEDs onto a small board or enclosure to create a portable battery level indicator. Make sure to label each LED with the corresponding battery level to make it easy to read at a glance.
Step 4: Enjoy Your New Battery Level Indicator!
Congratulations! You have successfully built a battery level indicator circuit that will help you keep track of your device’s battery life. Whether you’re on the go or simply want to stay organized, this DIY project is a fun and useful way to make sure you never run out of power unexpectedly. Enjoy using your new battery level indicator!
Remember to always handle electronic components with care and caution, especially when working with batteries. If you’re not comfortable building the circuit yourself, consider seeking help from a professional or experienced hobbyist. Stay safe and happy tinkering!
Was this helpful?
0 / 0