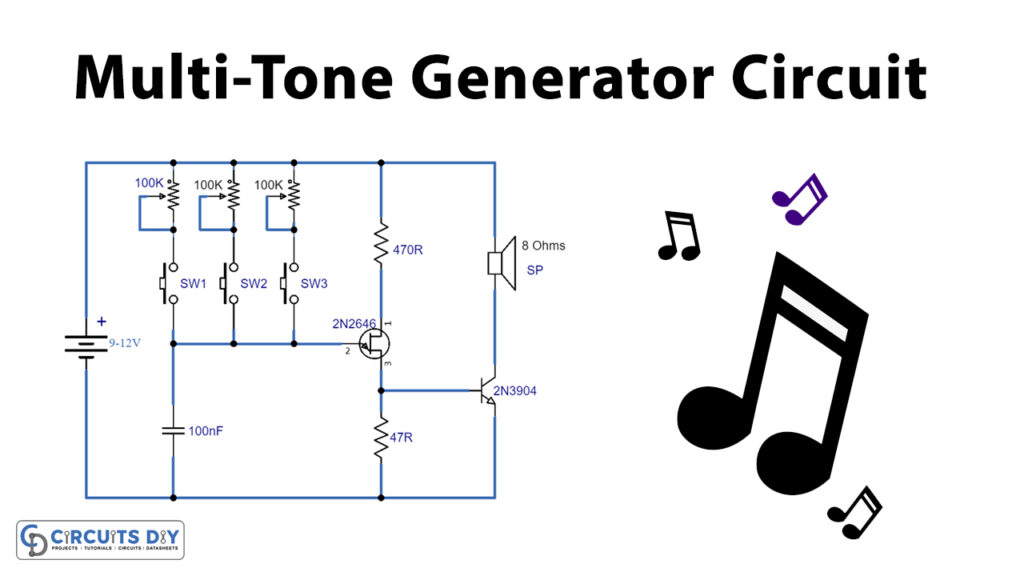
How to design a simple tone generator?
Creating a tone generator can be a fun and rewarding project for those interested in electronics and music. In this article, we will guide you through the steps of designing a simple tone generator that can produce various frequencies.
To begin with, let’s understand what a tone generator is and why it is used. A tone generator is an electronic device that can produce sound at a specific frequency. It is commonly used in testing audio equipment, tuning instruments, and creating music.
Here are the steps to design a simple tone generator:
Step 1: Choose the Components
For a basic tone generator, you will need the following components:
- 555 timer IC
- Resistors
- Capacitors
- Speaker
- Breadboard
- Power supply
Step 2: Circuit Design
Once you have gathered all the components, you can start designing the circuit. Connect the components on a breadboard according to the following circuit diagram:
             +Vcc
               |
          +----|-----+
          |    |     |
     +----|----|-----|----+
     |    |    |     |    |
     |  R2 |  C1  OUT   R1
     |    |    |     |    |
     +----|----|-----|----+
          |    |     |
          |    |     |
          +----|-----+
               |
             GND
Step 3: Testing
After the circuit is assembled, power it up and test the tone generator by adjusting the variable resistor (R1) to change the frequency of the tone produced. You should hear a clear and consistent sound at different frequencies.
With these simple steps, you can design your own tone generator and experiment with different tones and frequencies. This project is an excellent way to learn about electronics and sound generation. Have fun experimenting and creating unique tones!
Remember to share your creations with us and let us know how your tone generator turned out! Happy tinkering!